I will tell you the inside of this home is unrecognizable compared to where we started, which is a very good thing. While the scope creep was SIGNIFICANT, the end results outweigh the changes we made along the way.
After most of the demo we hired an engineer to look at a couple of structural issues, the ceilings (since they were lowered at some point) and the wall that separates the new kitchen from the living room. Highly suggest this if you are removing walls or have any doubt as to what may be load bearing or not.
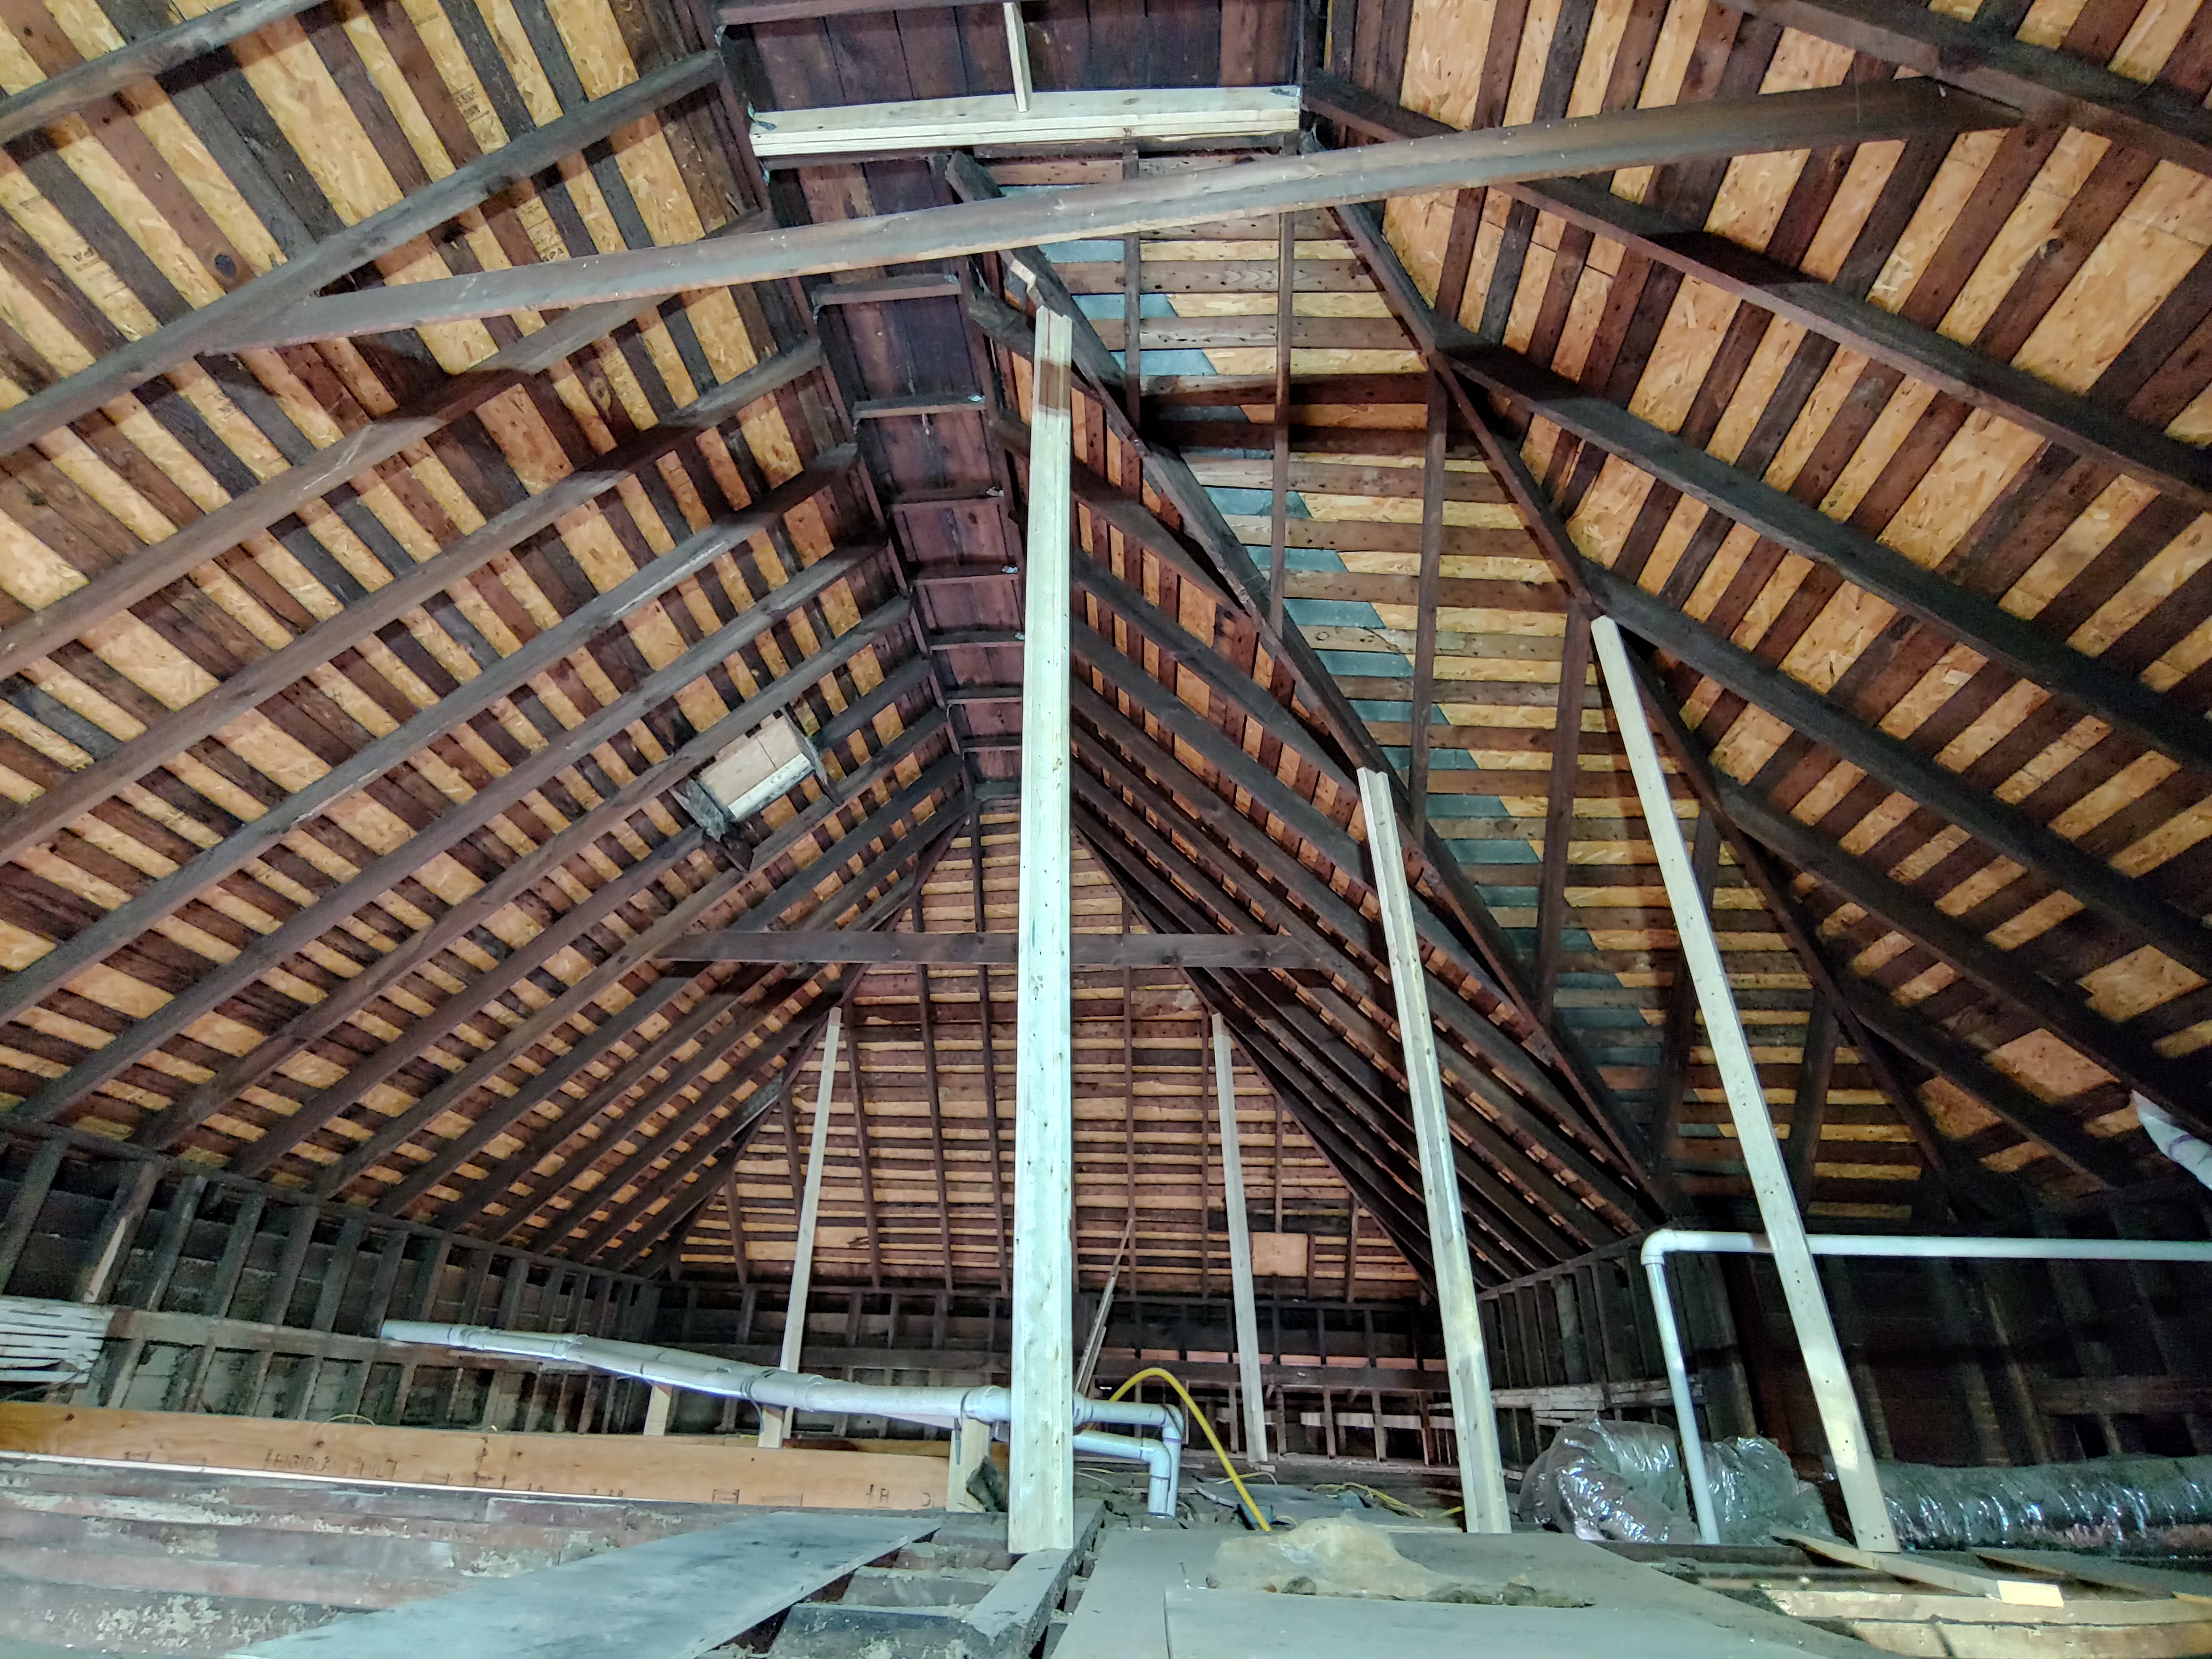
We had to add some structural supports to the roof as the engineer said when they lowered the ceilings, they changed the structural load (or something to that effect).
We also had to have a load bearing beam installed to carry the load from the wall we wanted to remove to open up the main living spaces, so worth the expense!

We also had HVAC guys come in and install a new indoor unit in the attic (the old unit was taking up valuable real estate in a hall closet) and run new insulated duct and boots in the ceiling. There was a short period of time during the winter that we had no heat, it was pretty freaking cold working in there those days for sure!
The plumbers came in and ran all new plumbing under the house as there was some old Quest piping (along with mostly copper piping) and with our decision to move the kitchen it was just cleaner to replumb the house. Any metal we took out of the house we just put on the curb and it was miraculously whisked away within hours to the scrap yard for a little cash for someone.
My husband and I took a week to run new electrical for ceiling lights, outlets and bathroom, kitchen and laundry room GFCI receptacles. We ran all new wiring, per code, back to the breaker box and had a licensed Master Electrician come in and review our work (which I might add he was impressed with) and then hookup the new lines to the breaker box. This saved us THOUSANDS of dollars and while it took us a long time, it was so worth the savings!
So, after all of the above work was complete, I insulated all of the interior and exterior walls, as this house is going to be a rental, cutting down on the noise between the rooms was important to me. I used Rockwool Insulation, for the ease and sound deadening properties. This product was easy to work with, once I purchased an insulation knife to cut it with that is, I highly recommend it!

After I finished the insulation (and adding any additional blocking to the walls) I took pictures of all of the walls and ceiling prior to having the sheetrock crew start. Trust me it has saved my butt many a time by having these photos!
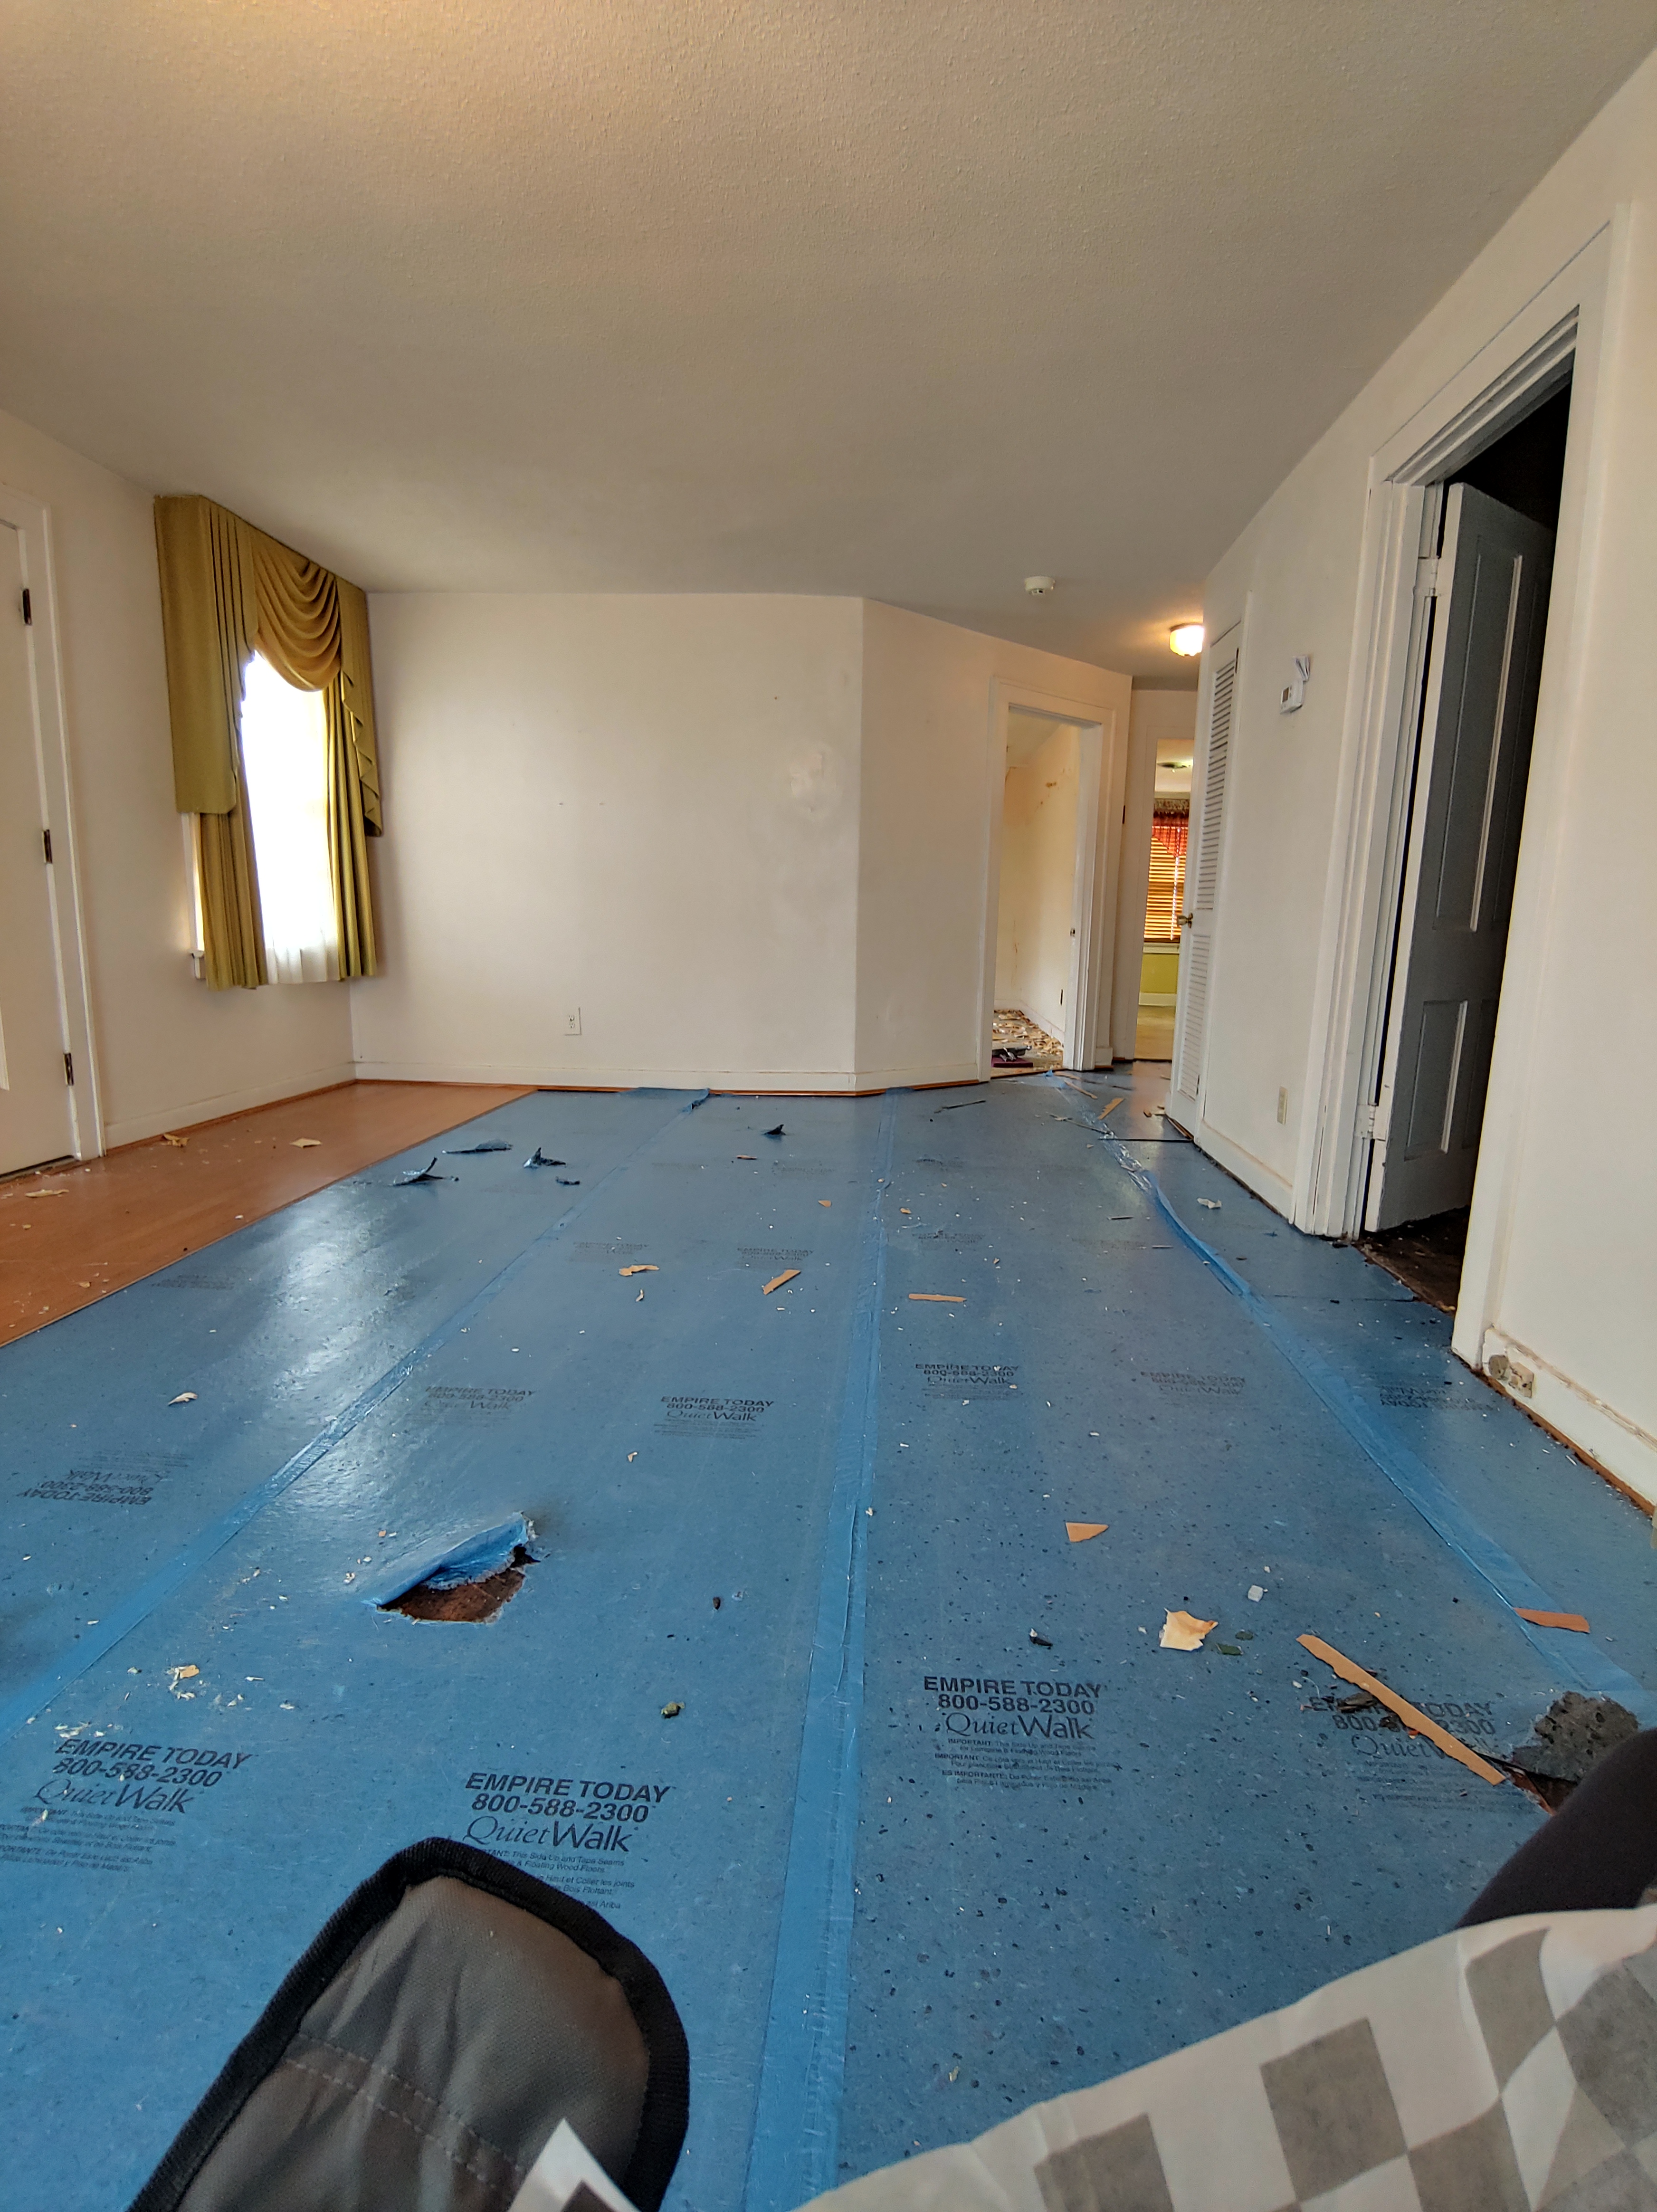
We hired a FABULOUS company to hang and finish the sheetrock. This required a lot of shimming (to keep the ceilings as level as possible) and I required them to only use sheetrock screws, so we didn’t have any issues with the ceilings or nail pops in the future. They got these ceilings as level as possible, there are a couple of areas where you can see and elevation change, but they are not super noticeable and really couldn’t have been finished better.
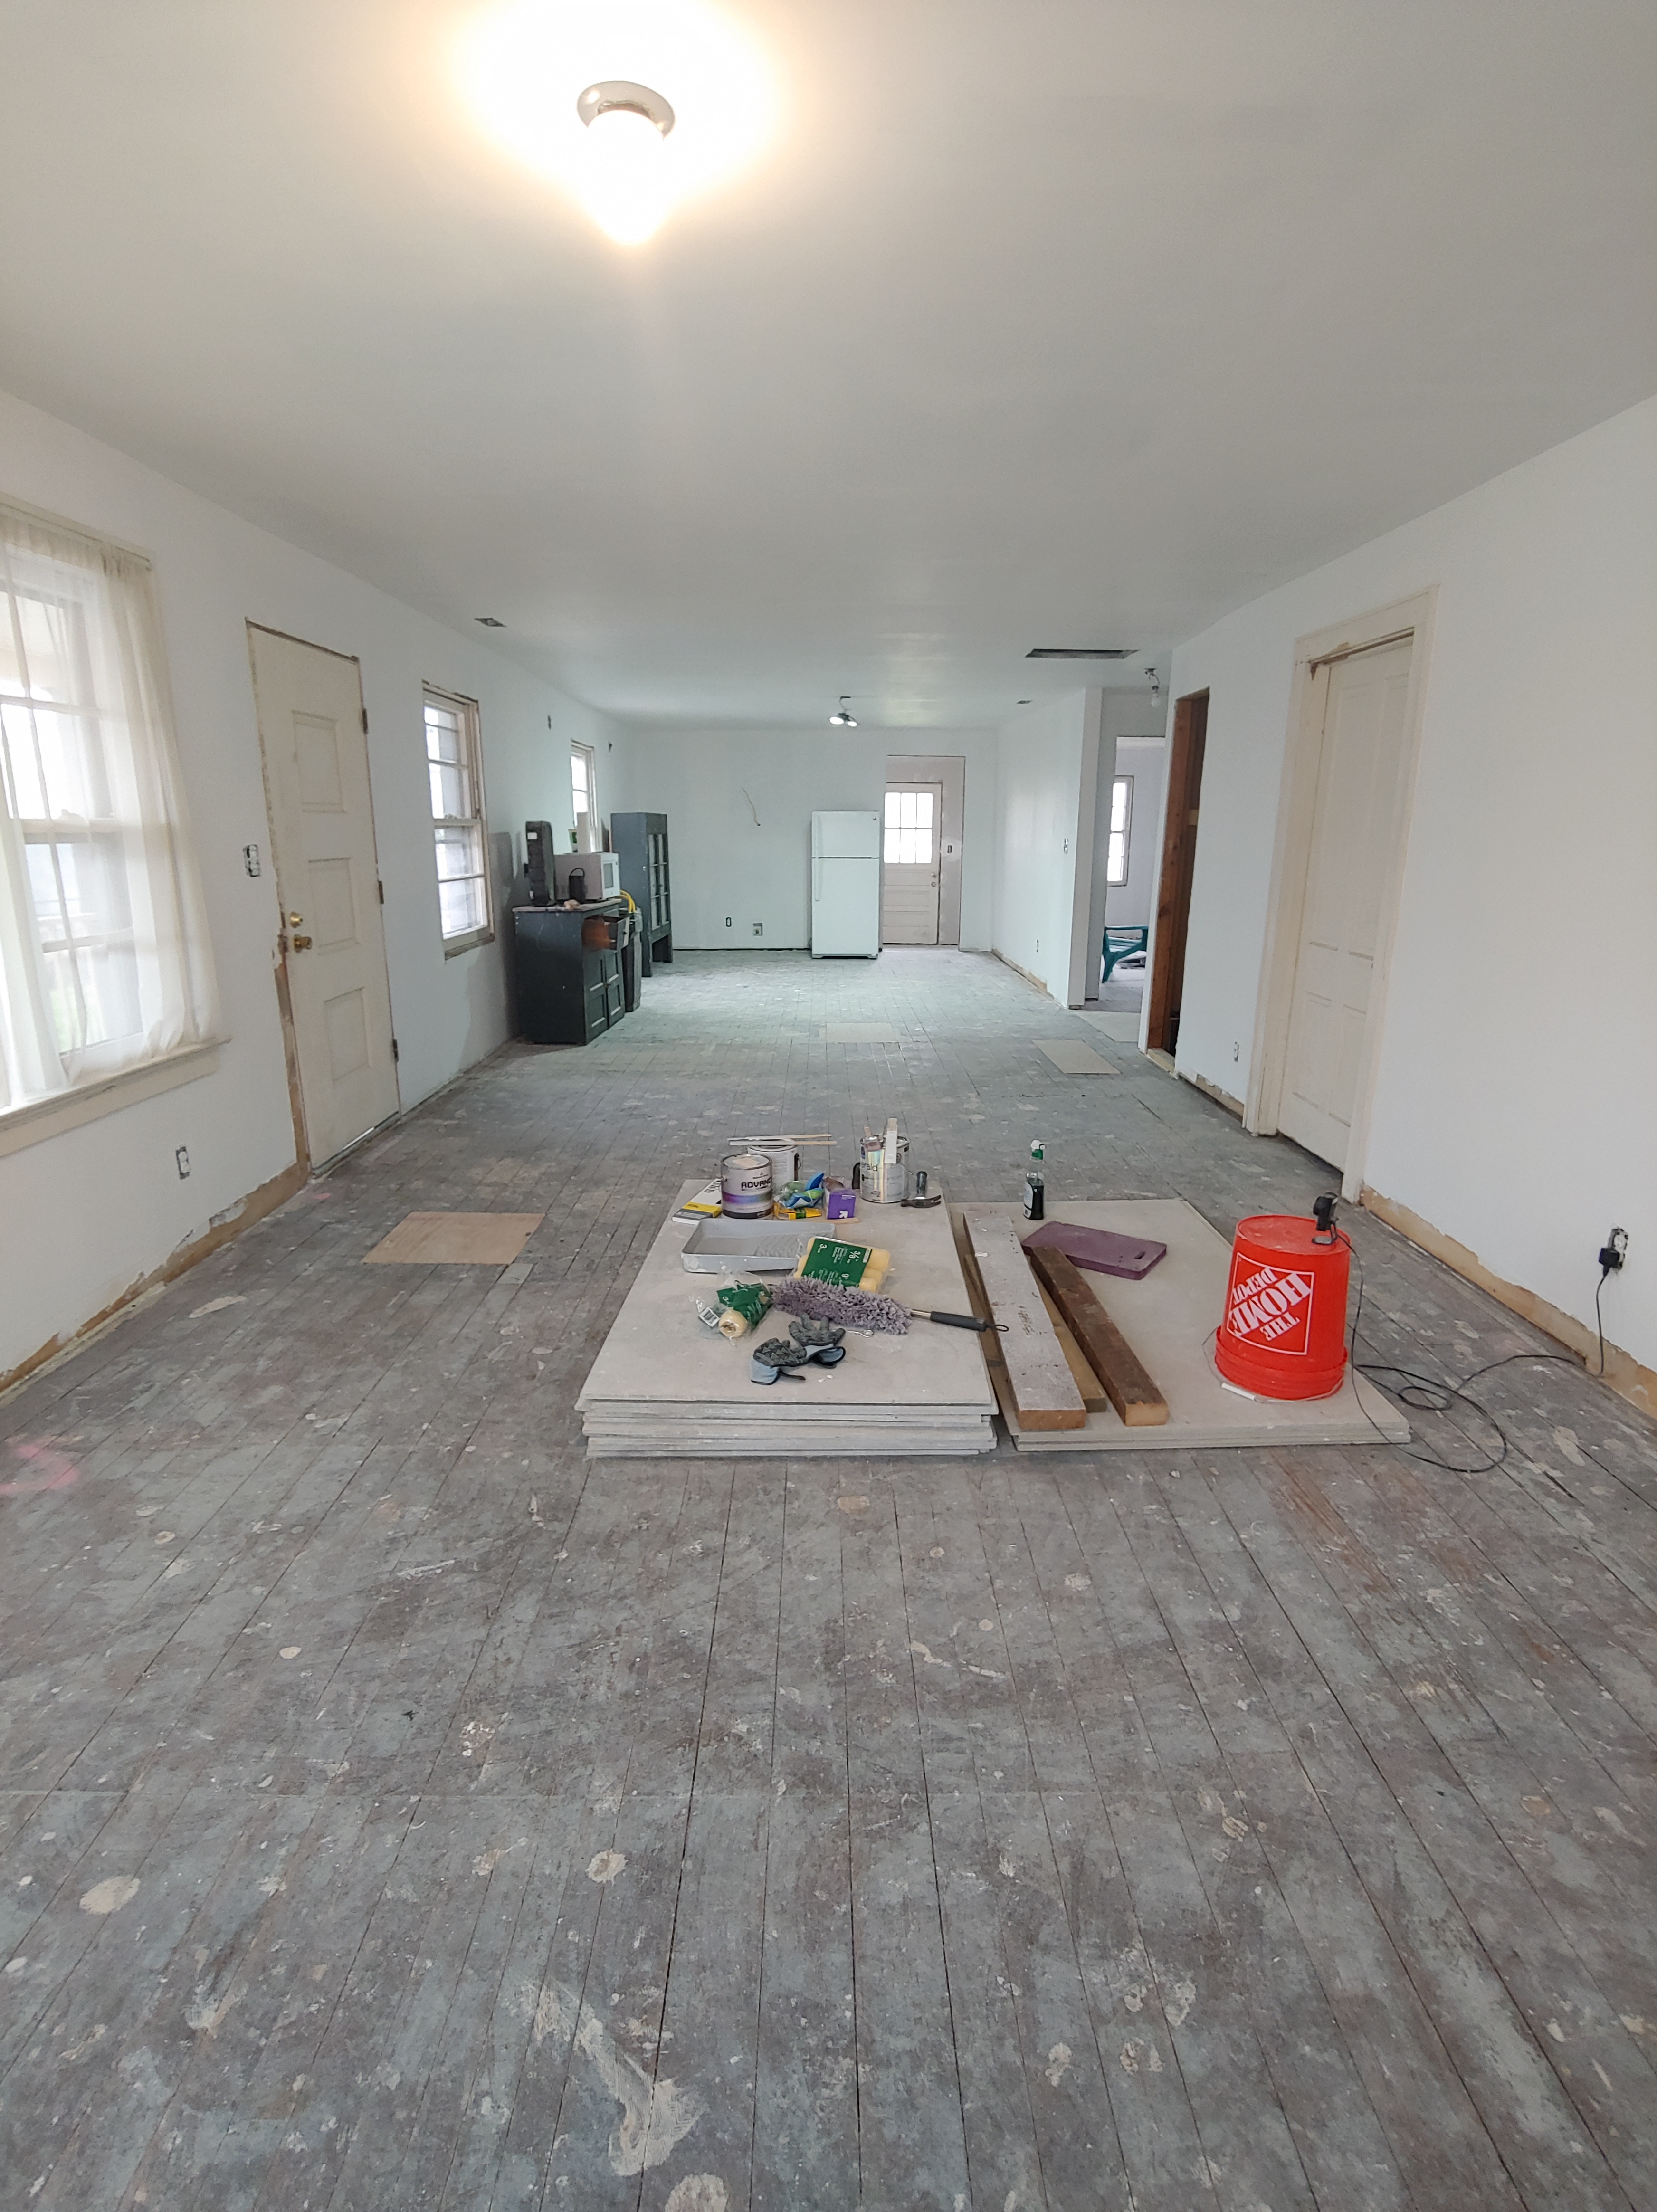
After they finished the drywall, I vacuumed and wiped down all of the ceilings and walls with a microfiber cloth to remove all of the drywall dust… that was a pain in the ass and seemed to take forever! I then had to prime all of the ceilings (hubby helped with some of these) and walls, I used Behr Drywall Plus sheetrock primer for all sheetrock plus the 1 wall we didn’t remove. It worked very well for the new drywall, but for the old drywall it wasn’t the best product in my opinion.
What a difference!
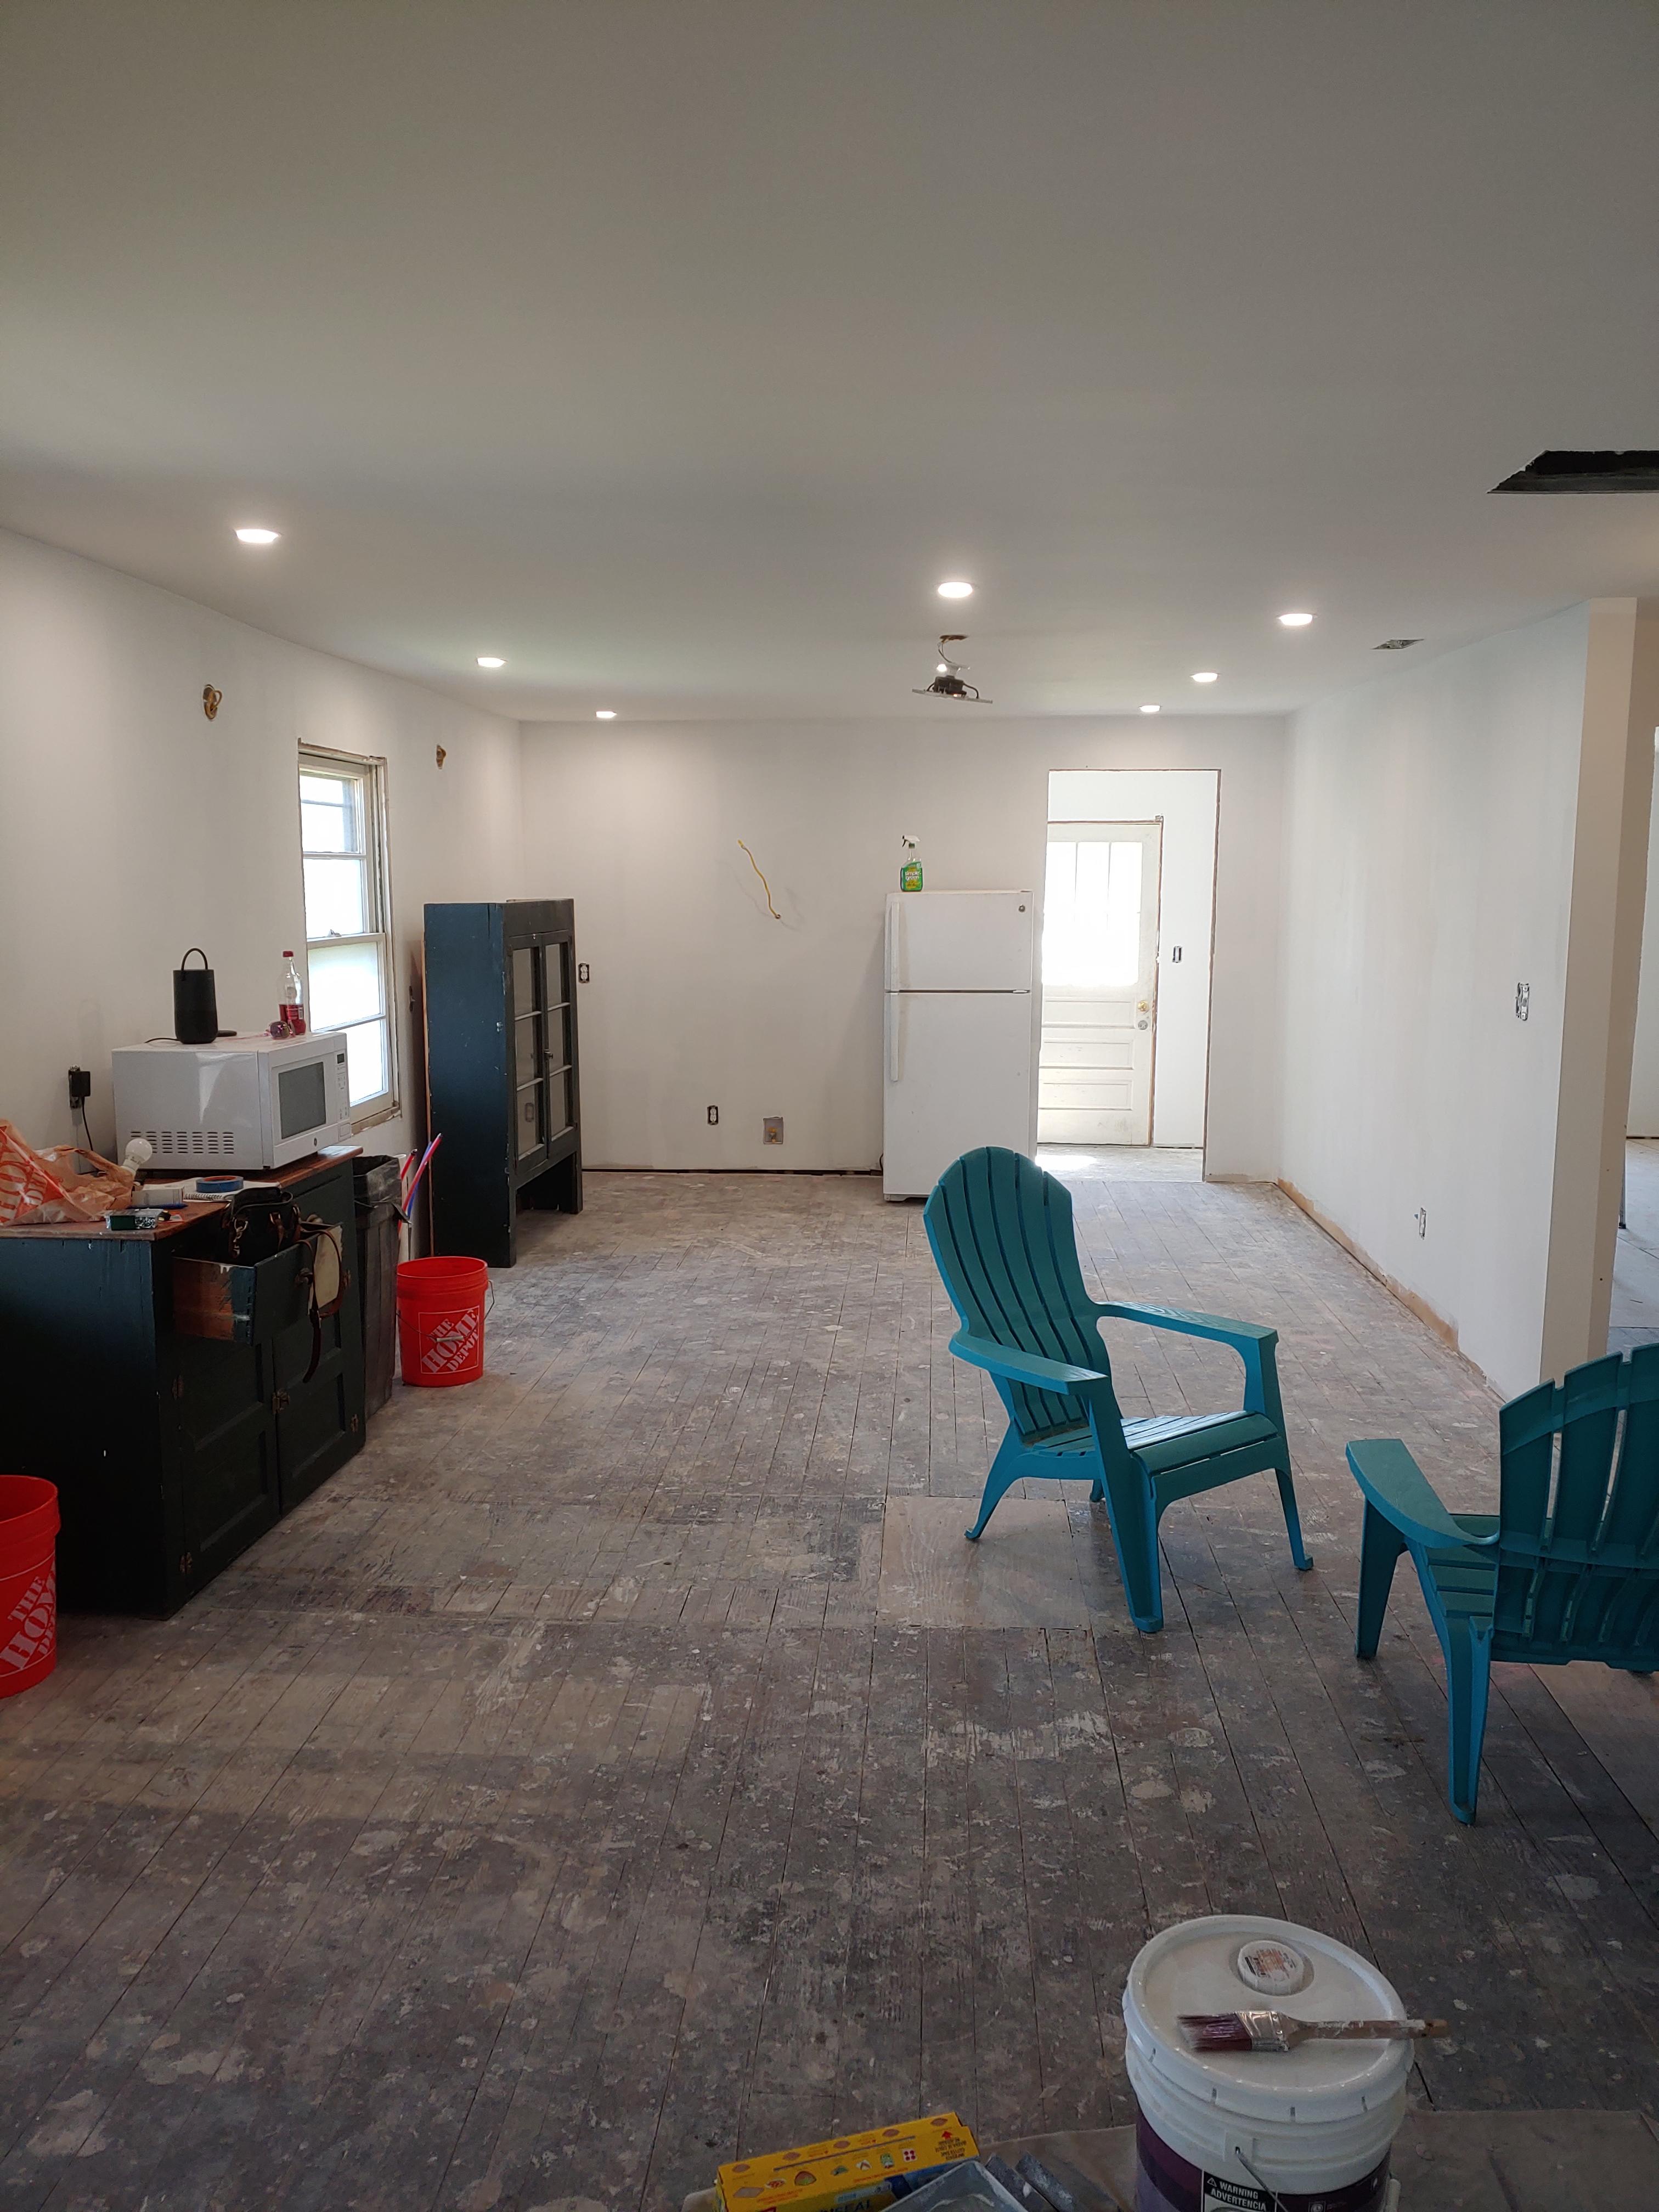
This photo just wows me every time! I’m standing in the living room looking into the new kitchen area.
For reference this is what that view used to look like…
I have NO regrets in removing that wall and moving the kitchen into this space!
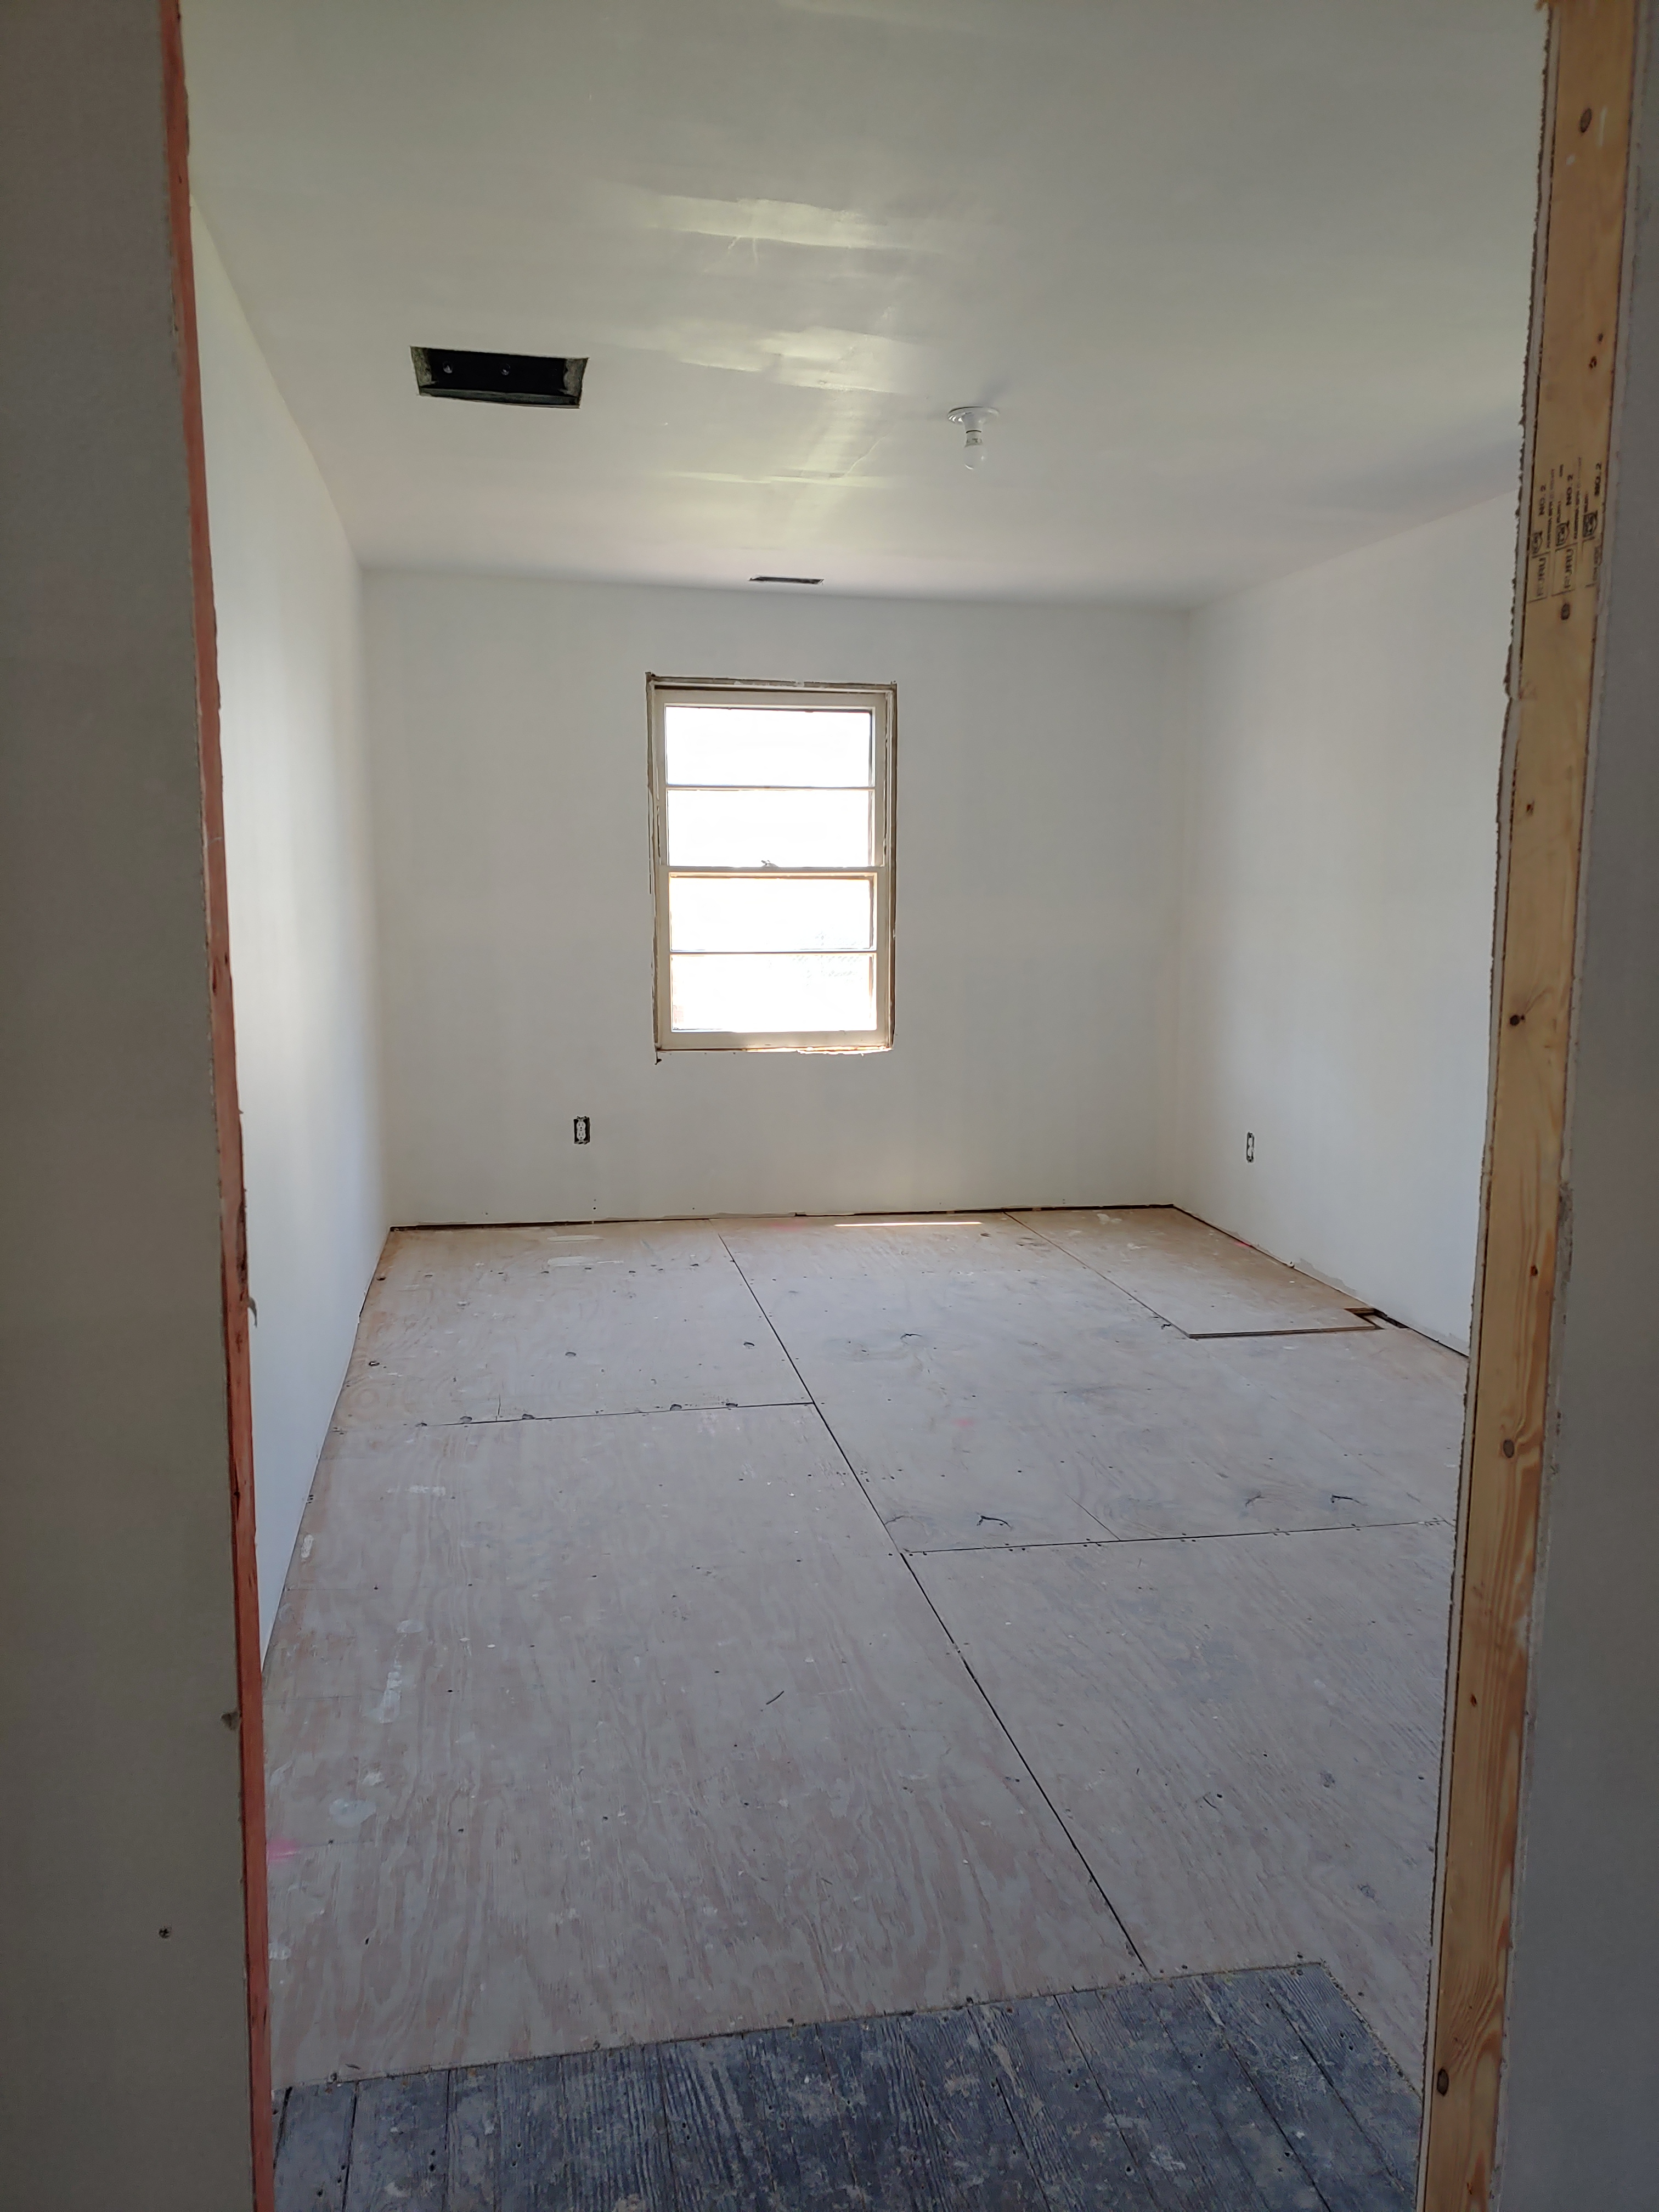
Here is where the old kitchen used to be, very closed off with no real good space for eating in. I have a suspicion that the area we moved the kitchen to used to be a kitchen, you could see remnants of where old walls used to be on the floors and the ceilings…
The main bath… we carved this little 9″ deep niche out so we can use it for shelves and storage. The main plumbing stack is running up the right side of that wall, so we just boxed it in and mimicked it on the other side.

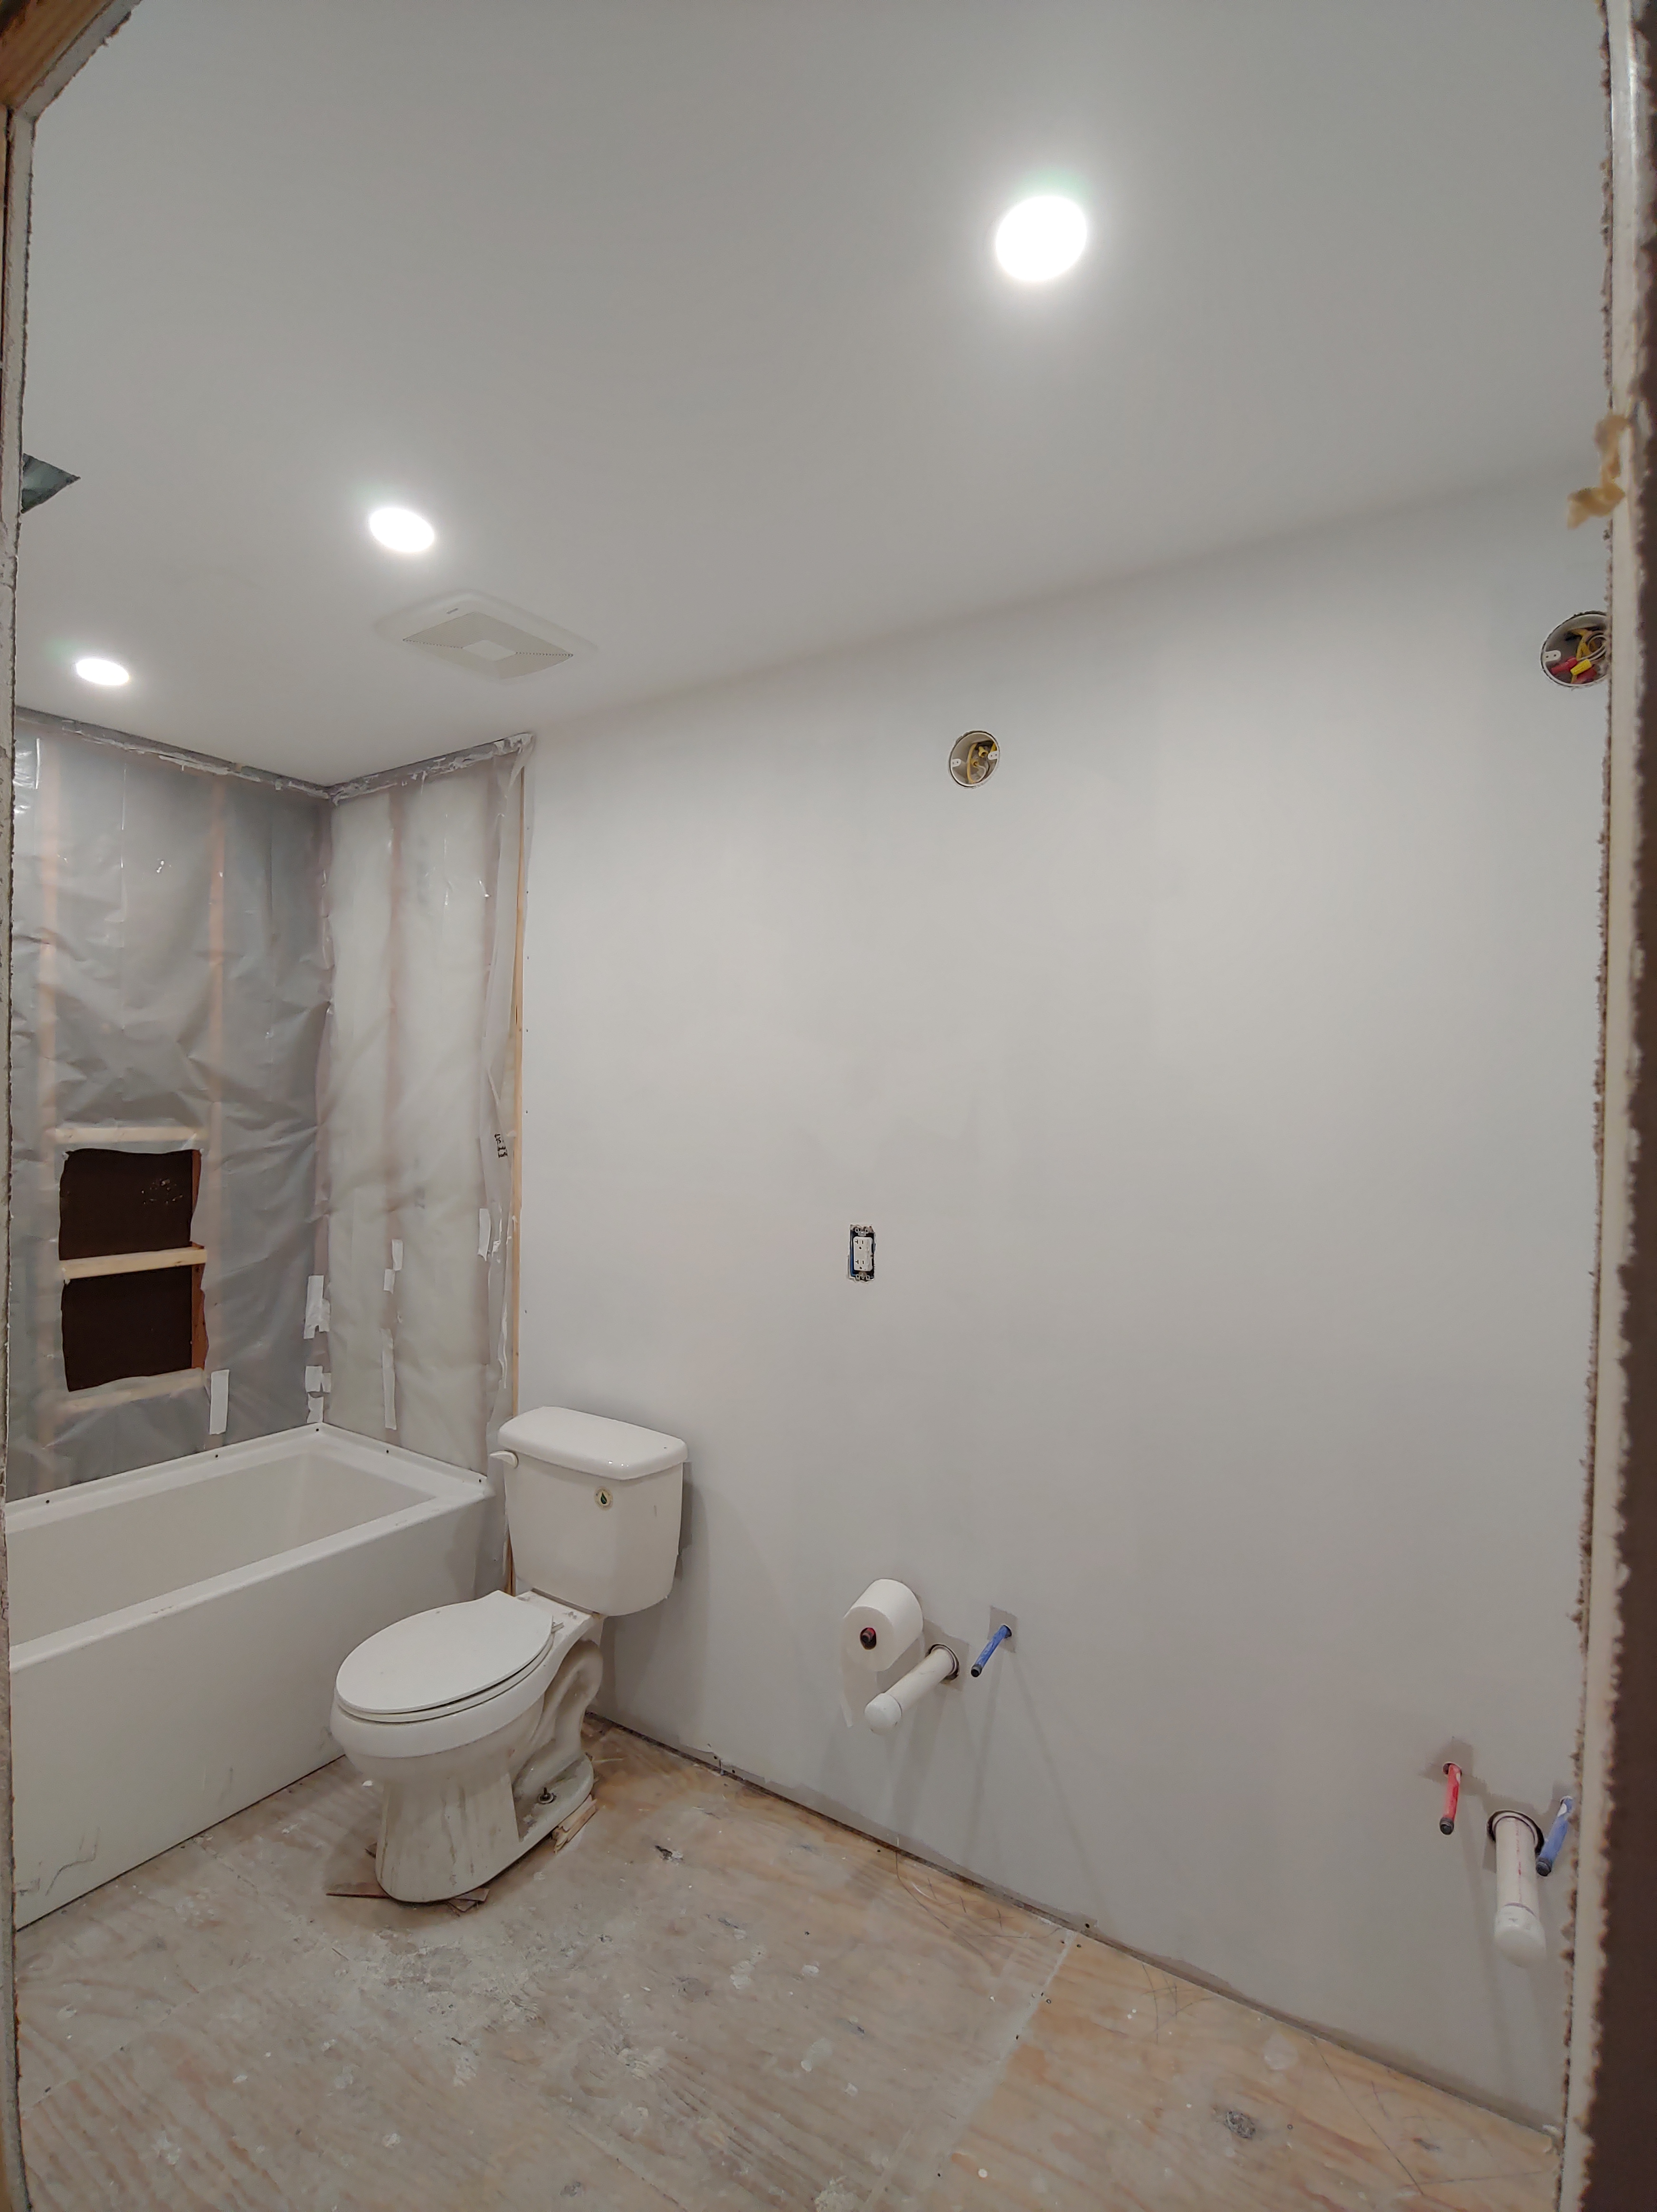
The primary bathroom… this bathroom is twice the size it was originally. The toilet is set temporarily well because it need it.
I chose to paint all of the walls prior to installing trim or flooring, it was just easier to go back and cut in after I caulked everything than it was to do it first. Plus, I wasn’t ready to do the trim yet as I wanted to install the flooring prior to installing the trim. So, two coats of Behr Ceiling Paint for the ceiling and 2 coats of Behr Ultra Eggshell in Cameo White for the walls. I wanted to have “color” on the wall without having color, if that makes sense, and this white (to me) can look a little pink or gray depending on the light, it is soft and subtle, and I just love it in this house!
Here it is in the main bathroom with just window light, its hard as heck to see the difference between the ceiling and the walls, but it really is pretty in person.

After painting all of the interiors (less the trim) we installed all of the lighting, ceiling fans etc. I found these very slim profile canless led lights for the kitchen and bathrooms. They were super easy to install, the hardest part was lining them up properly.
After we finished all of the lighting installations, we moved on to insulating the attic. We purchased attic insulation we could blow in from Home Depot and the blower rental was free with the purchase. Our daughter helped me load the hopper (outside) with the insulation while my Hubby had the horrible job of blowing it in the attic. He had to be SUPER careful not to step through the ceiling and there were some tight spots to get to but everywhere has a nice 10+ inches of insulation now. I’m not going to lie this was a messy job, but we saved about $1,000 doing it ourselves and it wasn’t hard, so I’d do it again if I had to (my husband would probably say he would not though).
Now that we have insulation in, HVAC up and running and a climate-controlled space we could move on to the FLOORING!
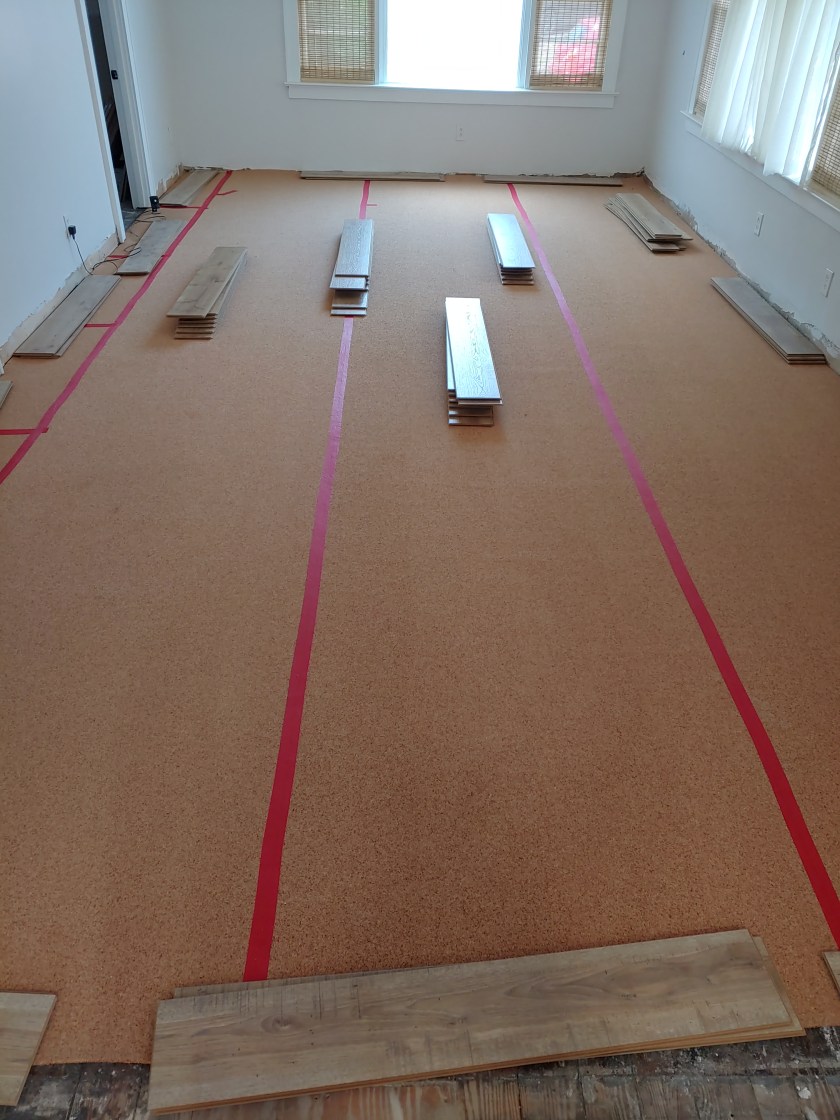
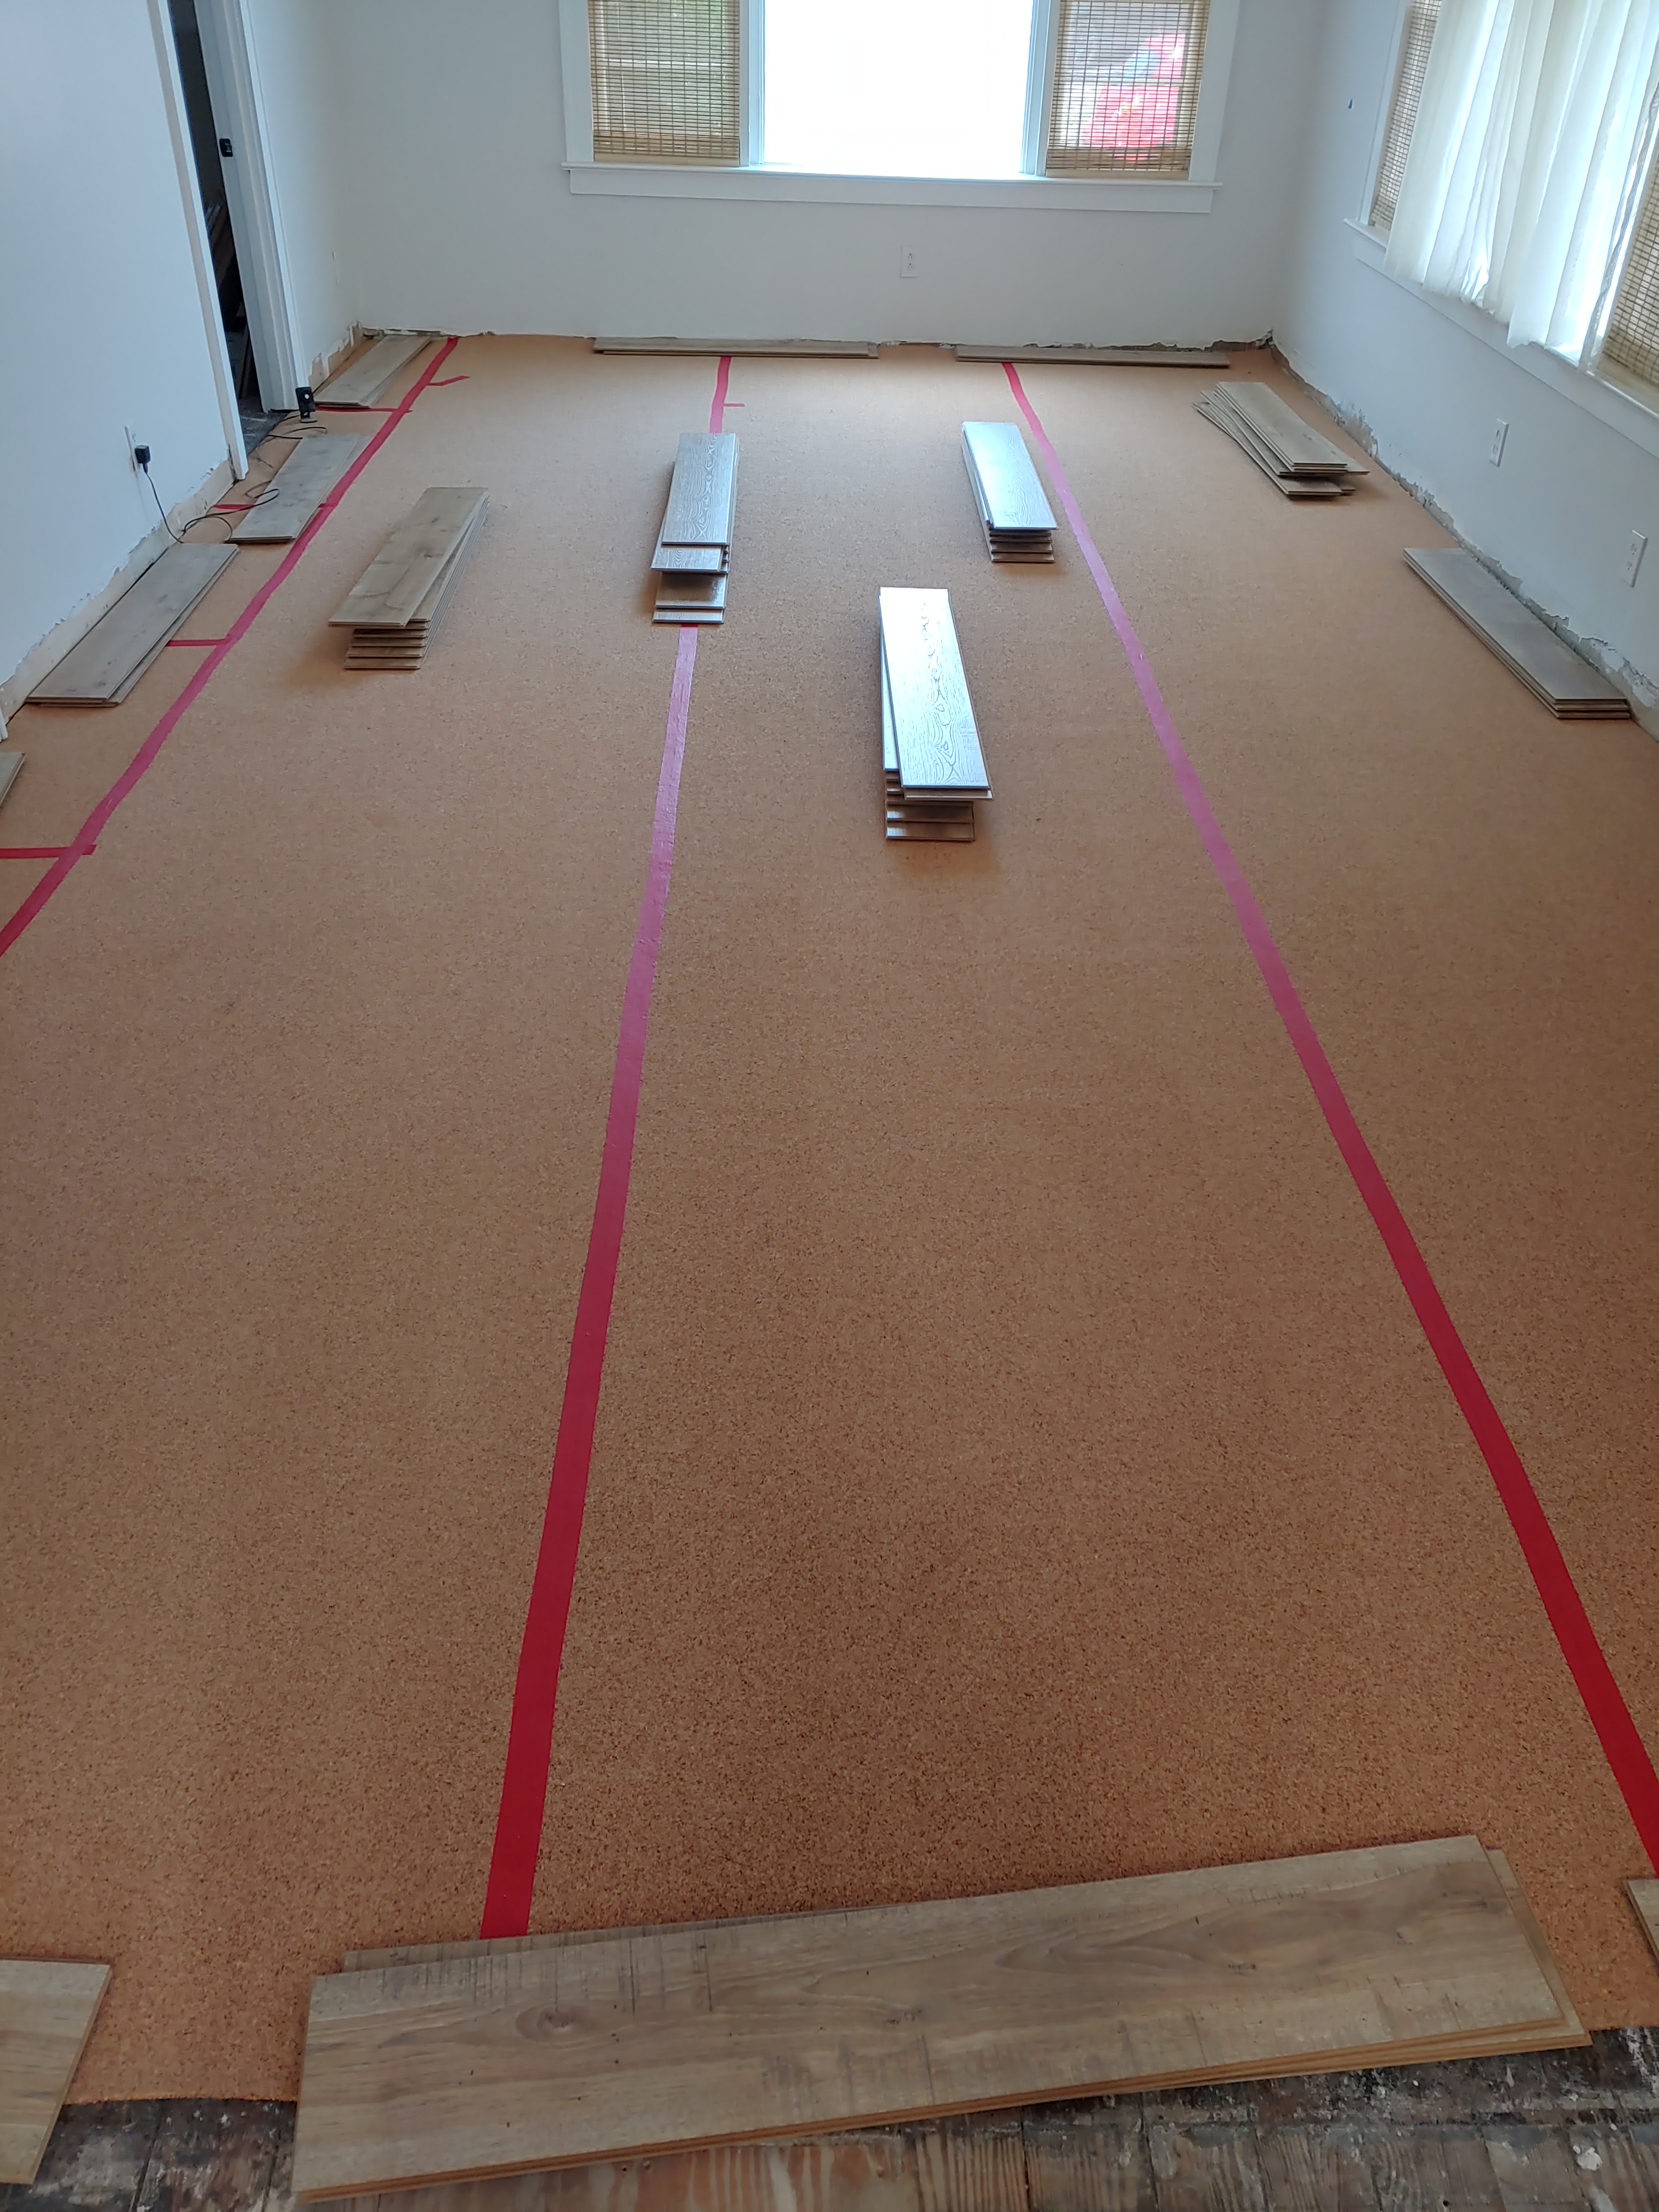
I went through all of the house and sanded down any high areas, filled any low areas, screwed down any loose boards etc. I then vacuumed the floors to remove any grit and started laying the underlayment.

I installed a 1/4 cork underlayment to not only help with insulation, but for its sound deadening properties as well. This product is great, very easy to roll out, cut and tape the seams. It was amazing how much better the house felt (and smelled) once this was laid out.
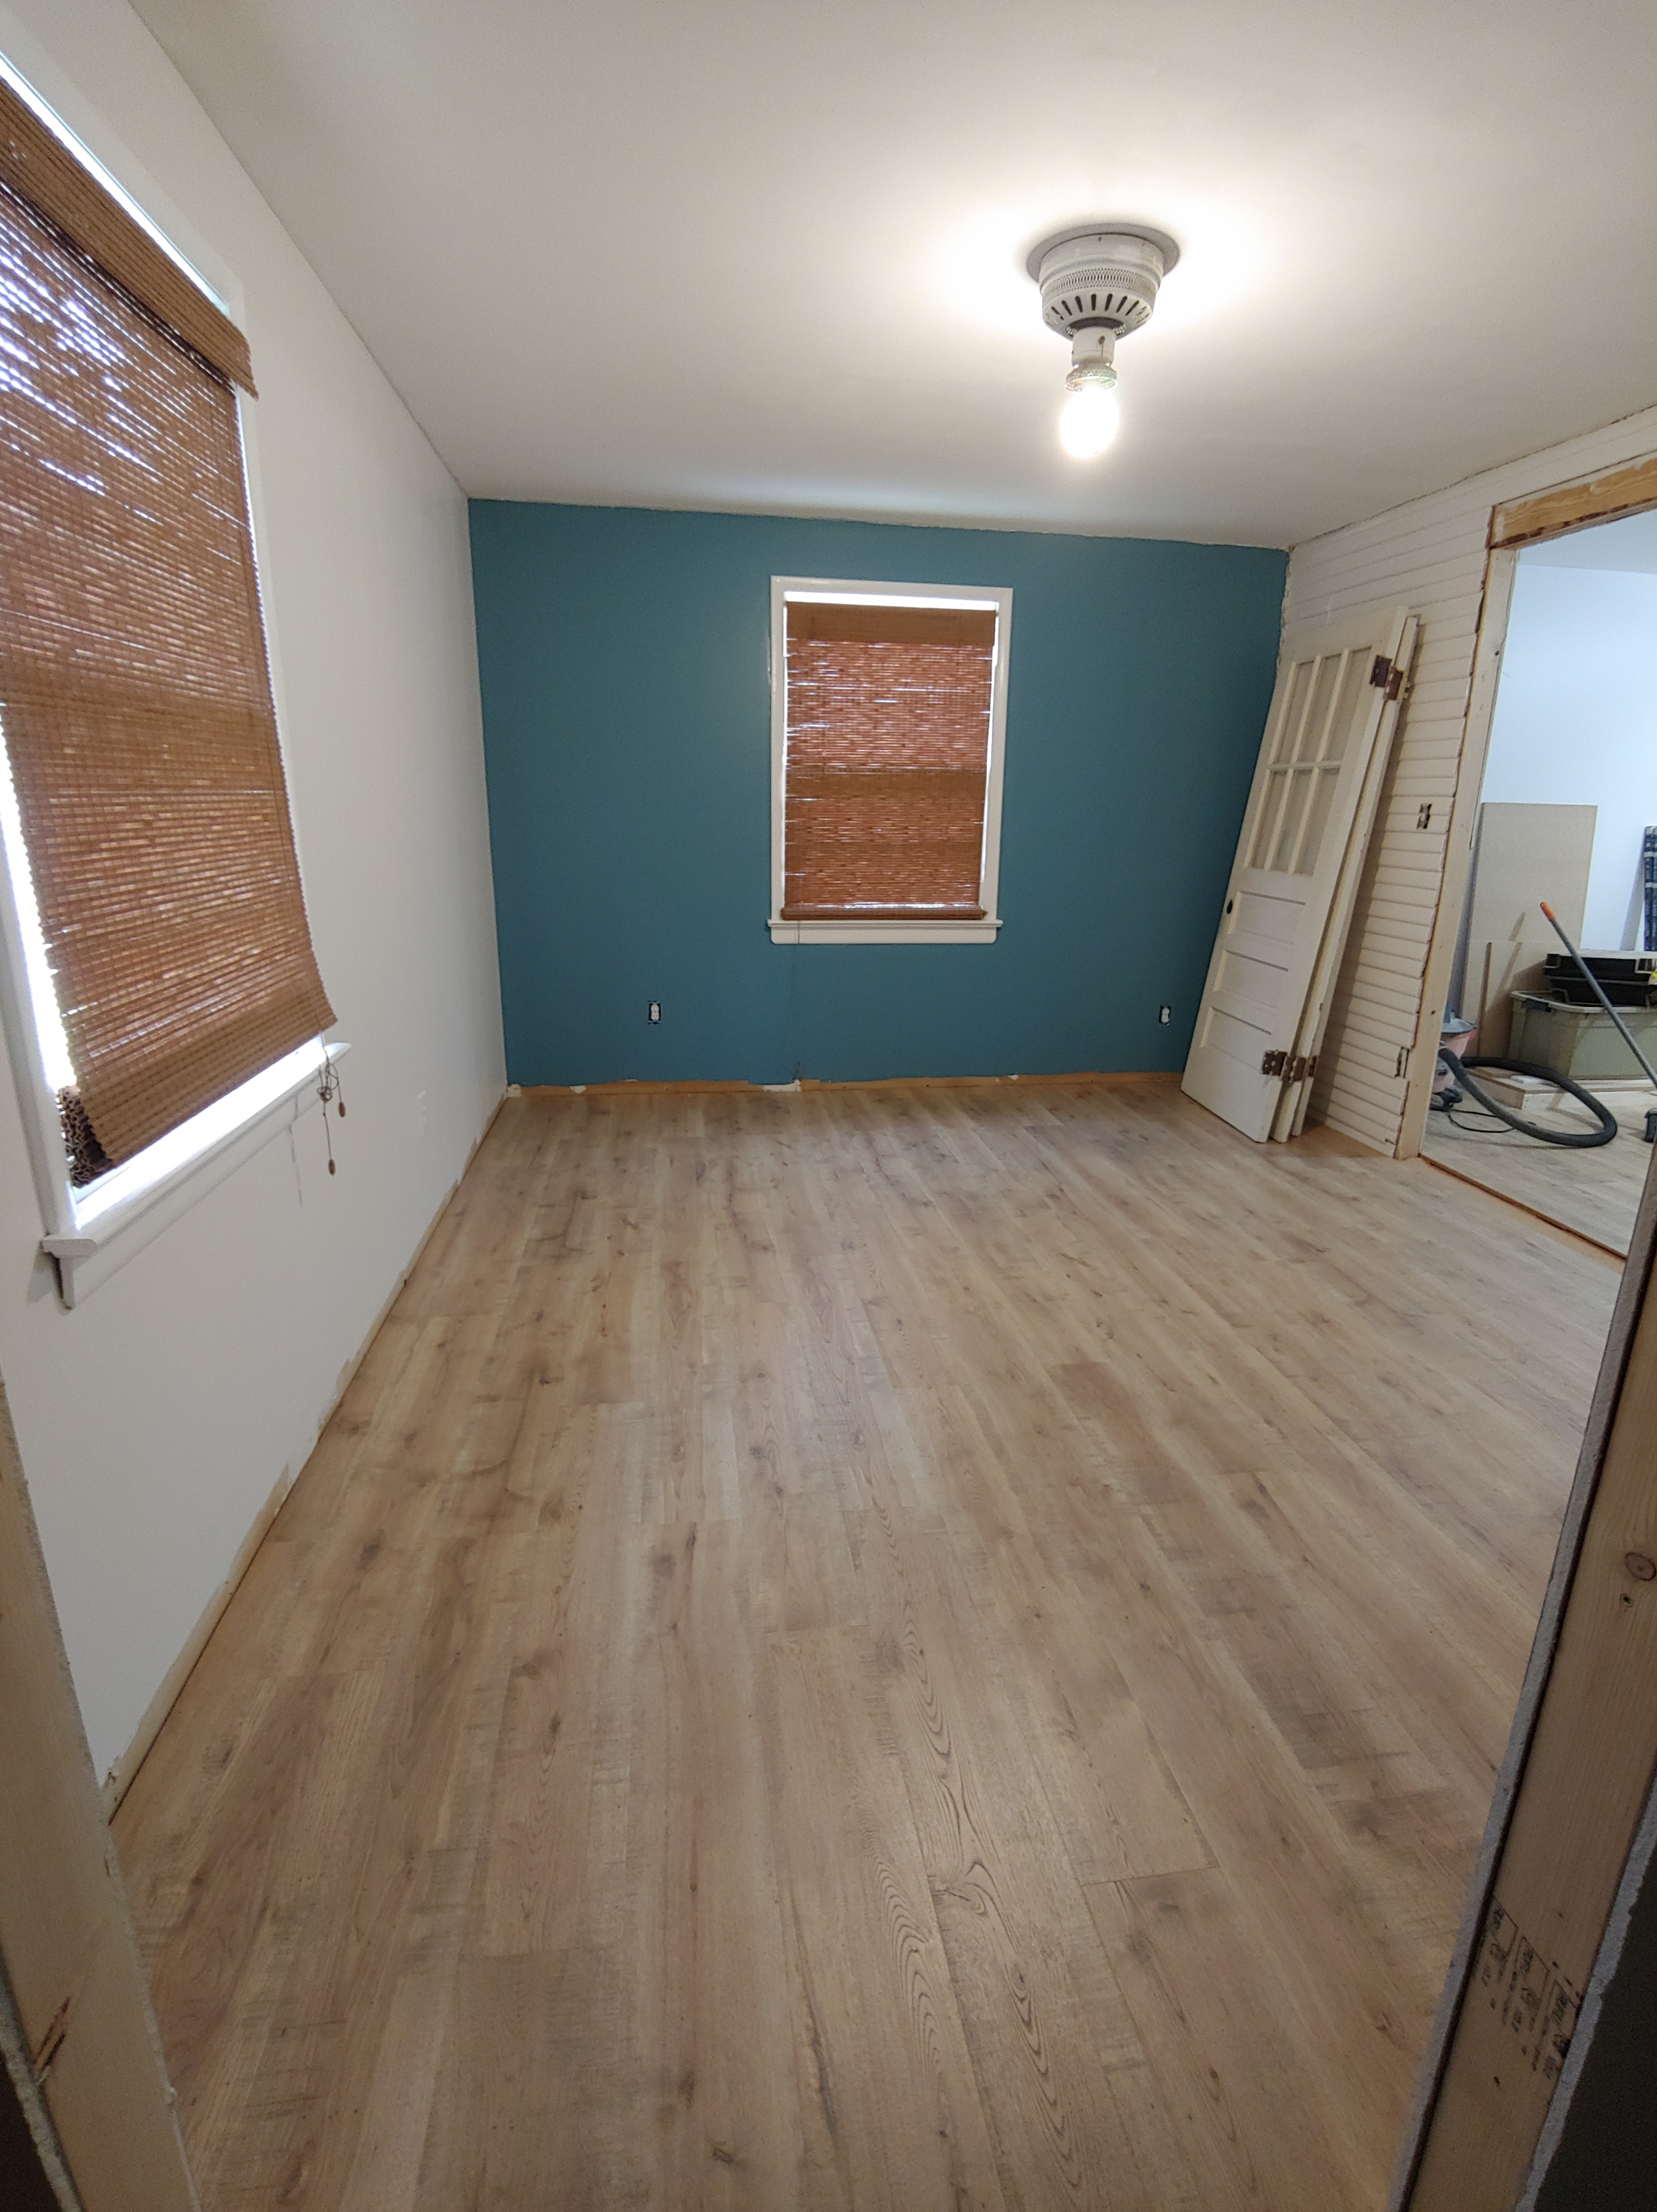
For the flooring we chose Pergo’s TimberCraft Laminate Flooring (in Herschel Hickory), it is not too light, not too dark but best of all is waterproof and hard to destroy.

We did a dry layout to ensure we didn’t have a tiny piece when we got to the opposite wall, then we put together 3 rows of the flooring then pushed the whole thing to the wall (versus laying it in place), this seemed to be the best way to start the process. The click lock system, once we got the hang of it, was very user friendly and the floor went down fairly quickly. We laid down most of the main living spaces over a weekend and I laid the other rooms during the week. If I can do it by myself pretty much anyone can…

That is a lot to fit into one post, and I assure you this took a very long time to get to this stage, but man once those floors went in it really started to feel like we were so close to the finish line! Even with having subcontractors for the sheetrock, plumbing and HVAC there was still so much more that we had to do. This was my full-time job for about 8 months with my Hubby working with me on the weekends as he has a “real” full-time job, poor guy I pretty much worked him to death.
I’ll share the rest of the rebuilding in 2 more phases, the house is still about 98% complete, but our daughter and her roommates are in there and the few things we have left to do are mainly cosmetic. We got a tad sidetracked because we sold our house in Virginia Beach and bought a 100-year-old home in West Ghent in Norfolk….. that had not been lived in in 5 years (long story I will share as well). We LOVE it here, but the house is a little bit of a shit show, I may have bitten off more that I can handle…
Thanks as always for stopping by…


