I discussed the removal of the flooring, wallpaper and ceiling tiles in my last post, which in all honesty was probably some of the easiest demo, now we move on to the bathroom demo…
One of the BIGGEST issues we had in the house was termite and water damage, which we were aware of and had a budget for prior to purchasing the house. The budget was about $7k for the contractor to replace something close to 15 joists, some 48ft of sill beam, treat for termites and demo the 2 bathrooms. I asked the contractor to breakout the demo of the 2 bathrooms in his quote, as I knew that my Hubby and I could handle that, and that part of the quote was $2,000!
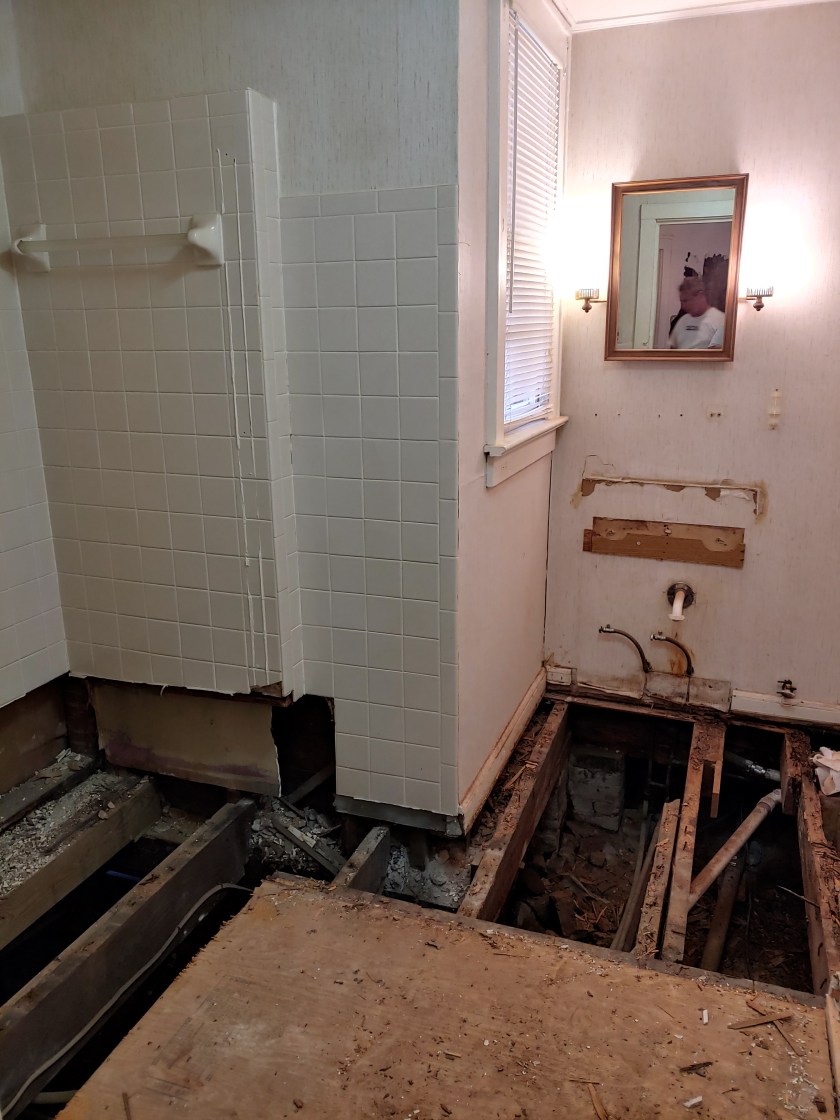
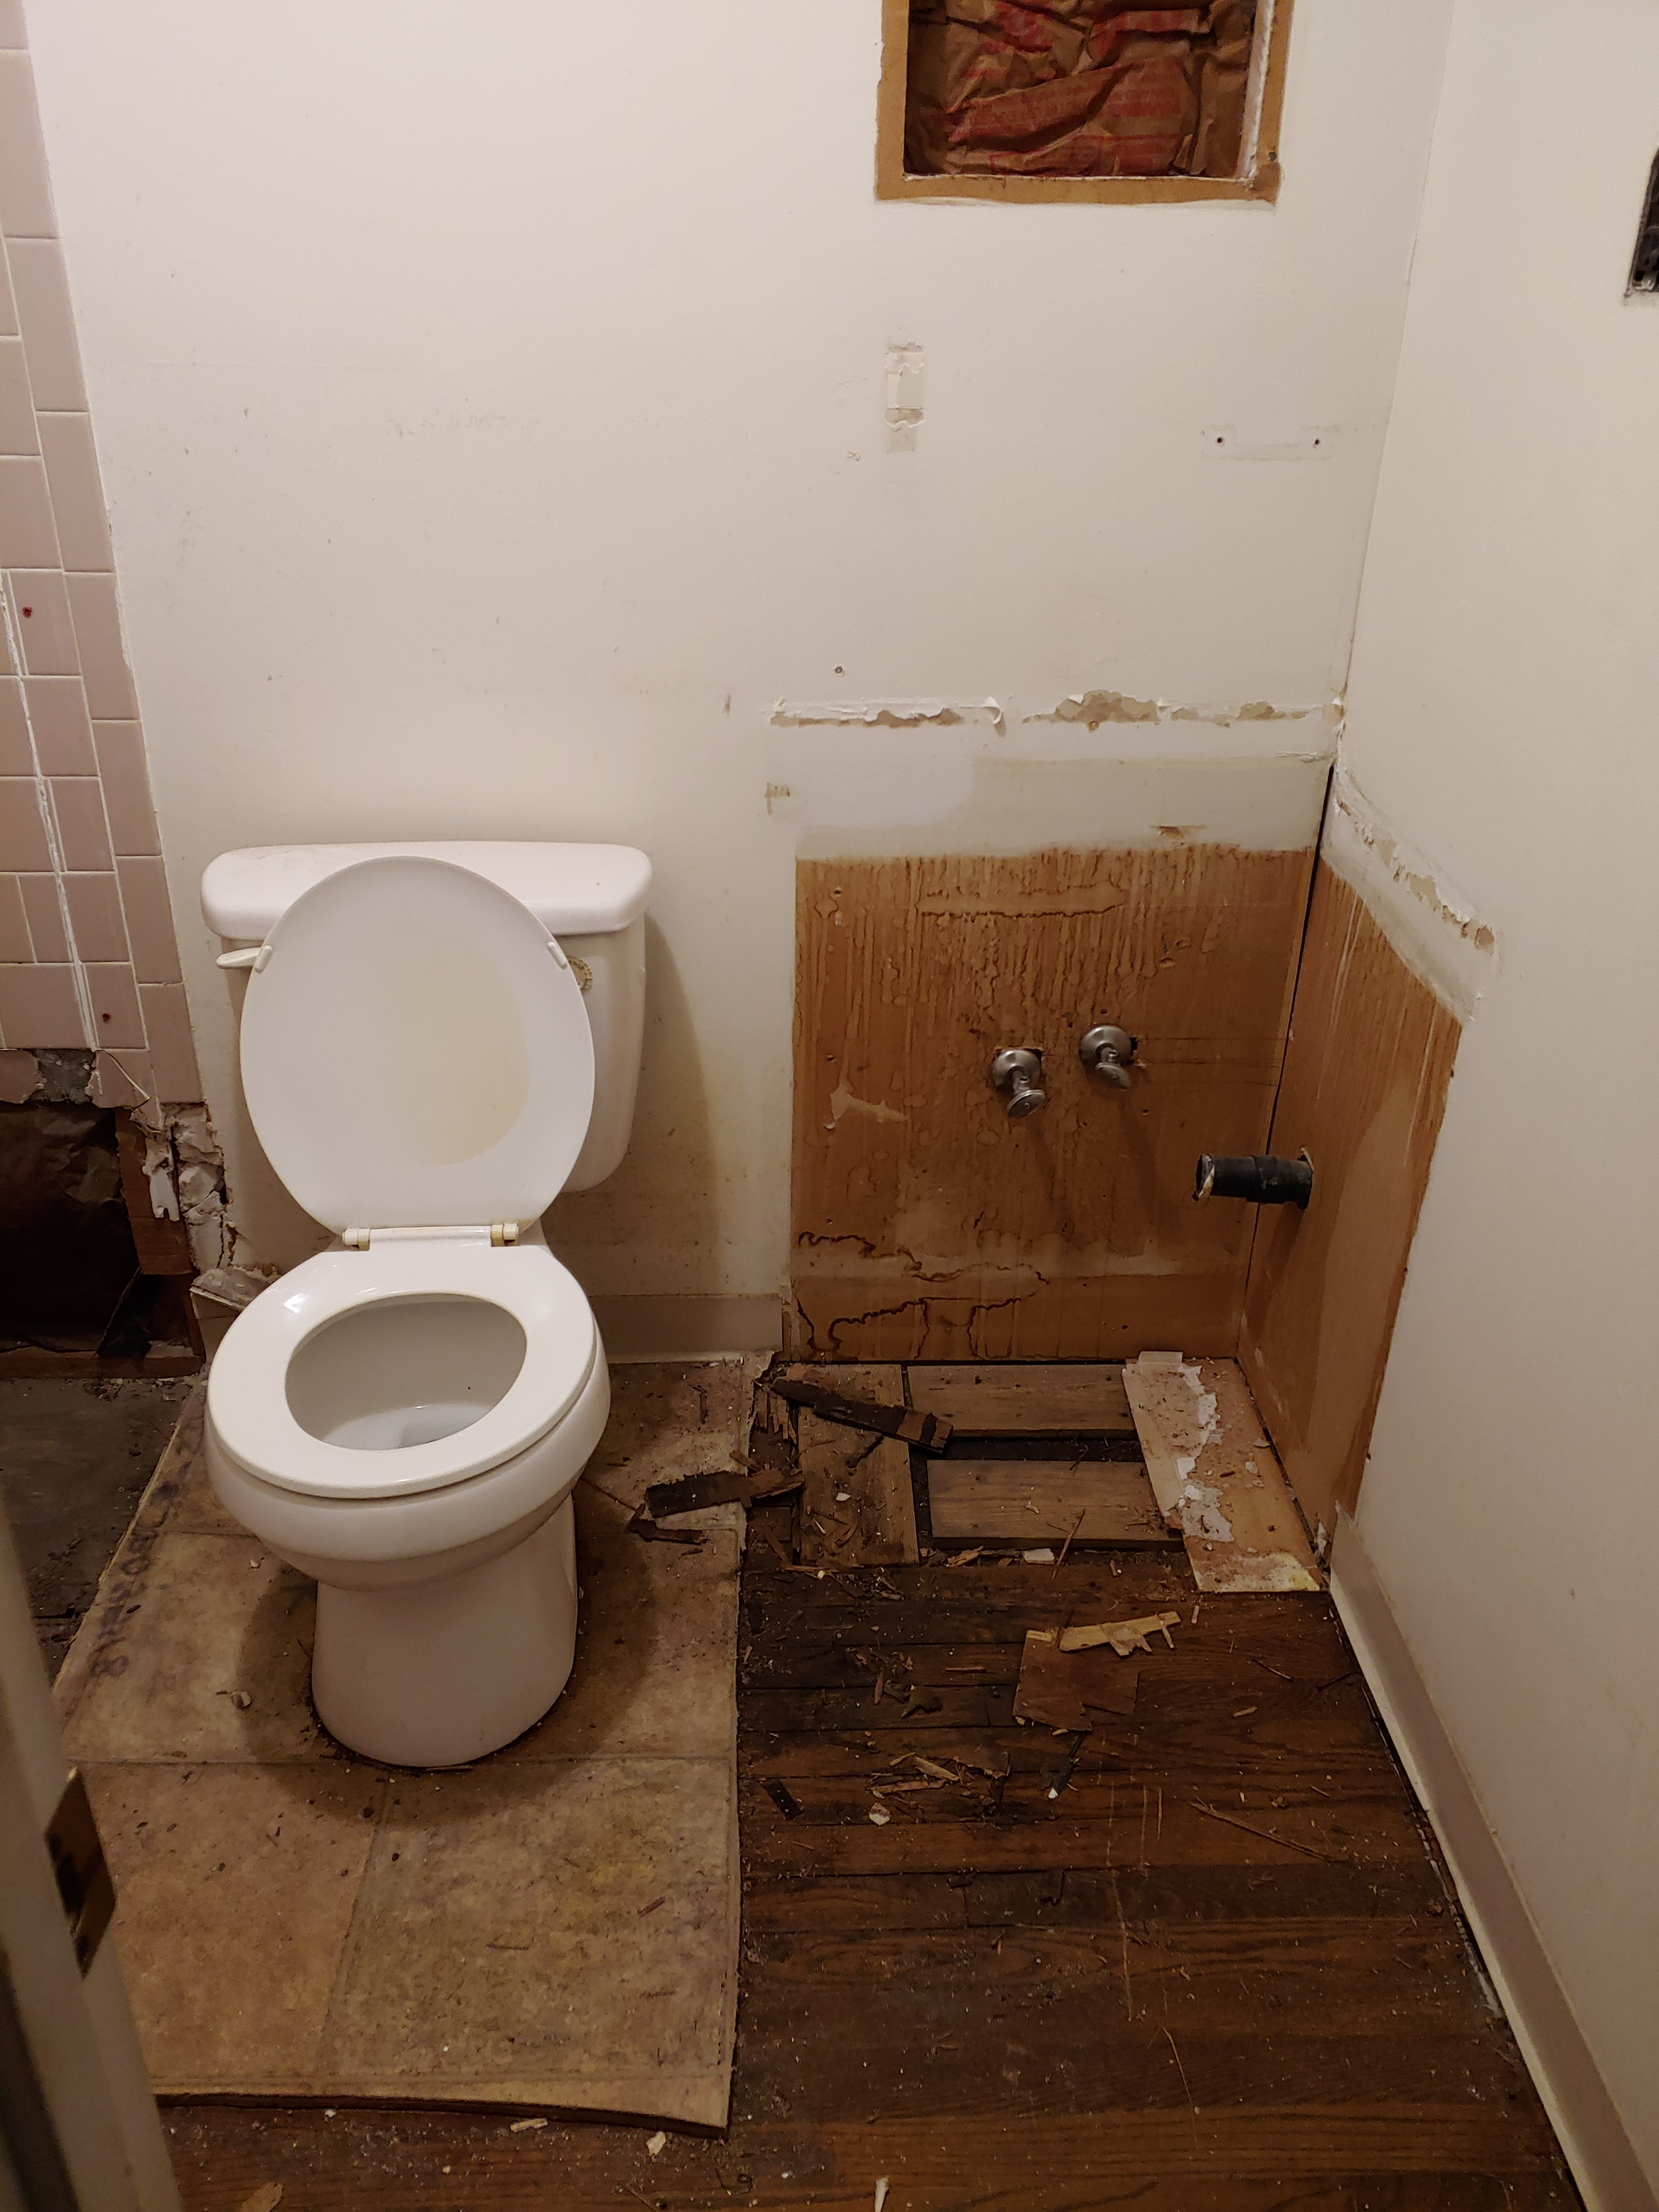
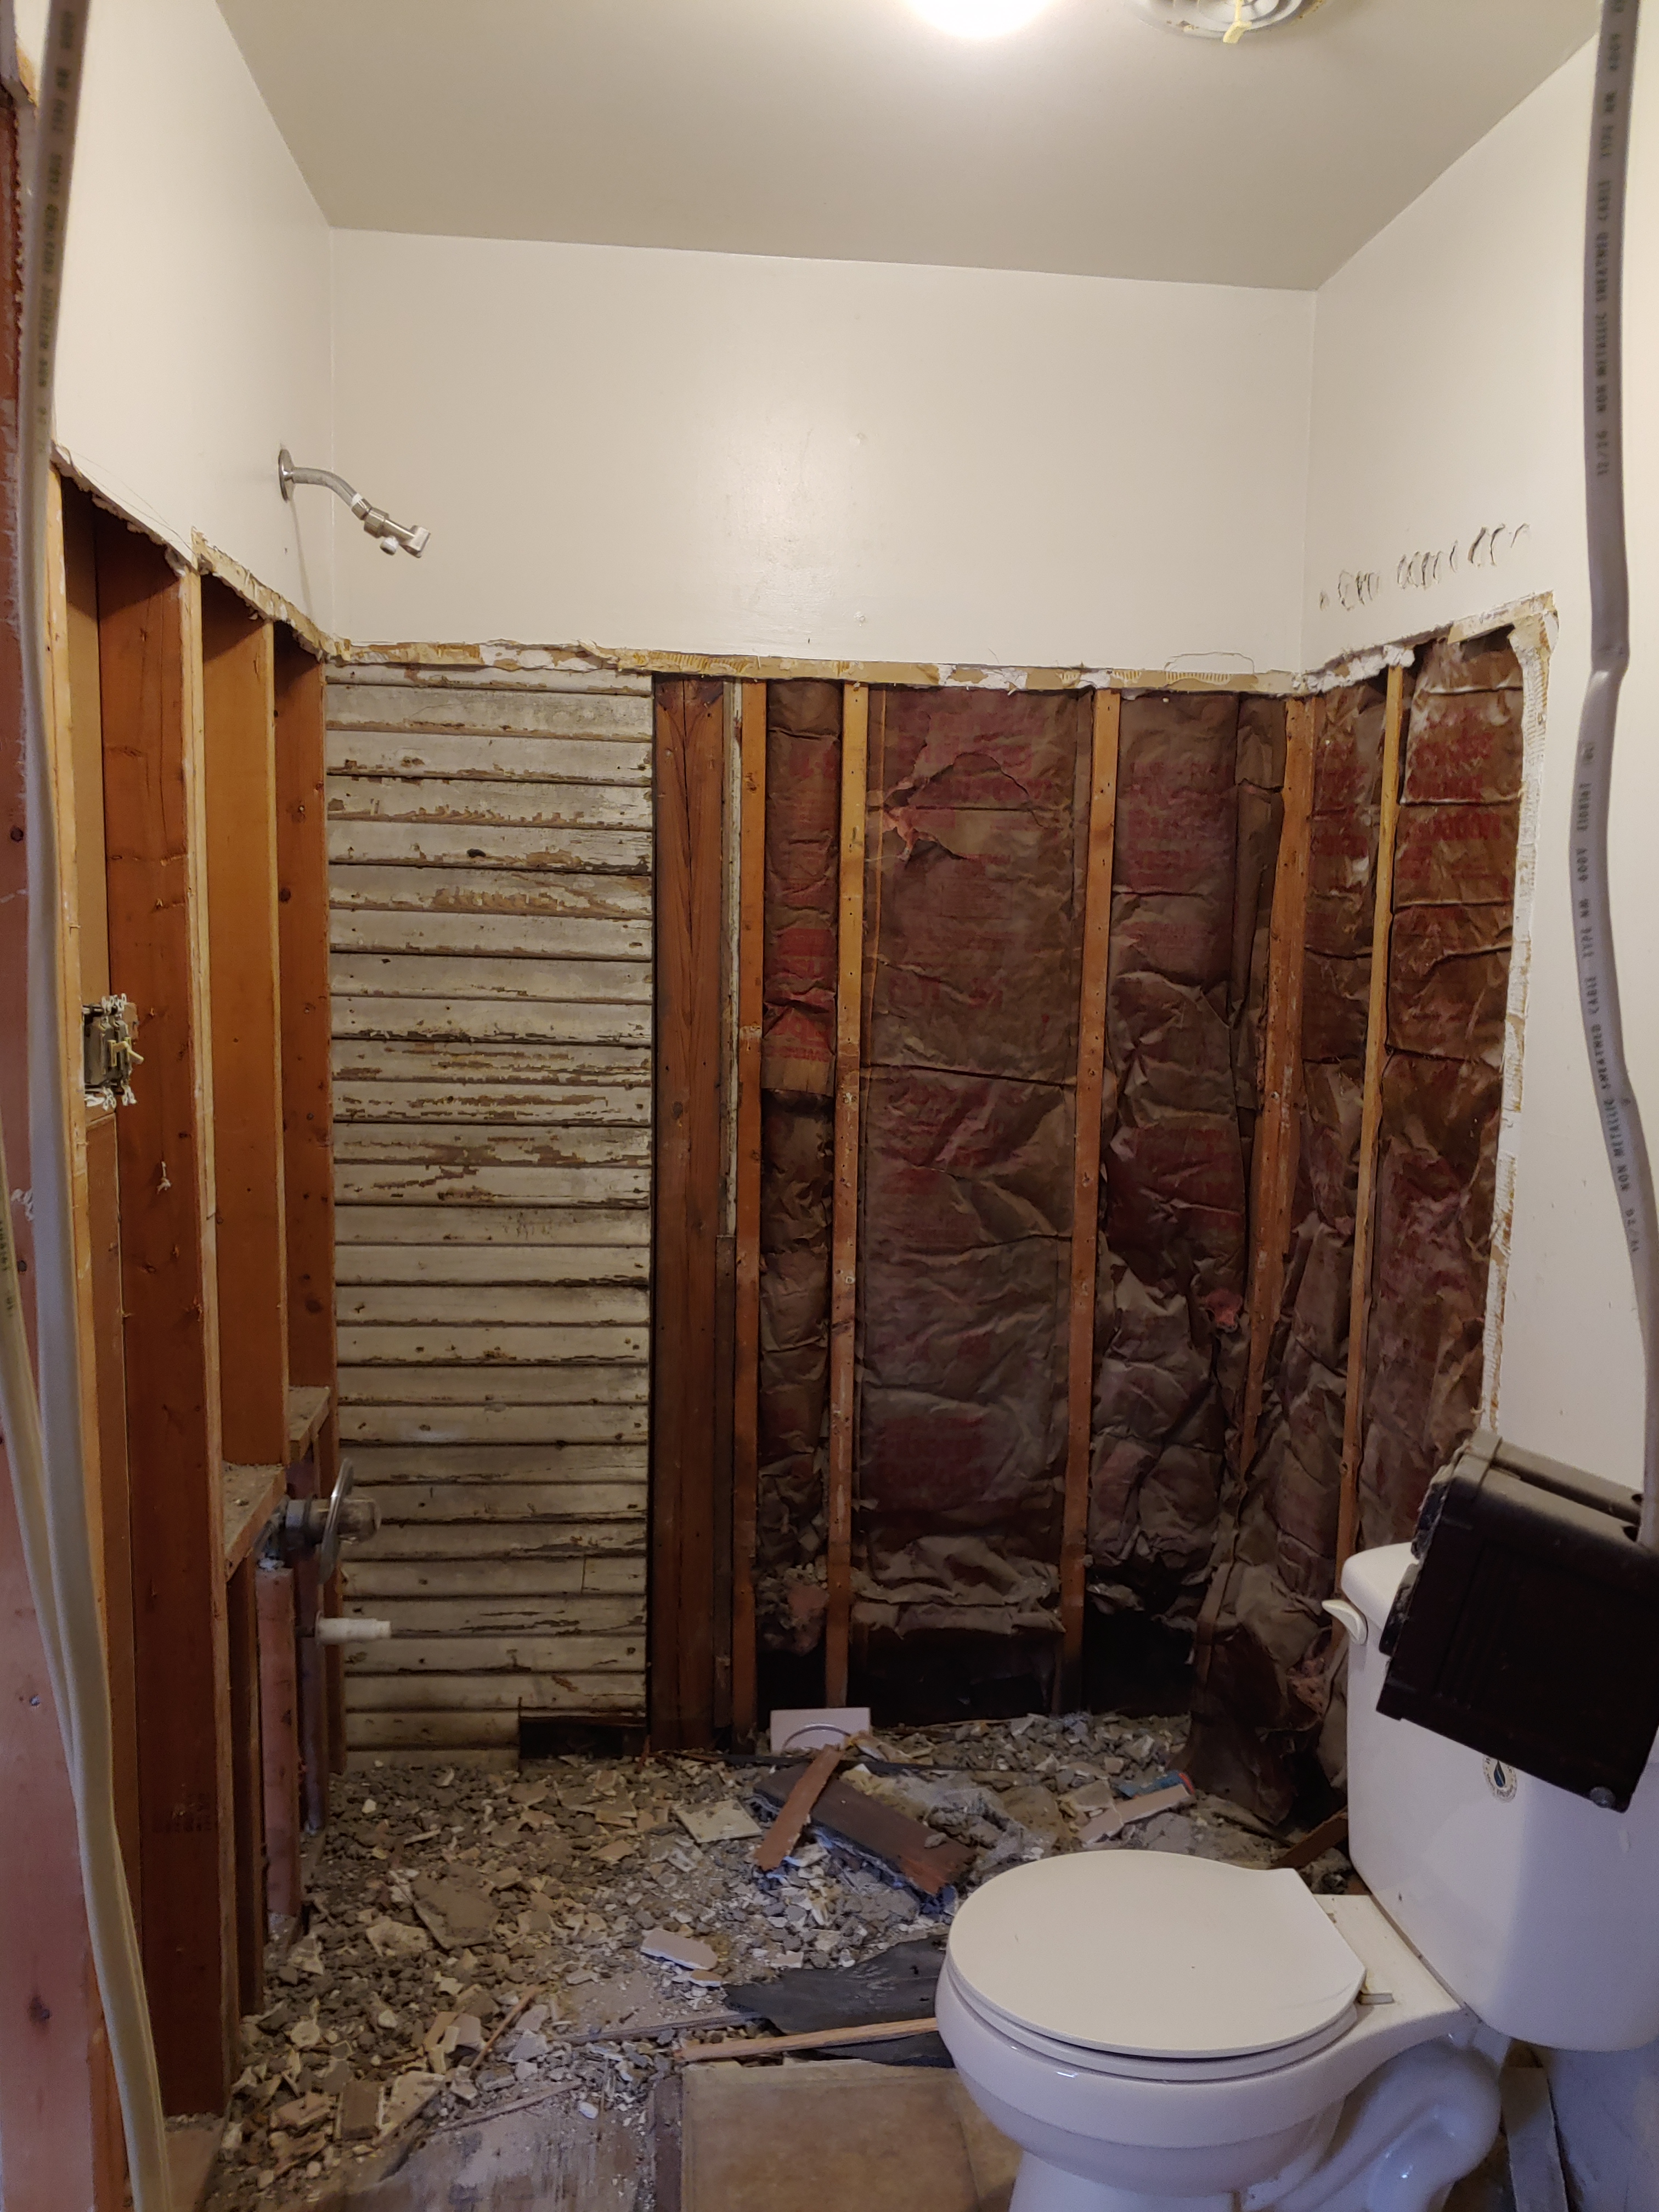
So we saved $2,000 and spent the weekend (plus a couple of weekdays for me) demoing the bathrooms, this is the progression of the Master Bathroom… (toilet being left as long as possible because well I needed it)

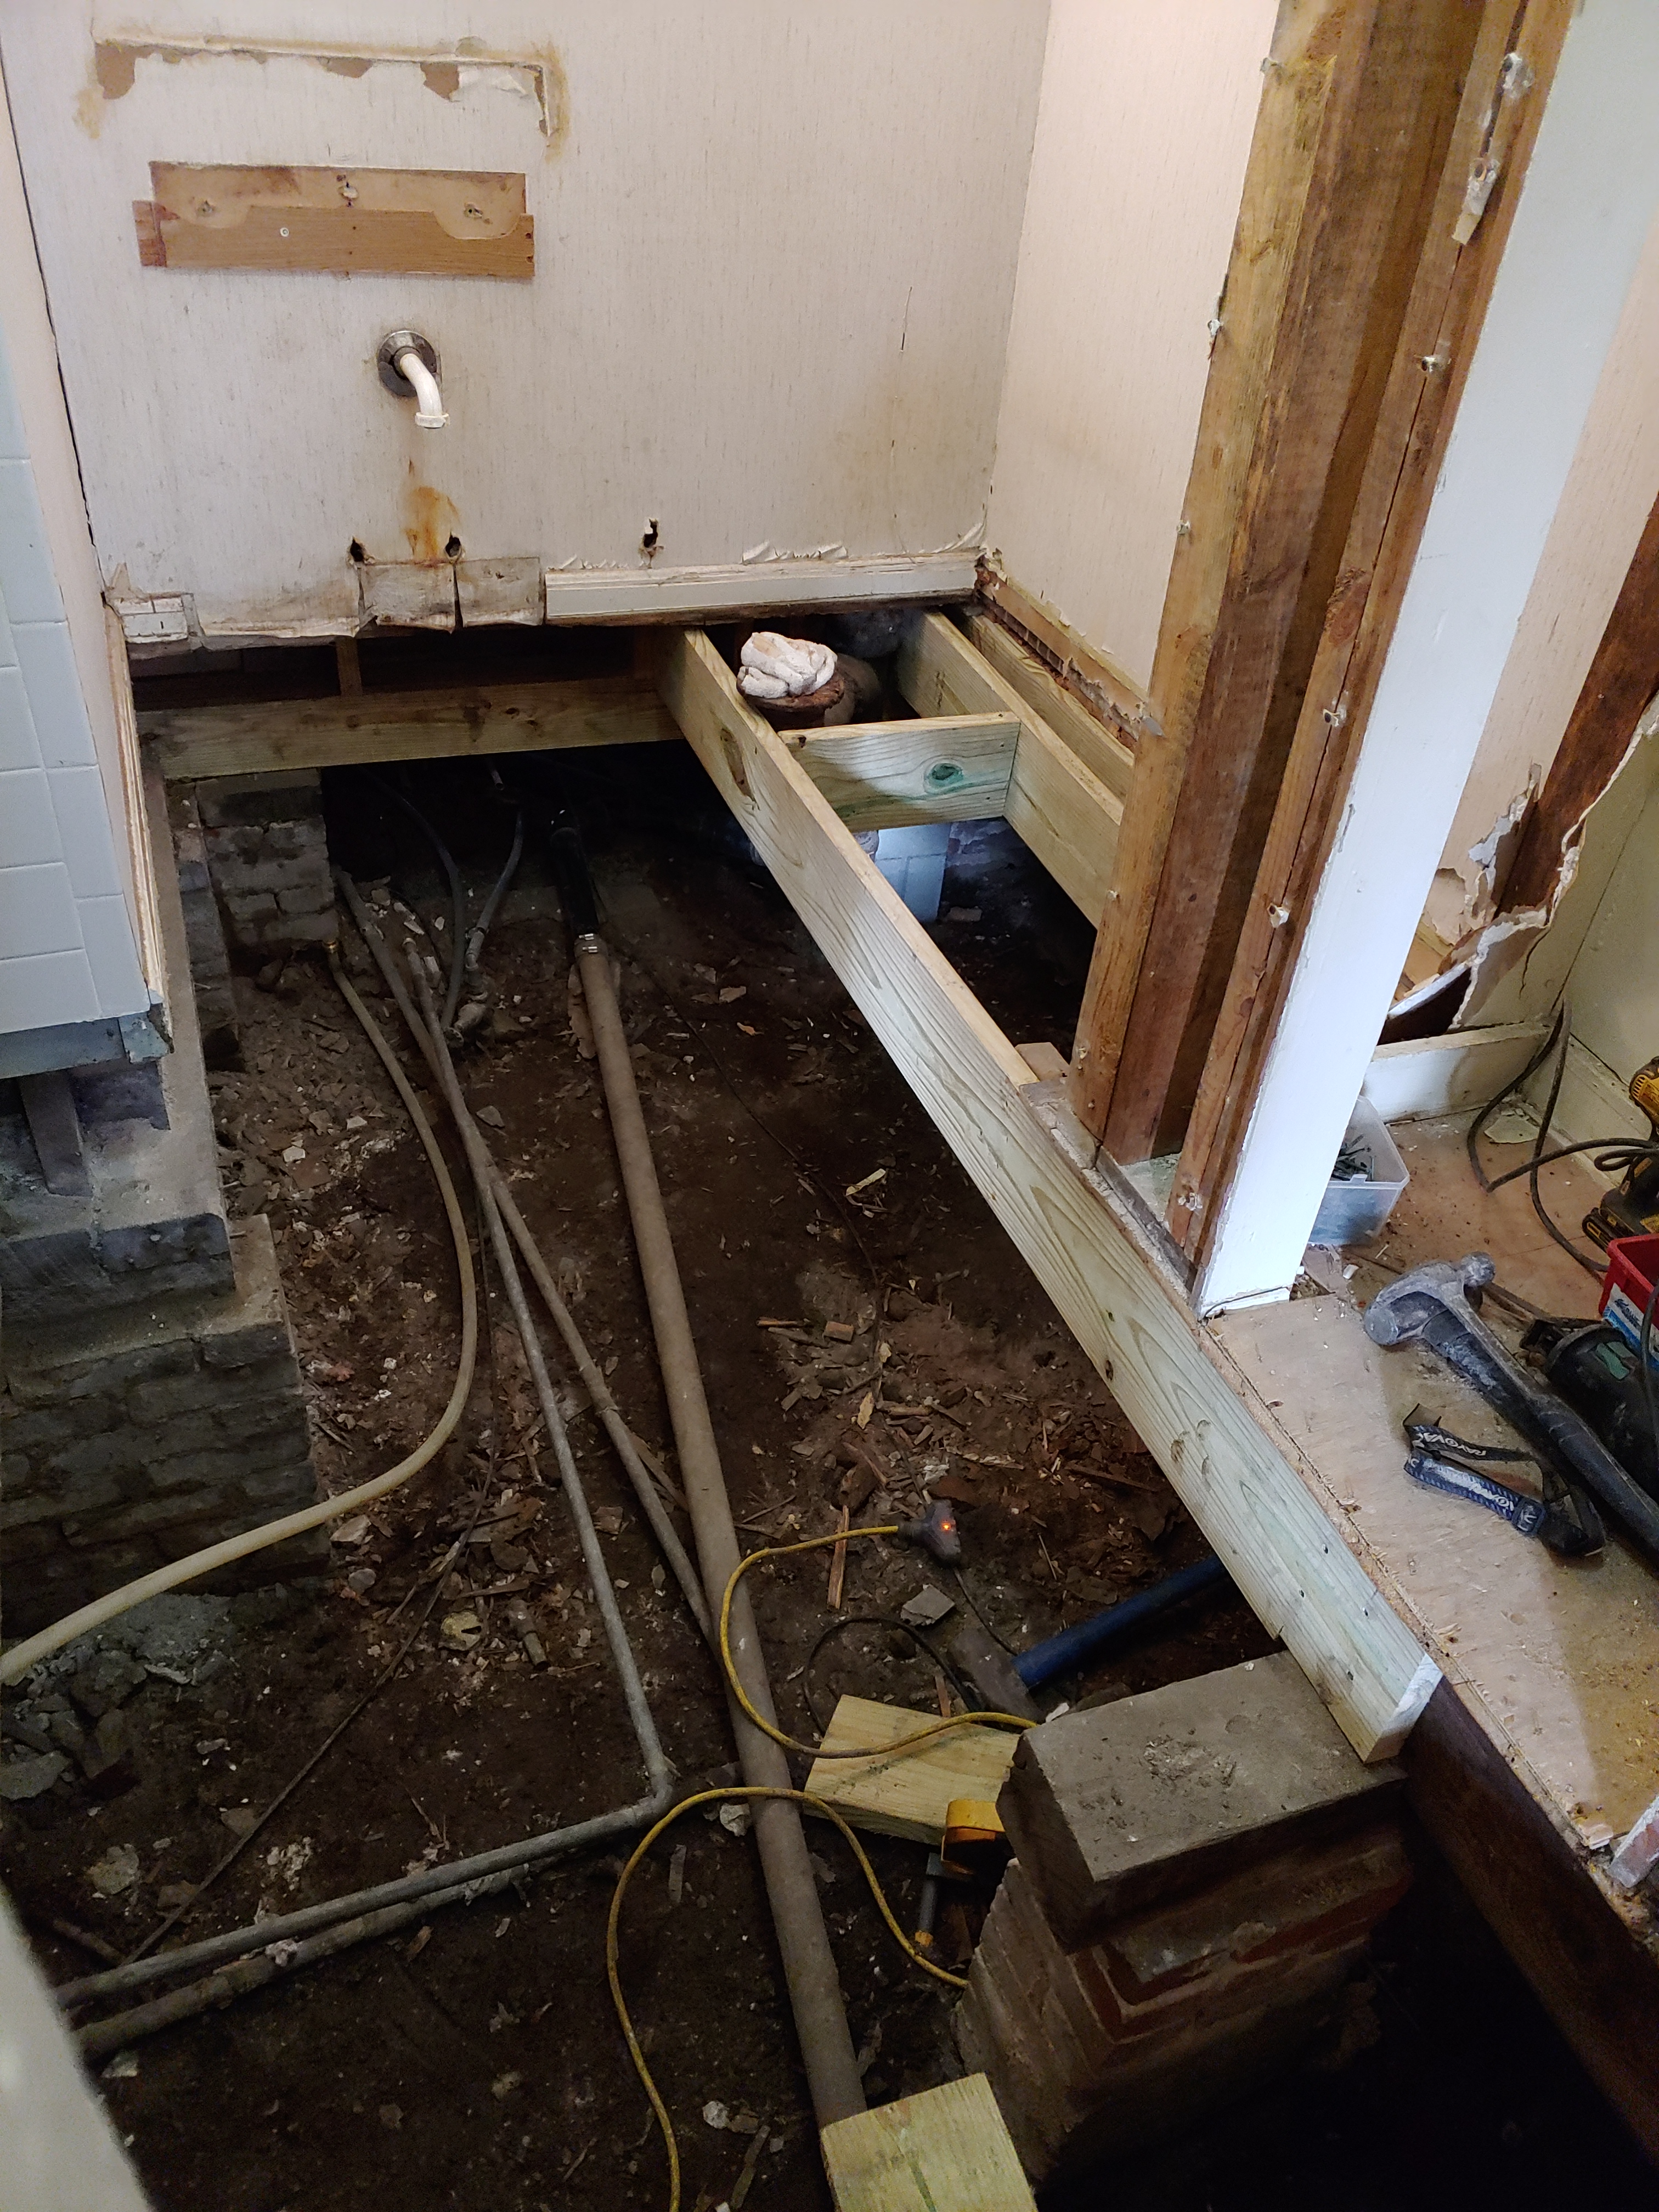
There was SO MUCH ROT, all of which was preventable and would have been caught (I believe) if the homeowner was having annual termite inspections or maybe even a reputable contractor to check it out.
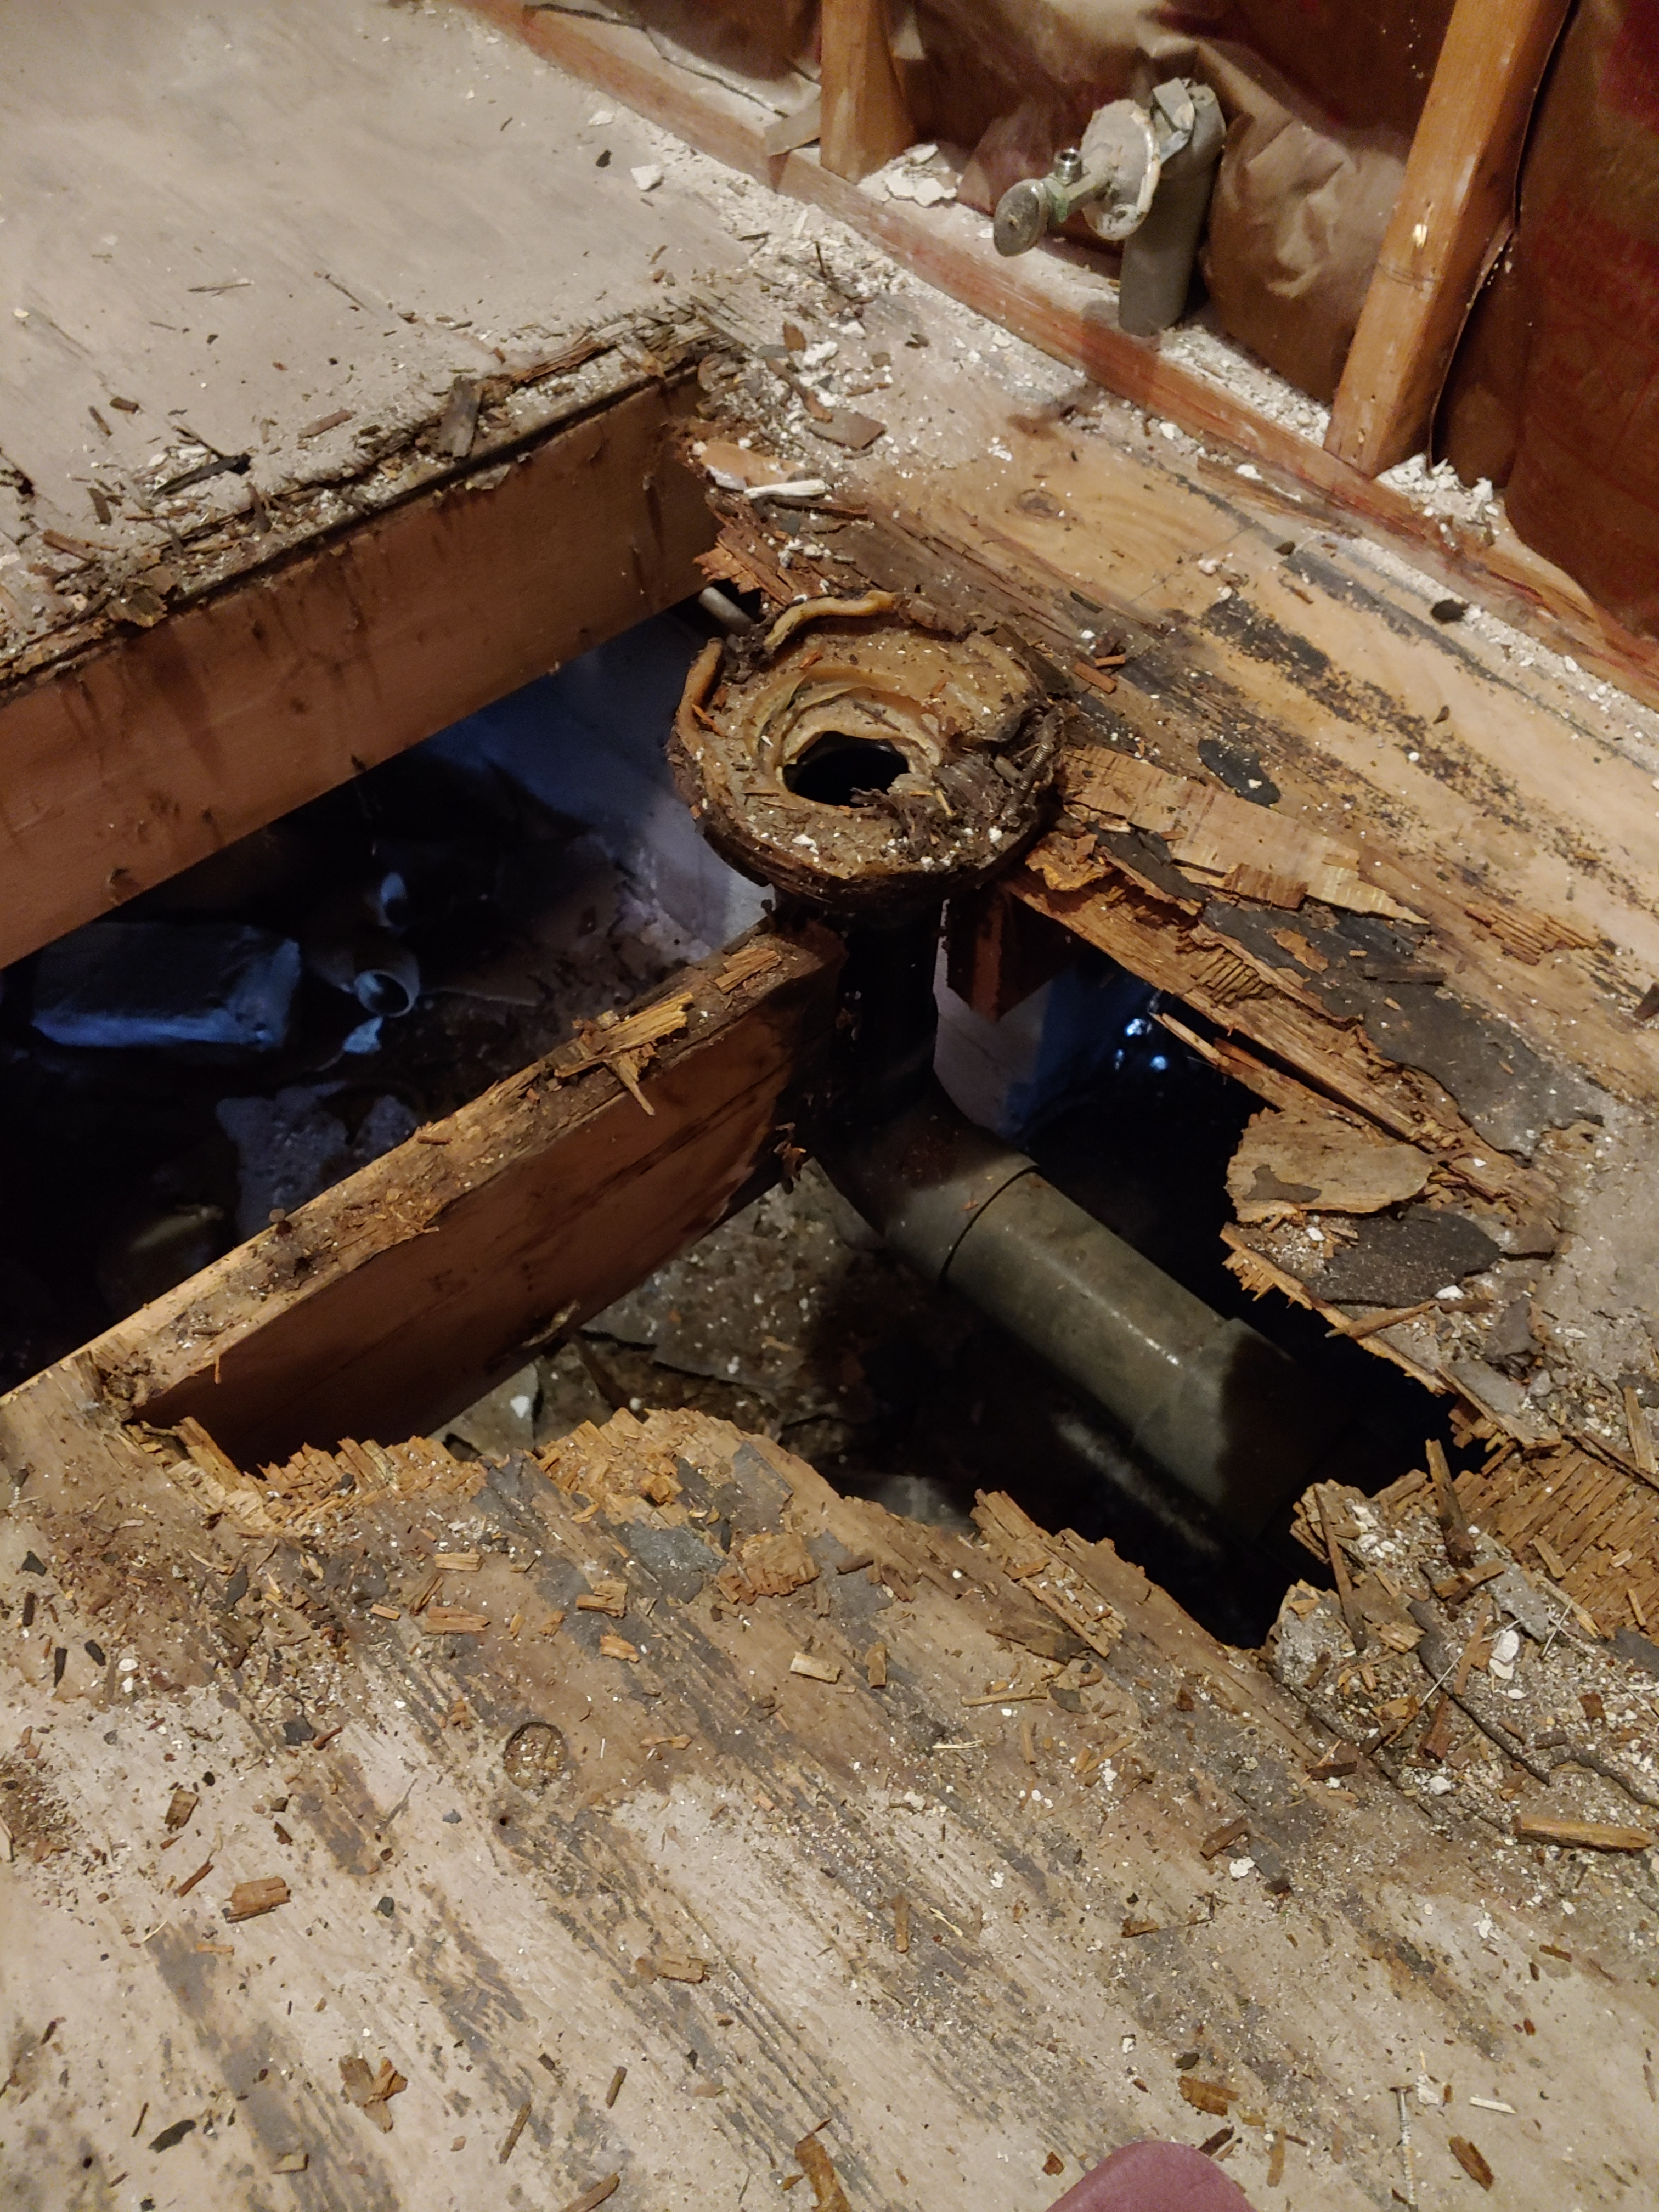
You could see where over the years they tried to shore up the flooring, but without fixing the problem (leaking pipes) the solution was just a temporary bandage.
Now I am NOT going to say plumbers don’t care, but I am telling you this is the 2nd home we have owned were we have found that the plumber has cut a floor joist to install the waste pipe. This is just lazy and was the main reason for all of the water damage in this area!
Removing the tubs were no joke (or so I was told by my Hubby) they were cast iron and he basically beat them out, utilizing a Sawzall some of the time. We had to get under these tubs so salvaging them was not an option. This section of the house is an addition, so what you see to the right side of the photo is the original clapboard siding that they left when they added the addition.
As part of the layout changes we are removing the small closet in order to use that space for the bathroom.
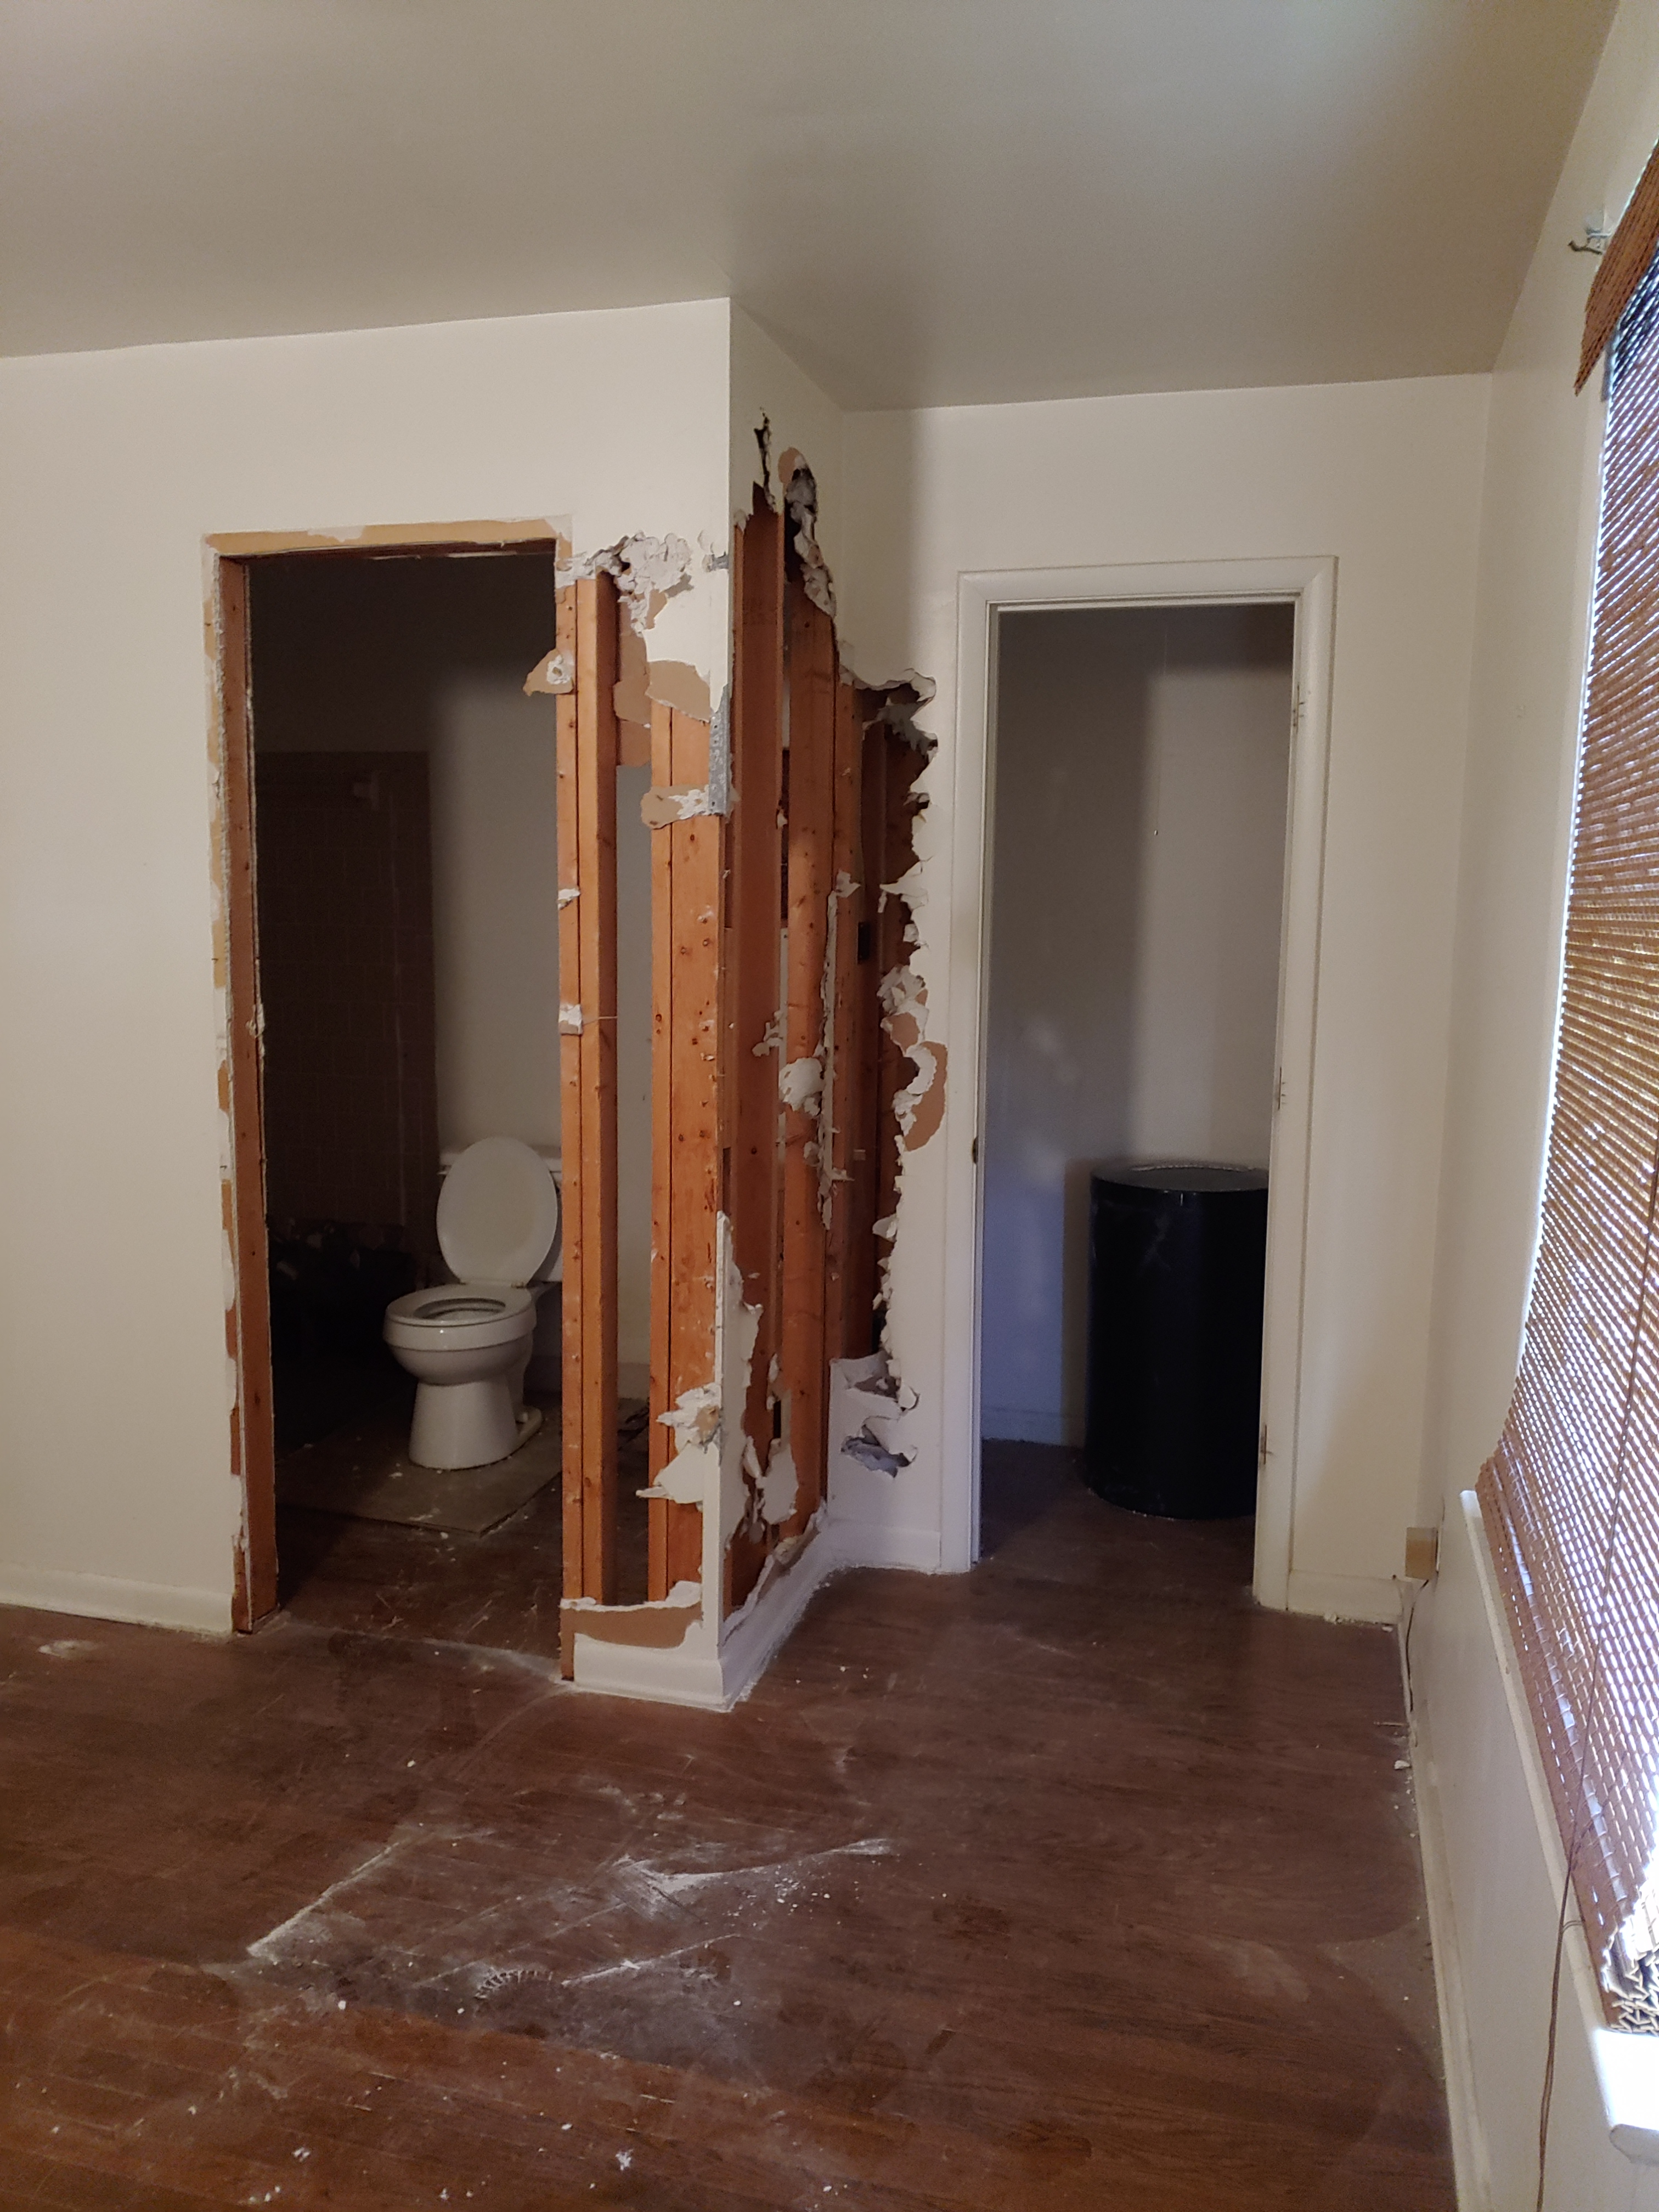
So now instead of a small bathroom and a small closet the master suite now gets a good sized master bathroom!
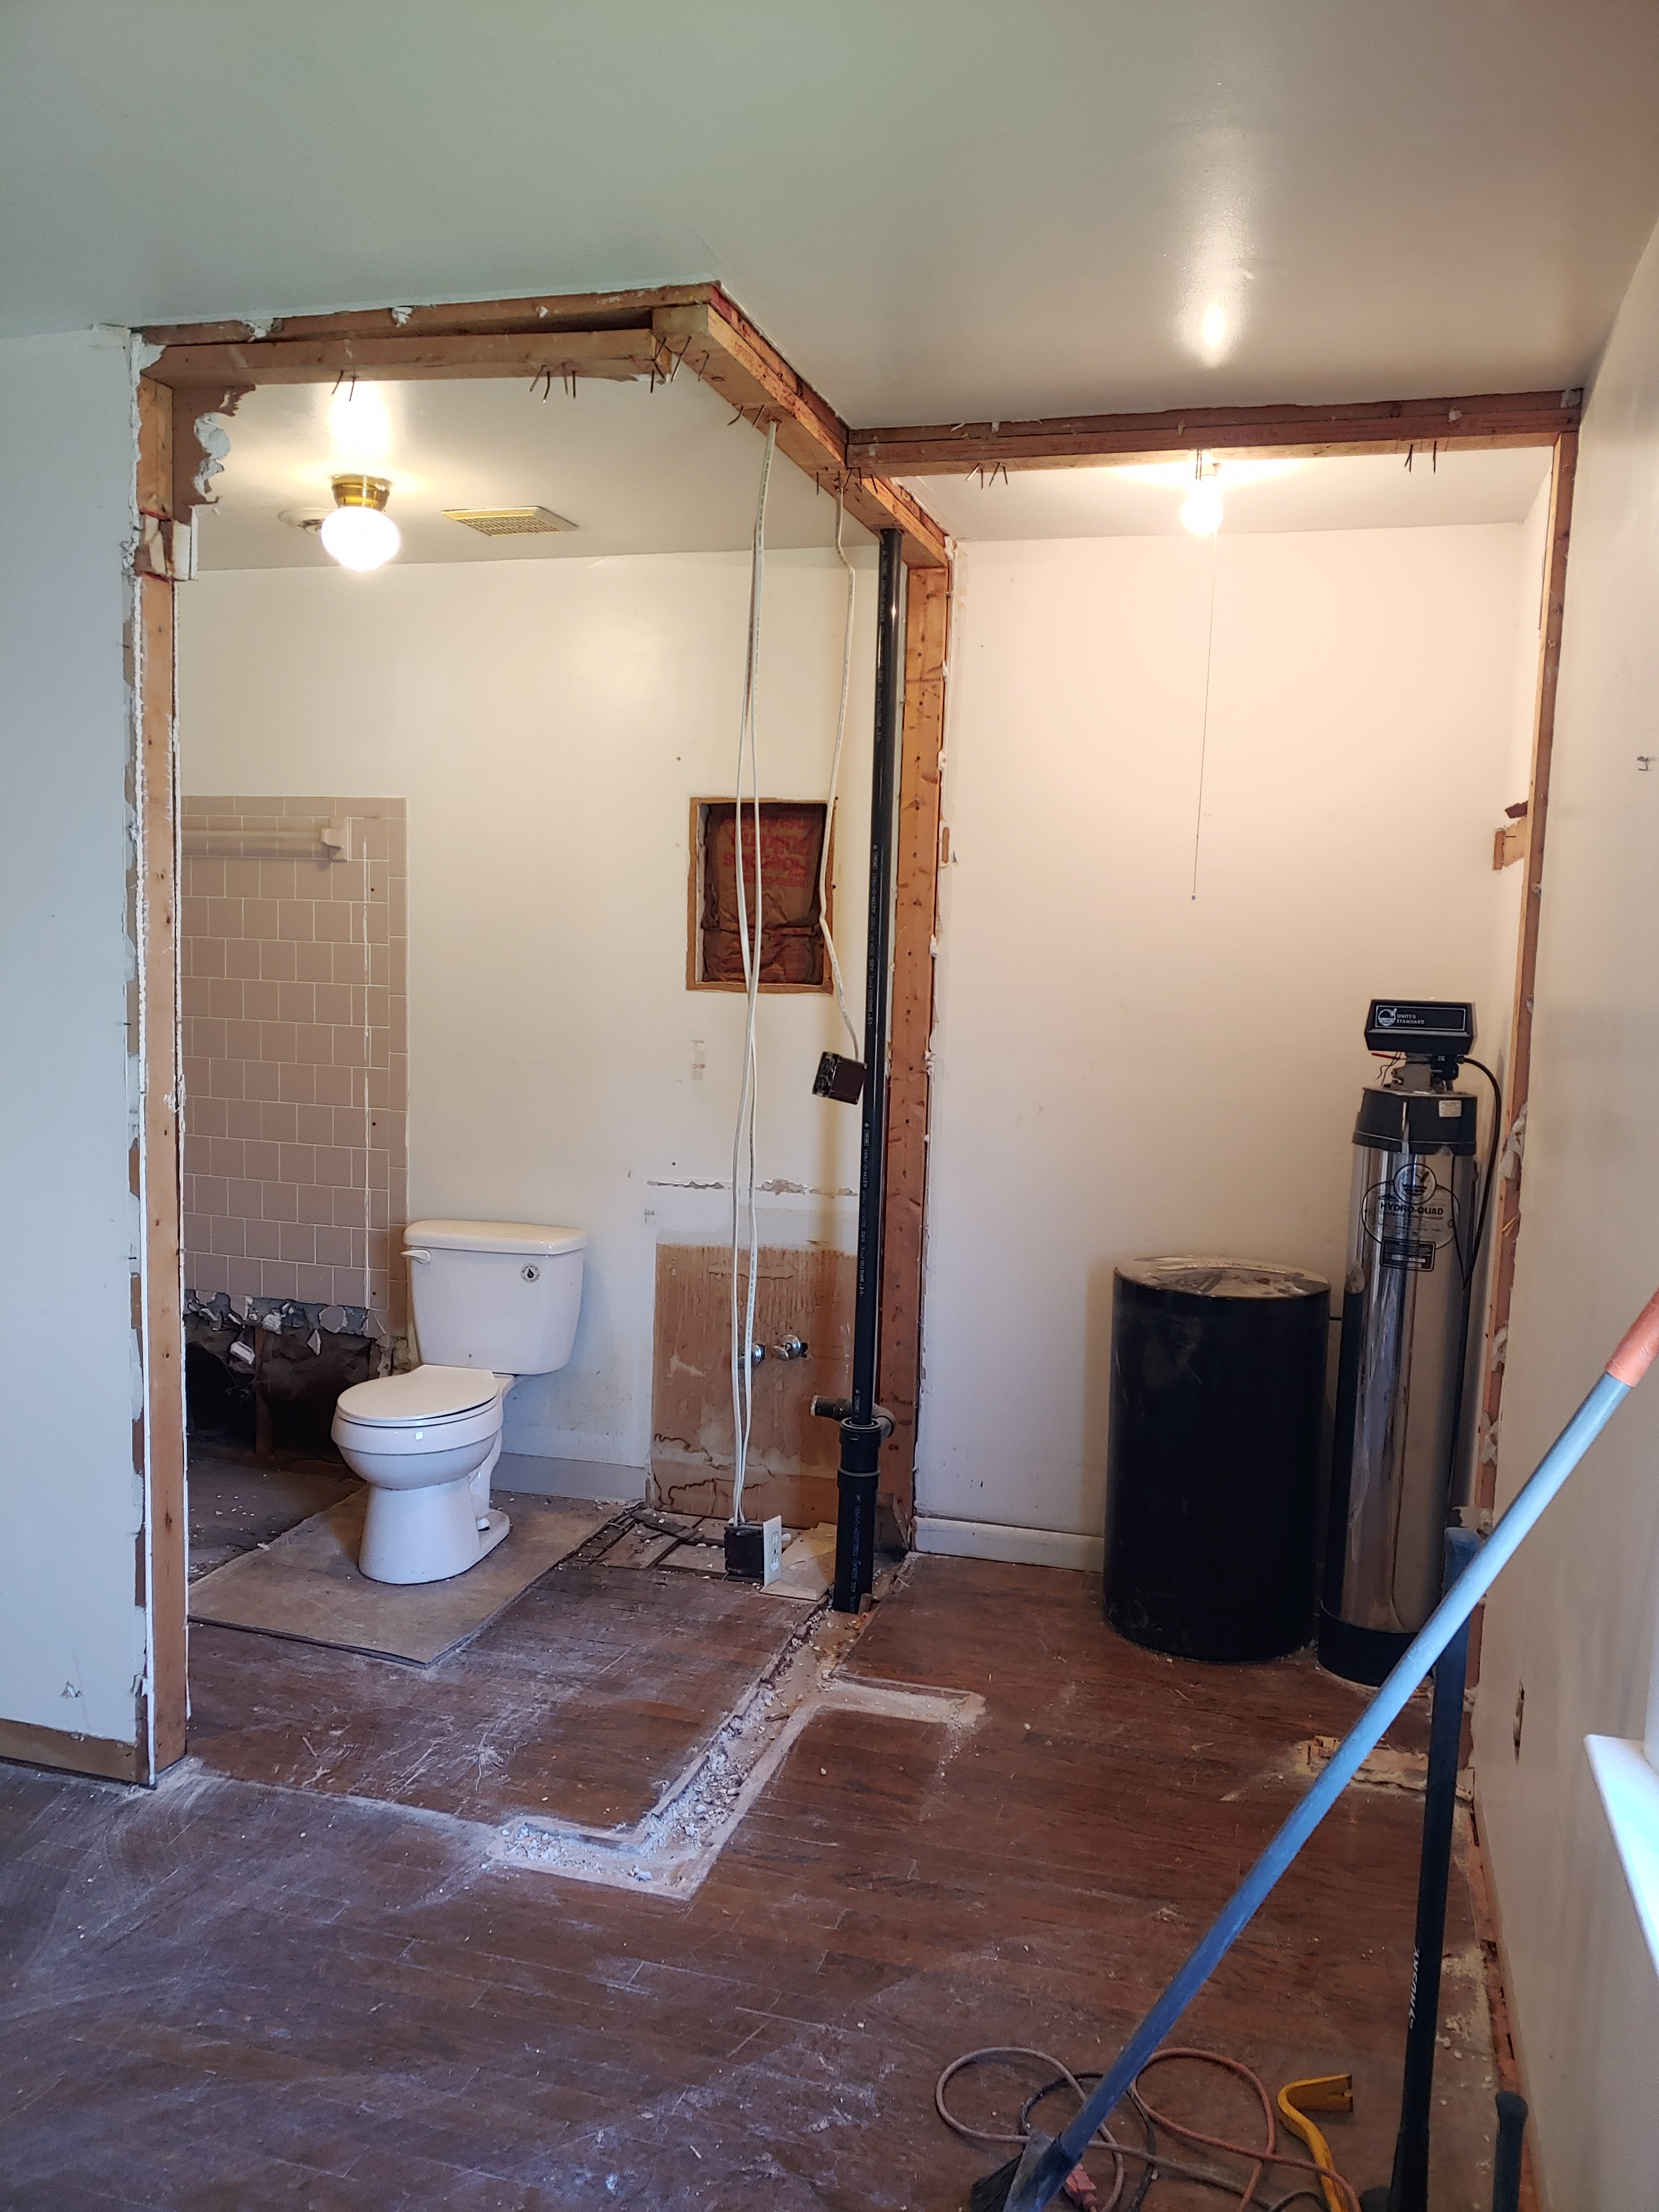
At this point the plumbers had already started to plumb the bathroom in. We ended up replacing all of the plumbing in the house, not only due to moving fixtures but some of the piping was Quest piping which was not good. There was very little copper left in the house for some reason…
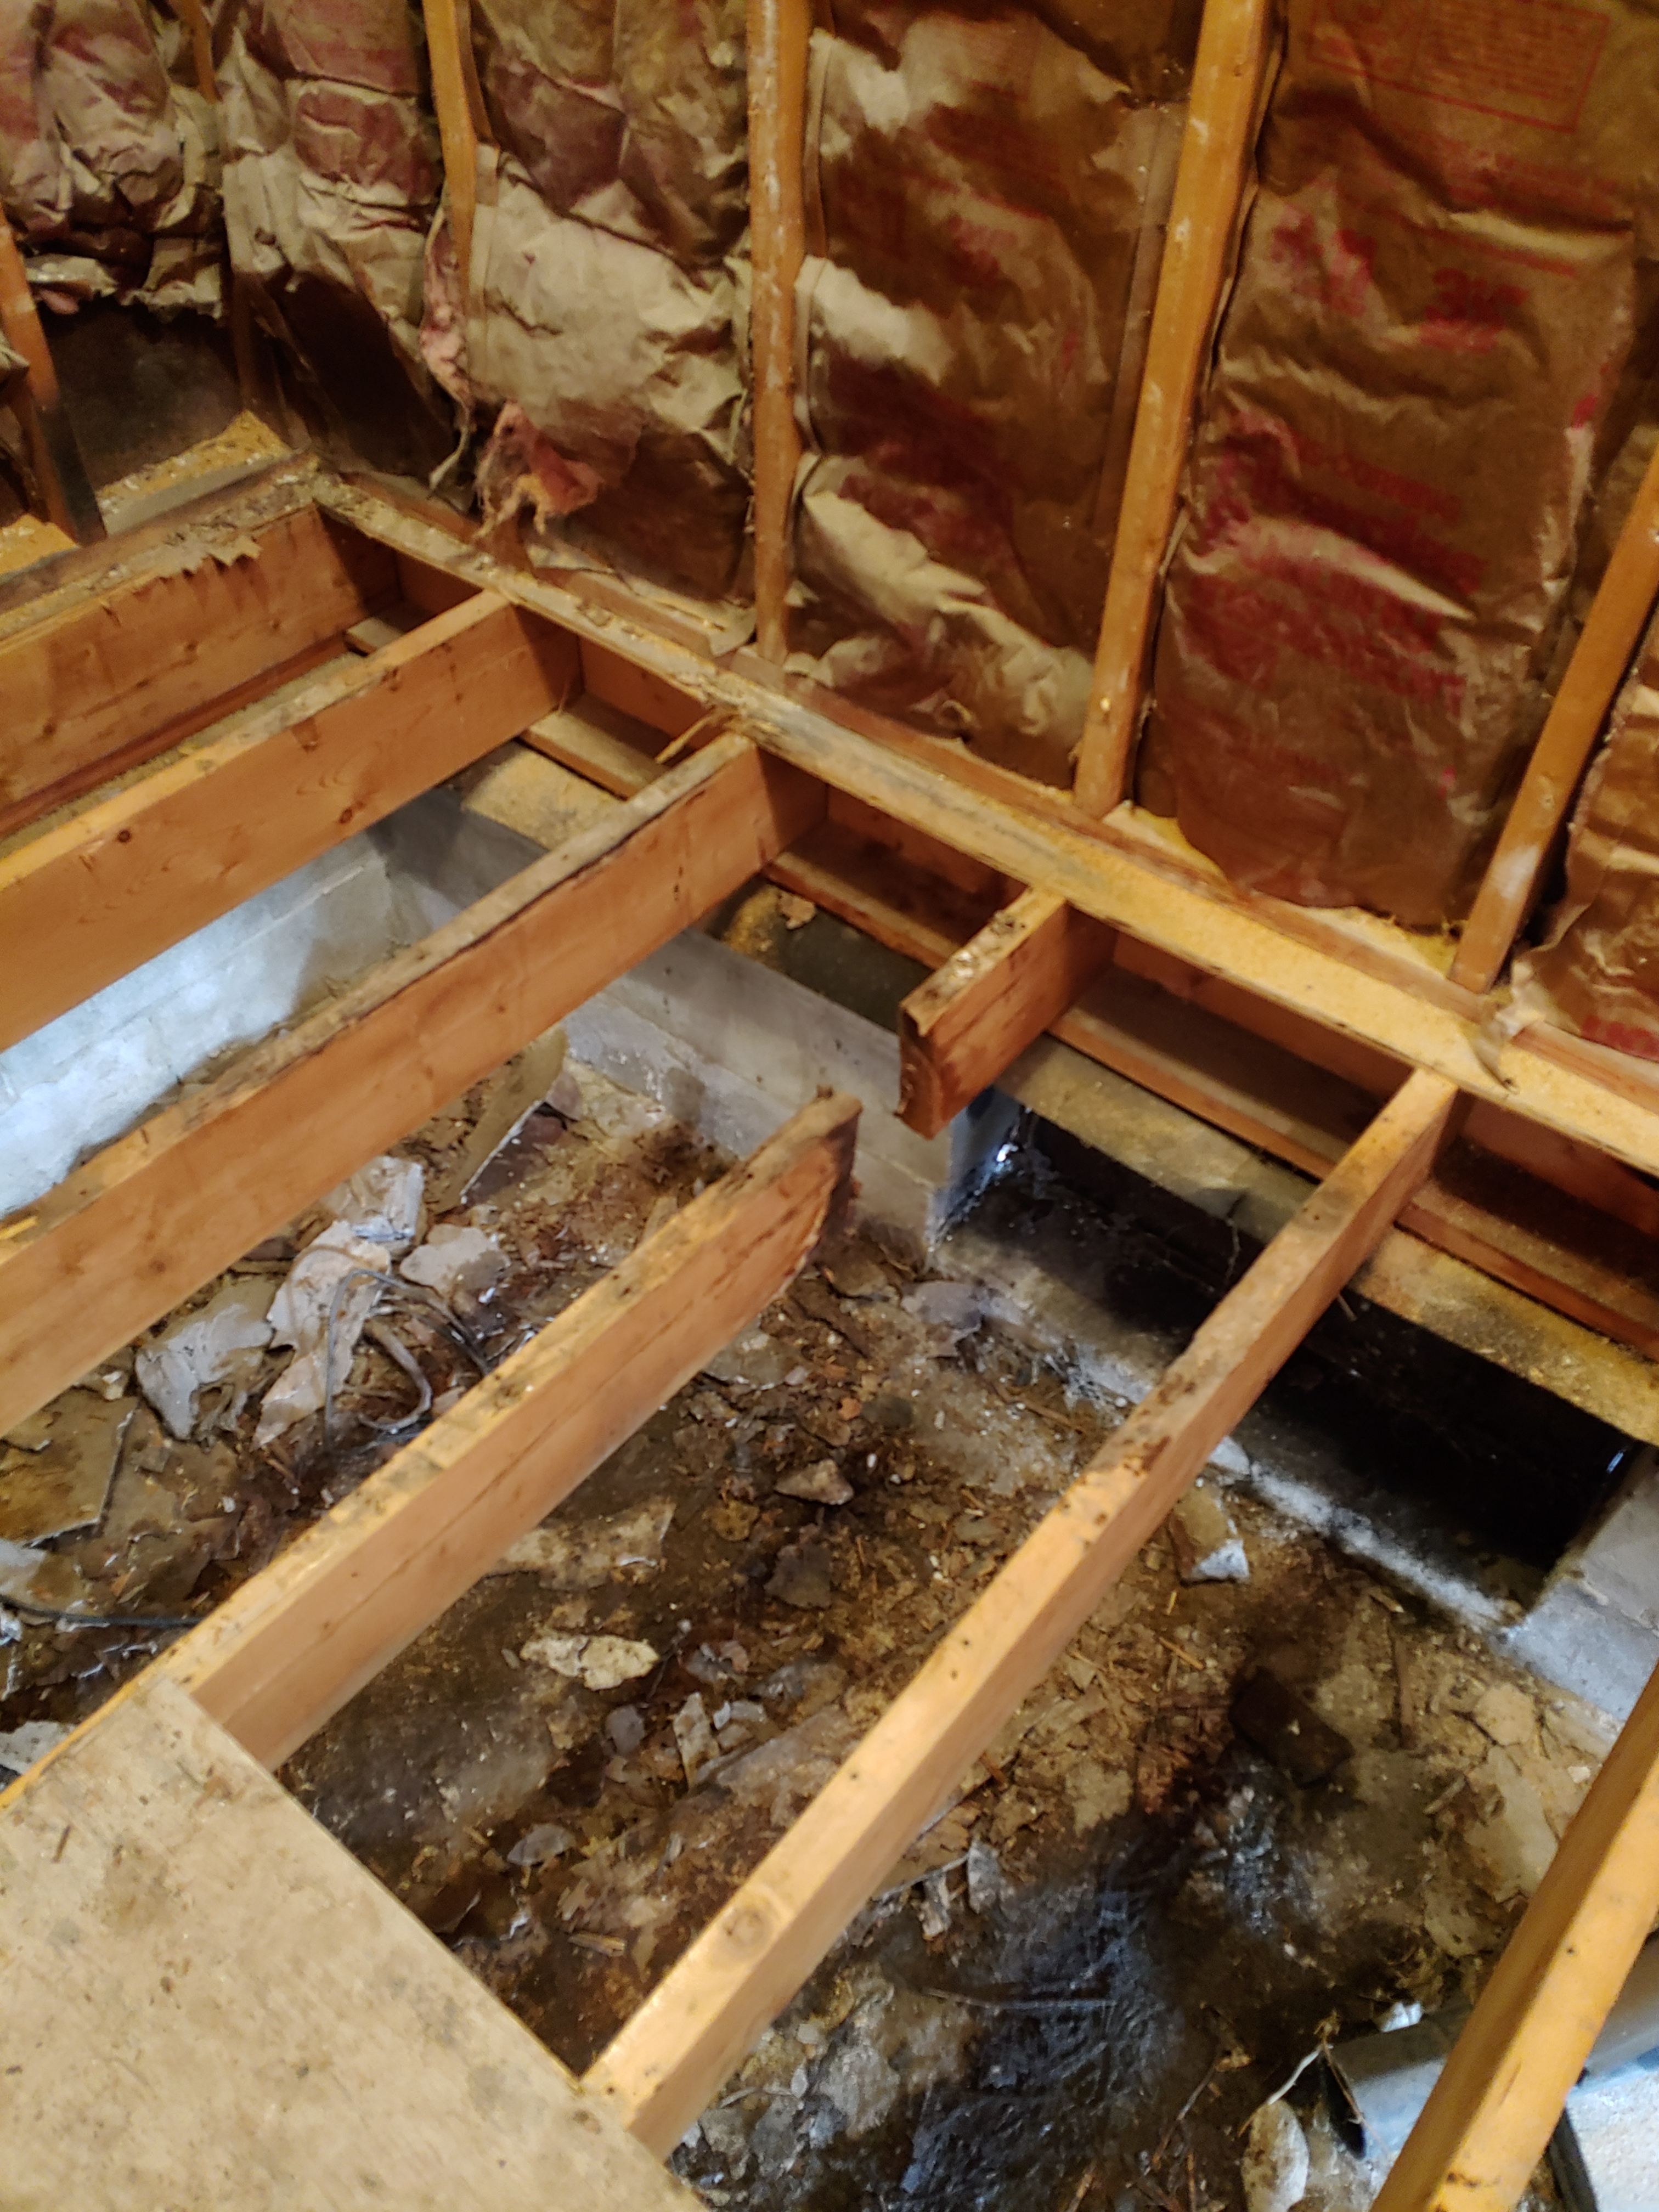
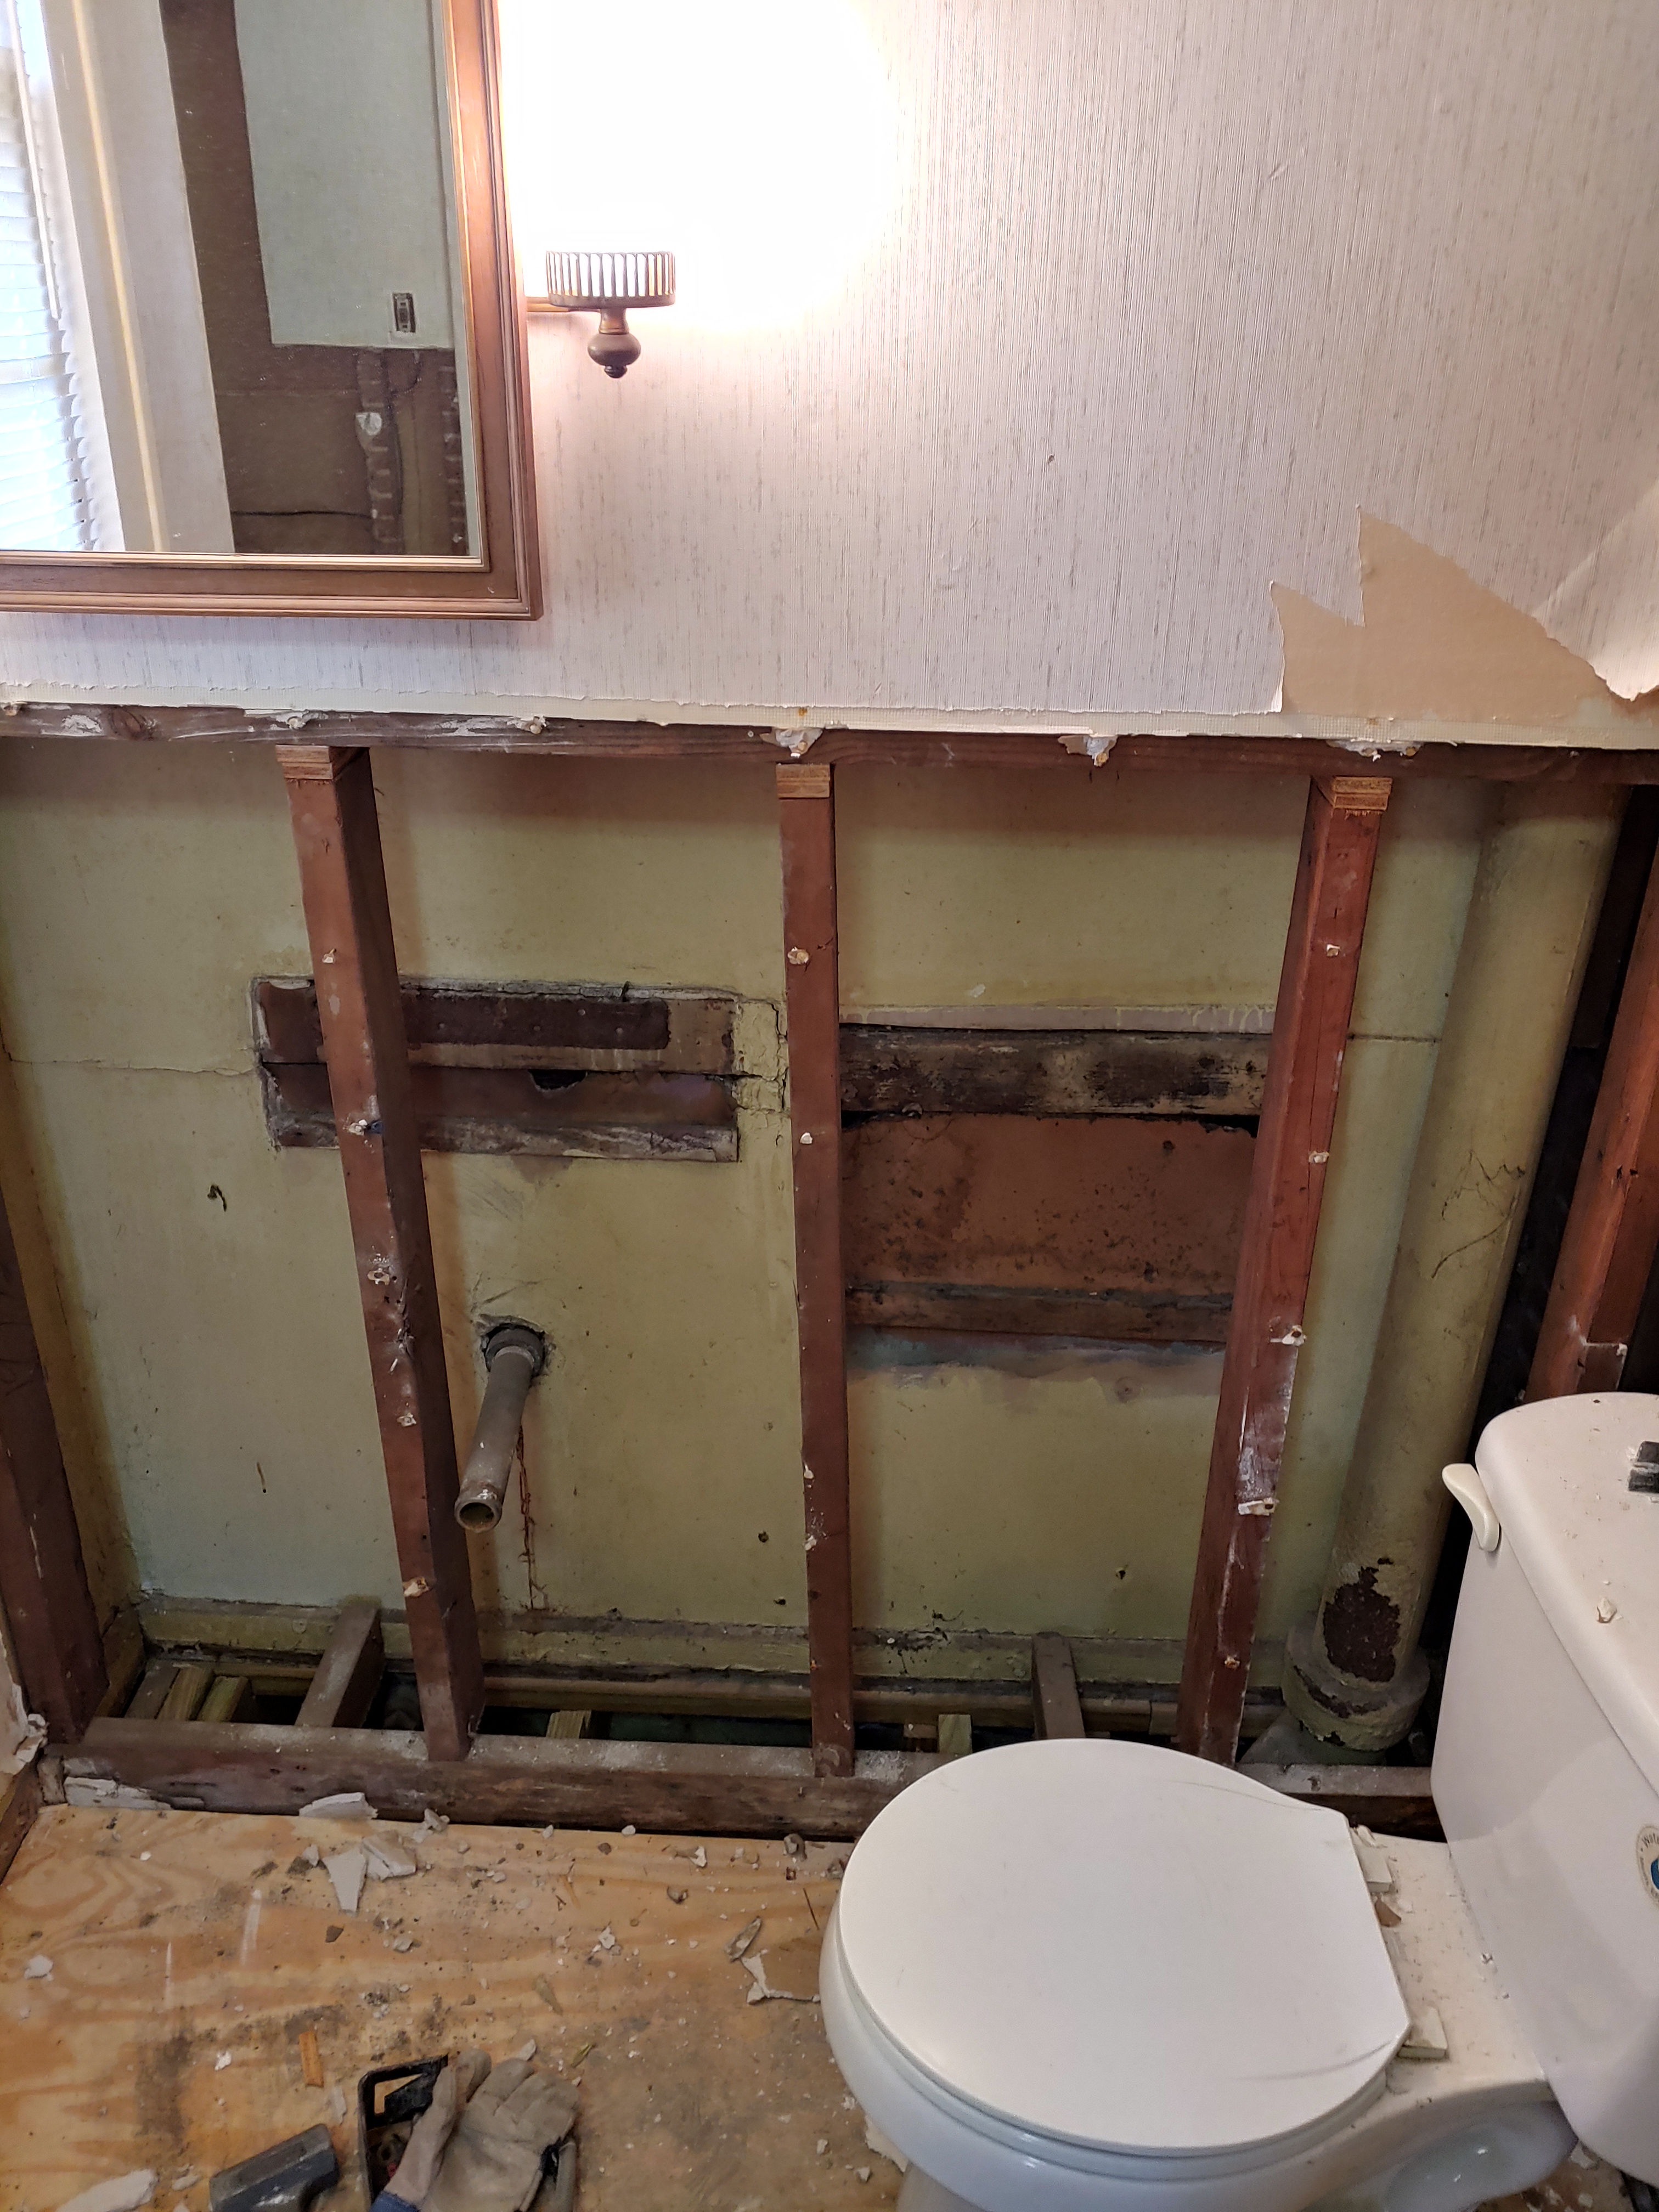
In the Main Bath there was so much more damage, both rot and termite. When I was removing the tile surround I found that the surround had once been blue tile, I know this because the lazy contractors chose to dump all of the blue tile into the stud cavity… so we had loads and loads of tile to remove from this space.

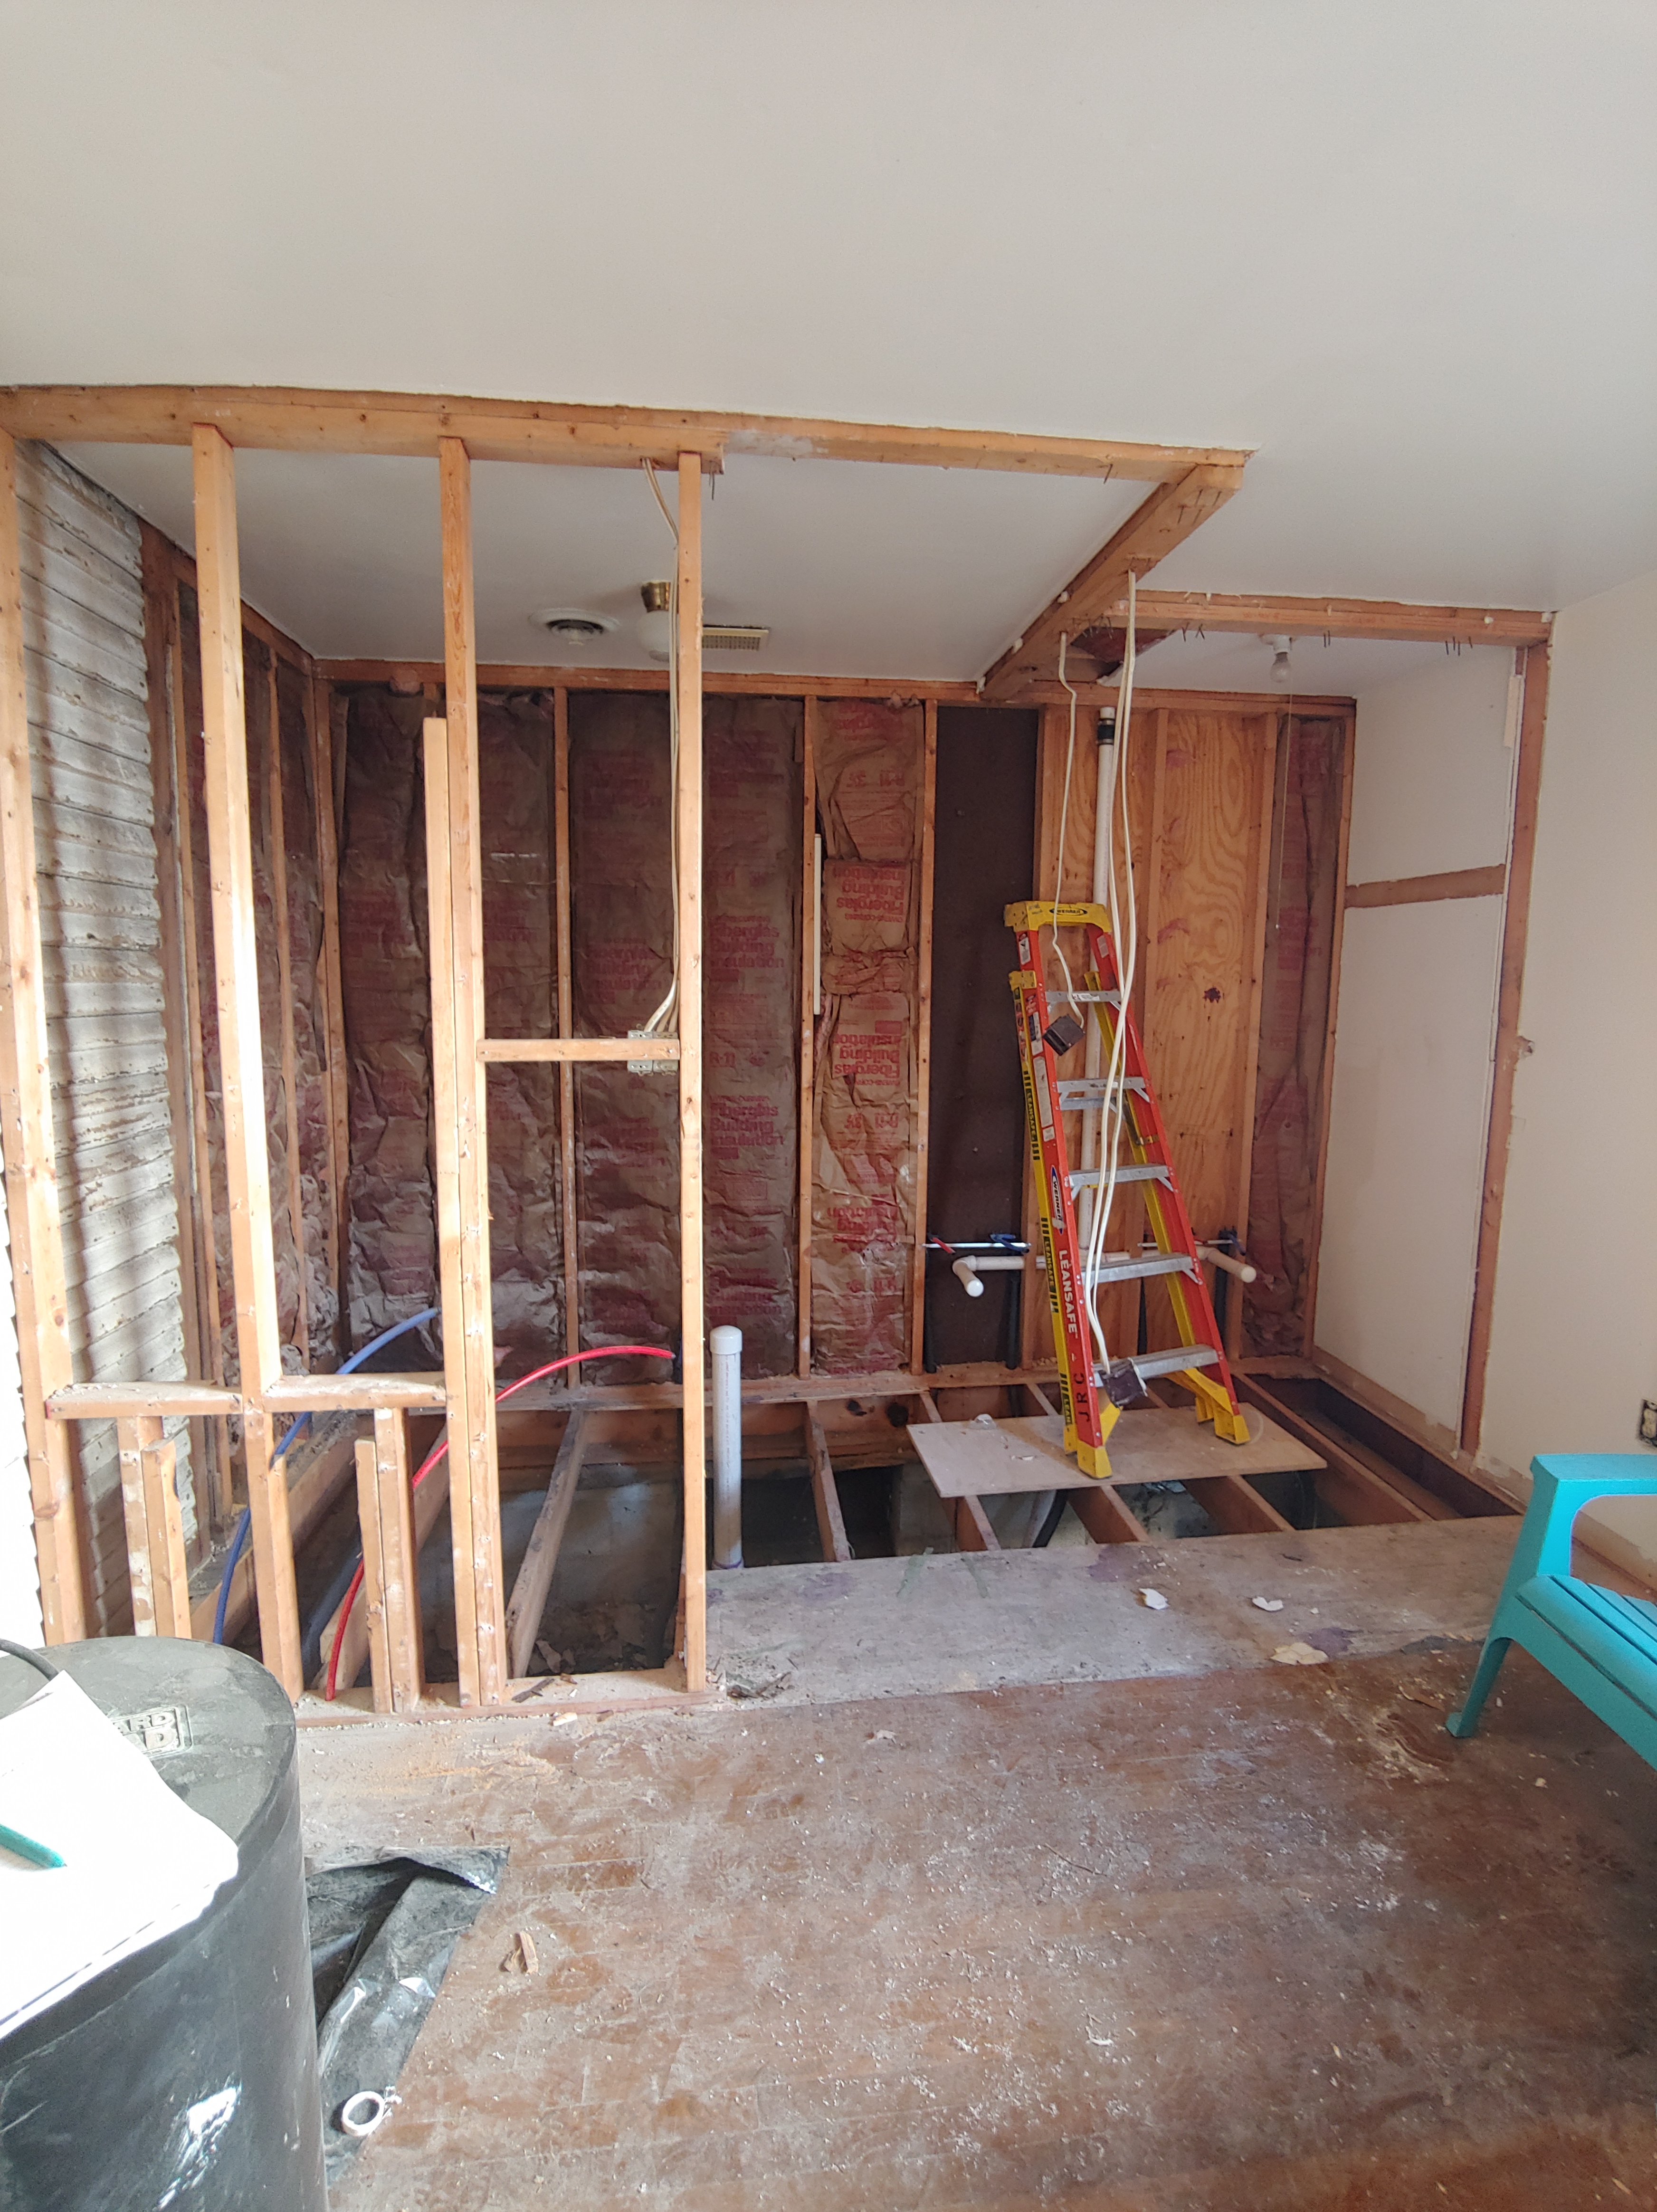
Our contractor had started removing the old joists and installing new ones at this point. With the floor open like this I could see that there was water coming in from the HVAC unit’s outside piping every time it rained, like it was just running down the pipe… good times!
As part of the remodeling of this bathroom we removed the large linen closet. I know some of you may not like this choice, but I think in the long run you will see that the added square footage to the bathroom combined with the bonus additional shelving will make up for this loss.
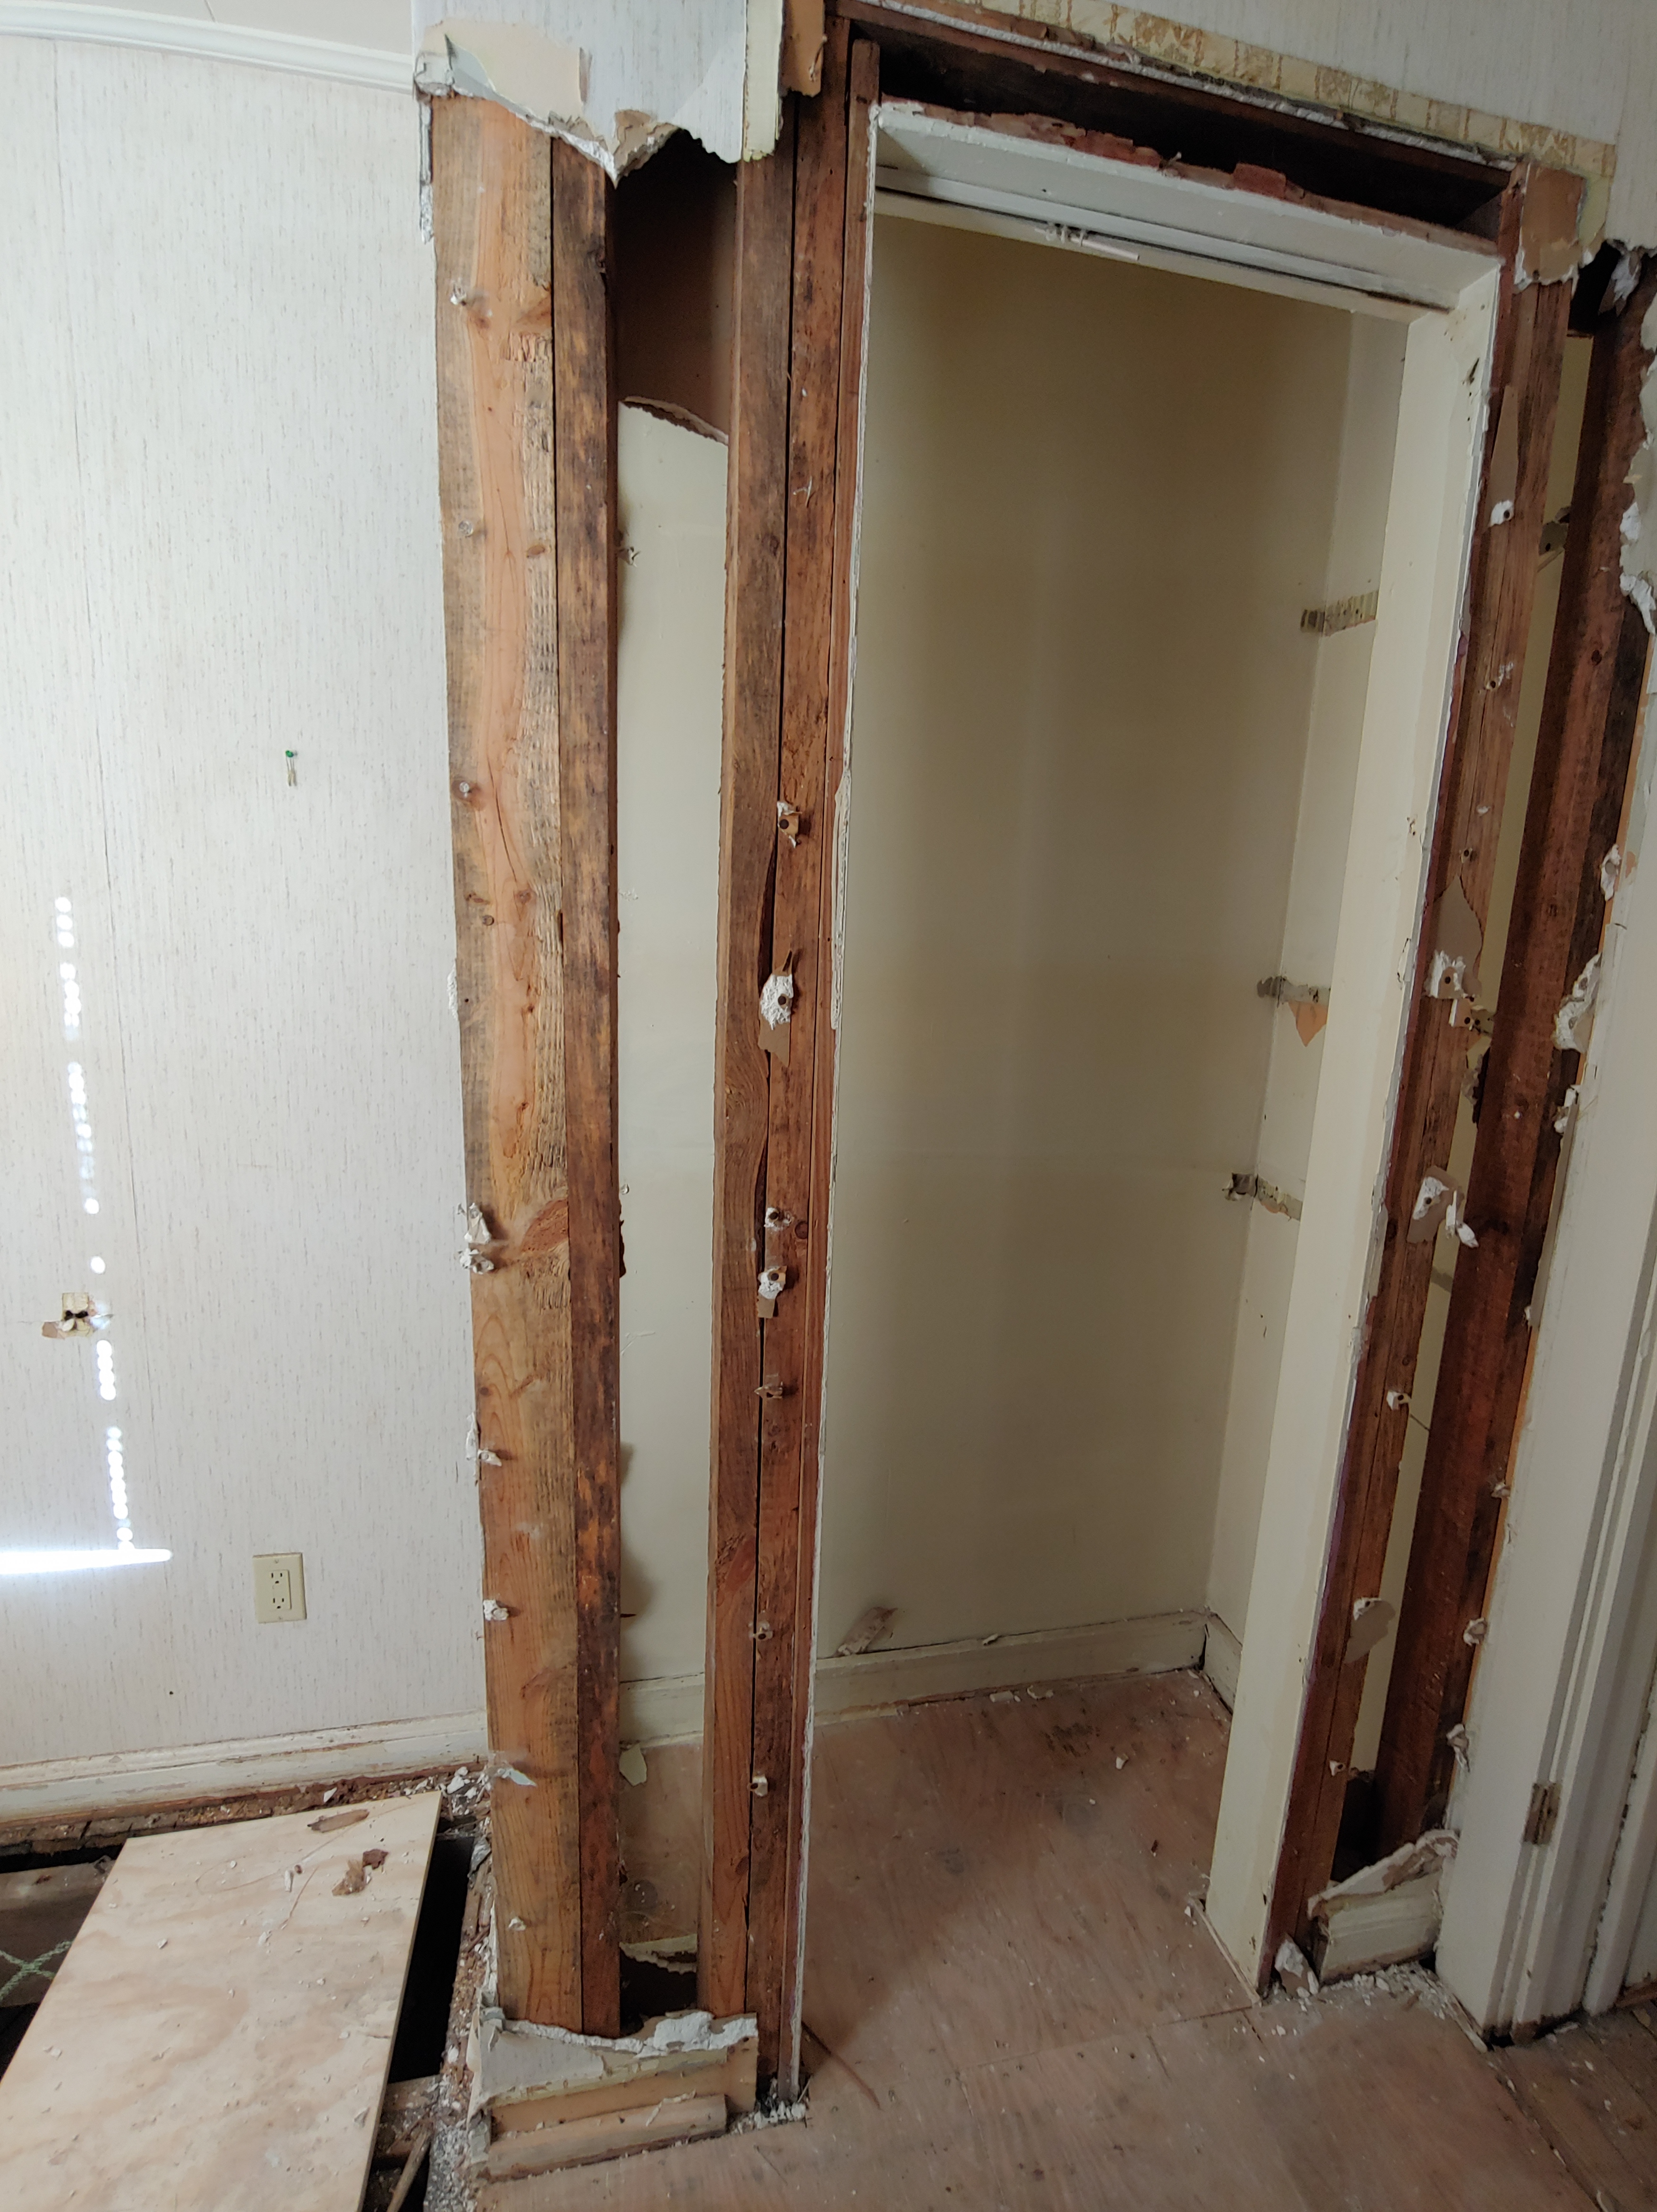
I mean just look at how much space this adds back to the room?!
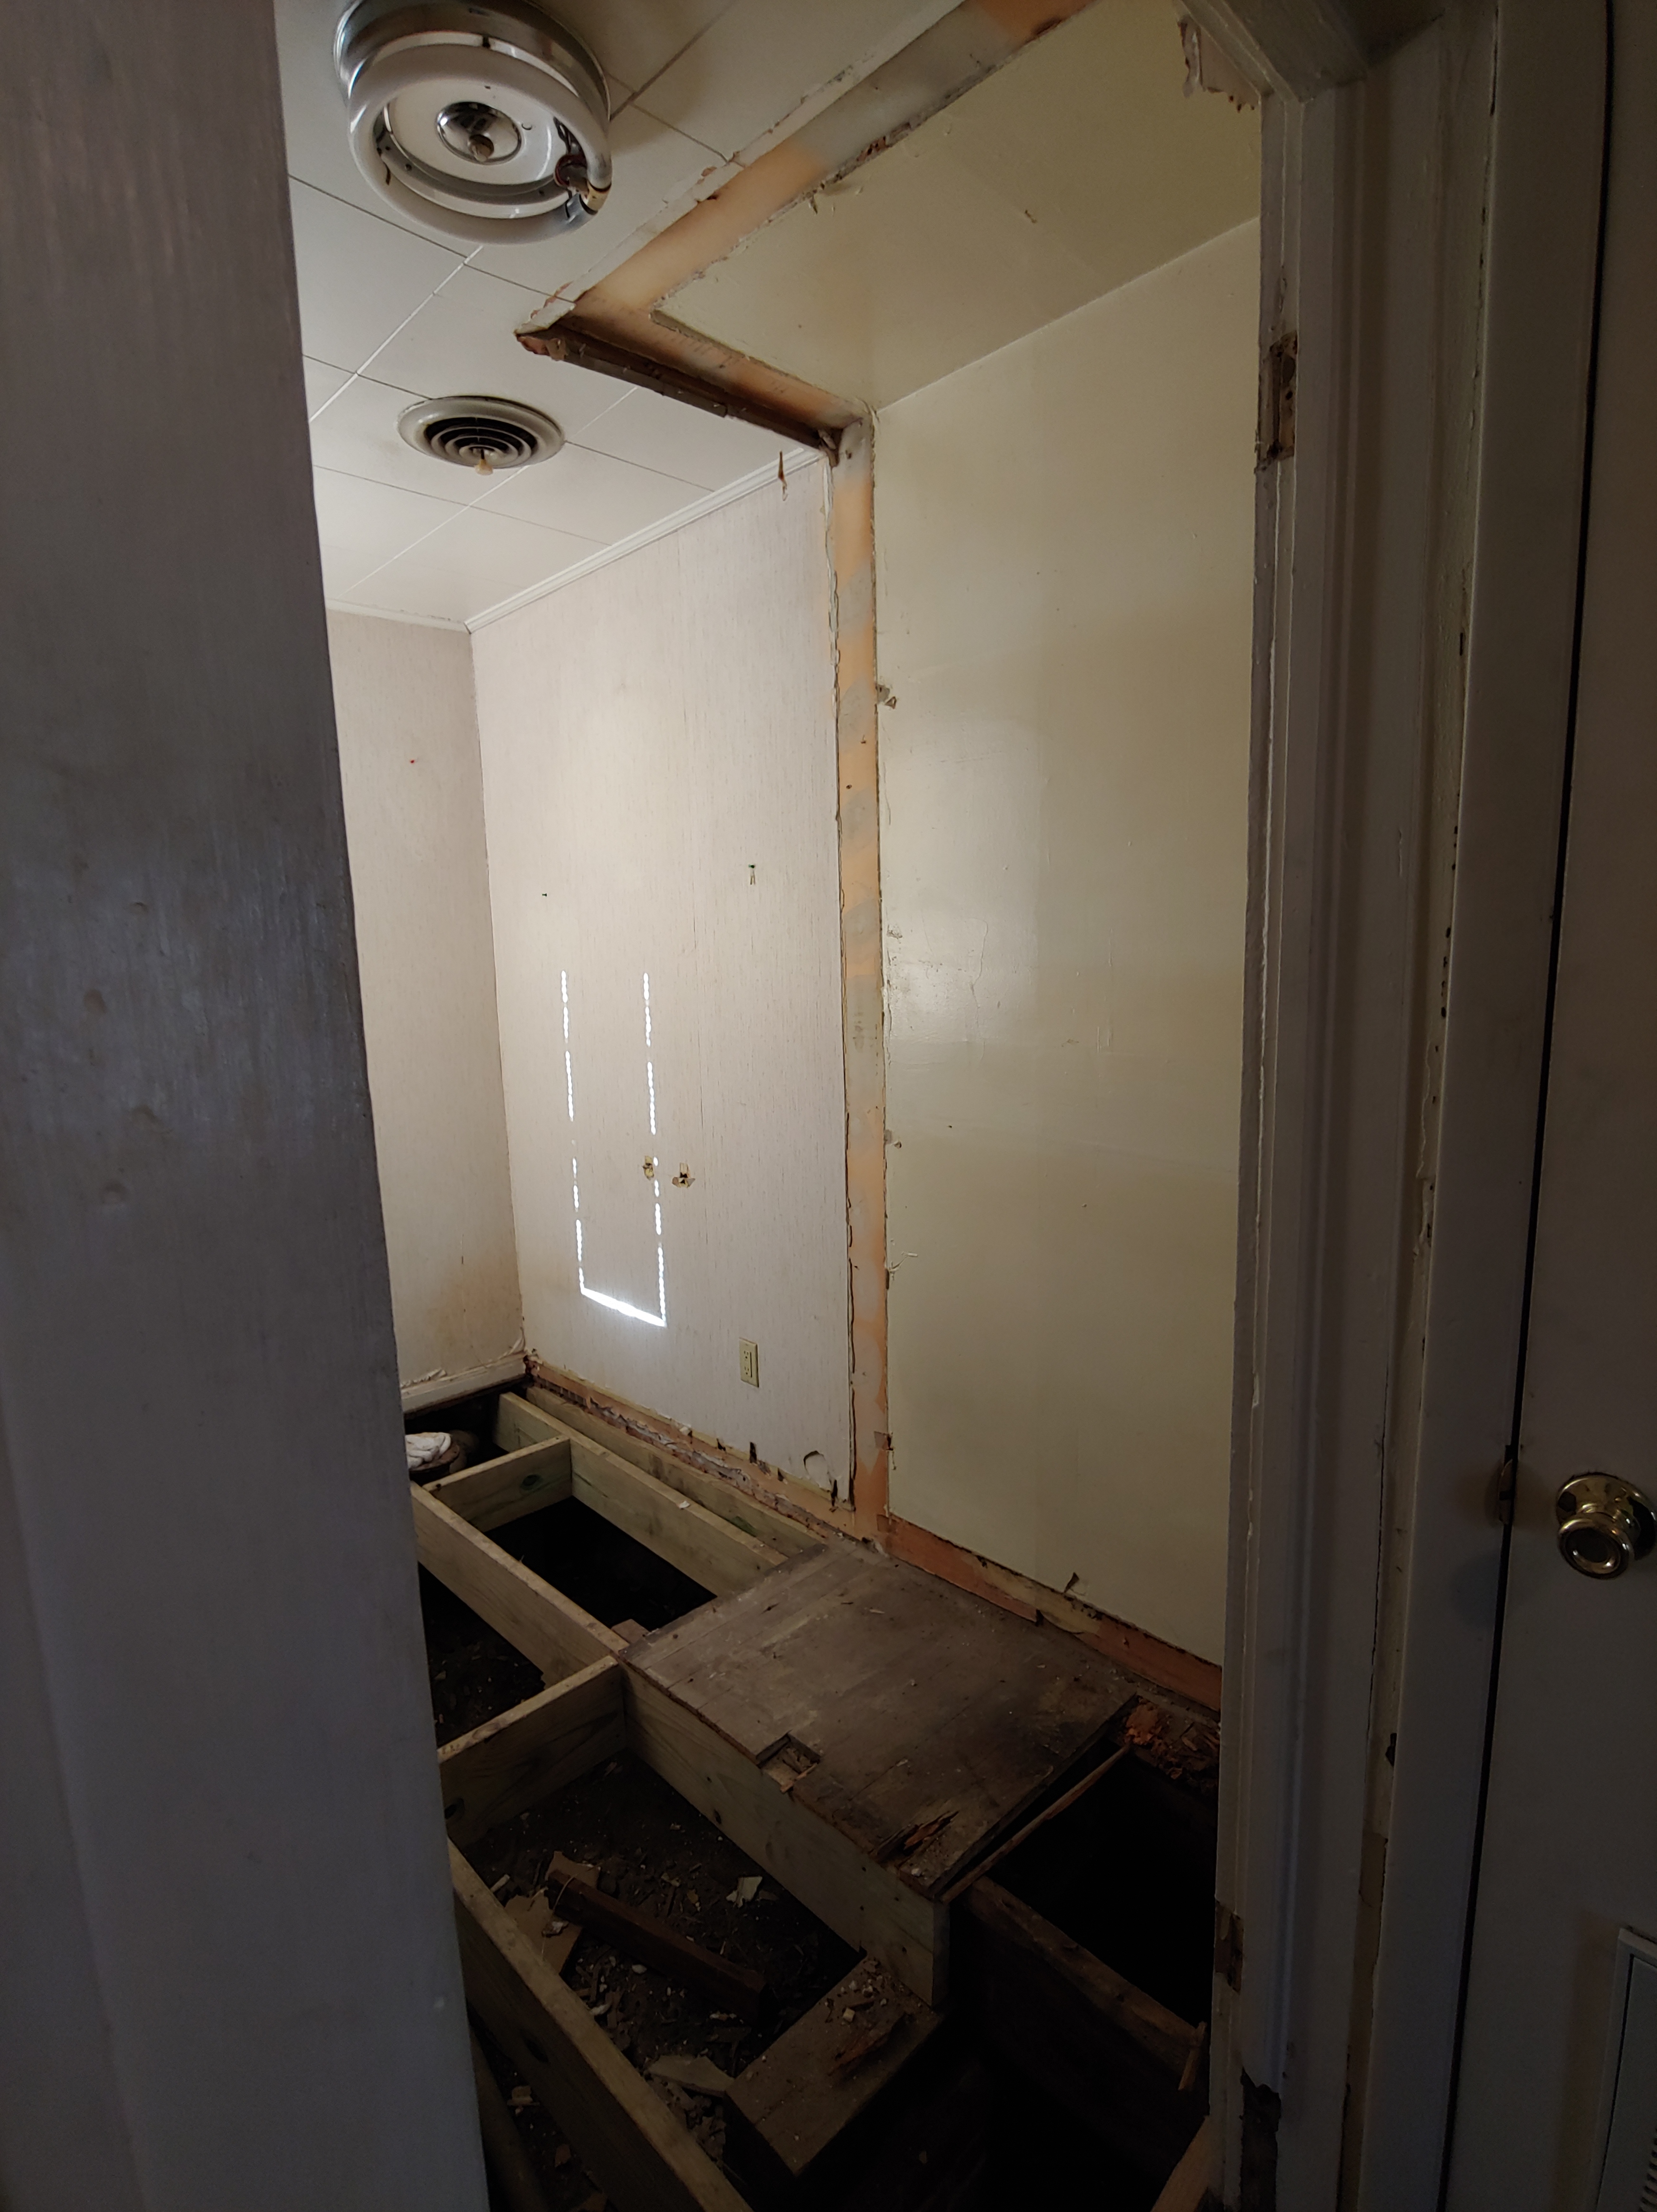
This little framed in space is where we will gain some additional space. The whole area was boxed out just to accommodate the plumbing stack you see on the right hand side. As we will not be reinstalling the sink here we will demo this wall and rebuild it in order to add interest and additional storage to the space.
Not sure if I mentioned this before but none of the walls we removed were plaster. You can see that at one time they were plaster as the remnants of lathe shadows were still visible. However the studs in the original part of the house are all 130 year old legit 2×4’s, which are no joke as they are very hard and very heavy compared to studs these days. Any of the wood that was removed we piled in one area, at one point I was hoping to use it to make countertops… that just didn’t fit into our timeline, but I did list it for free on NextDoor.
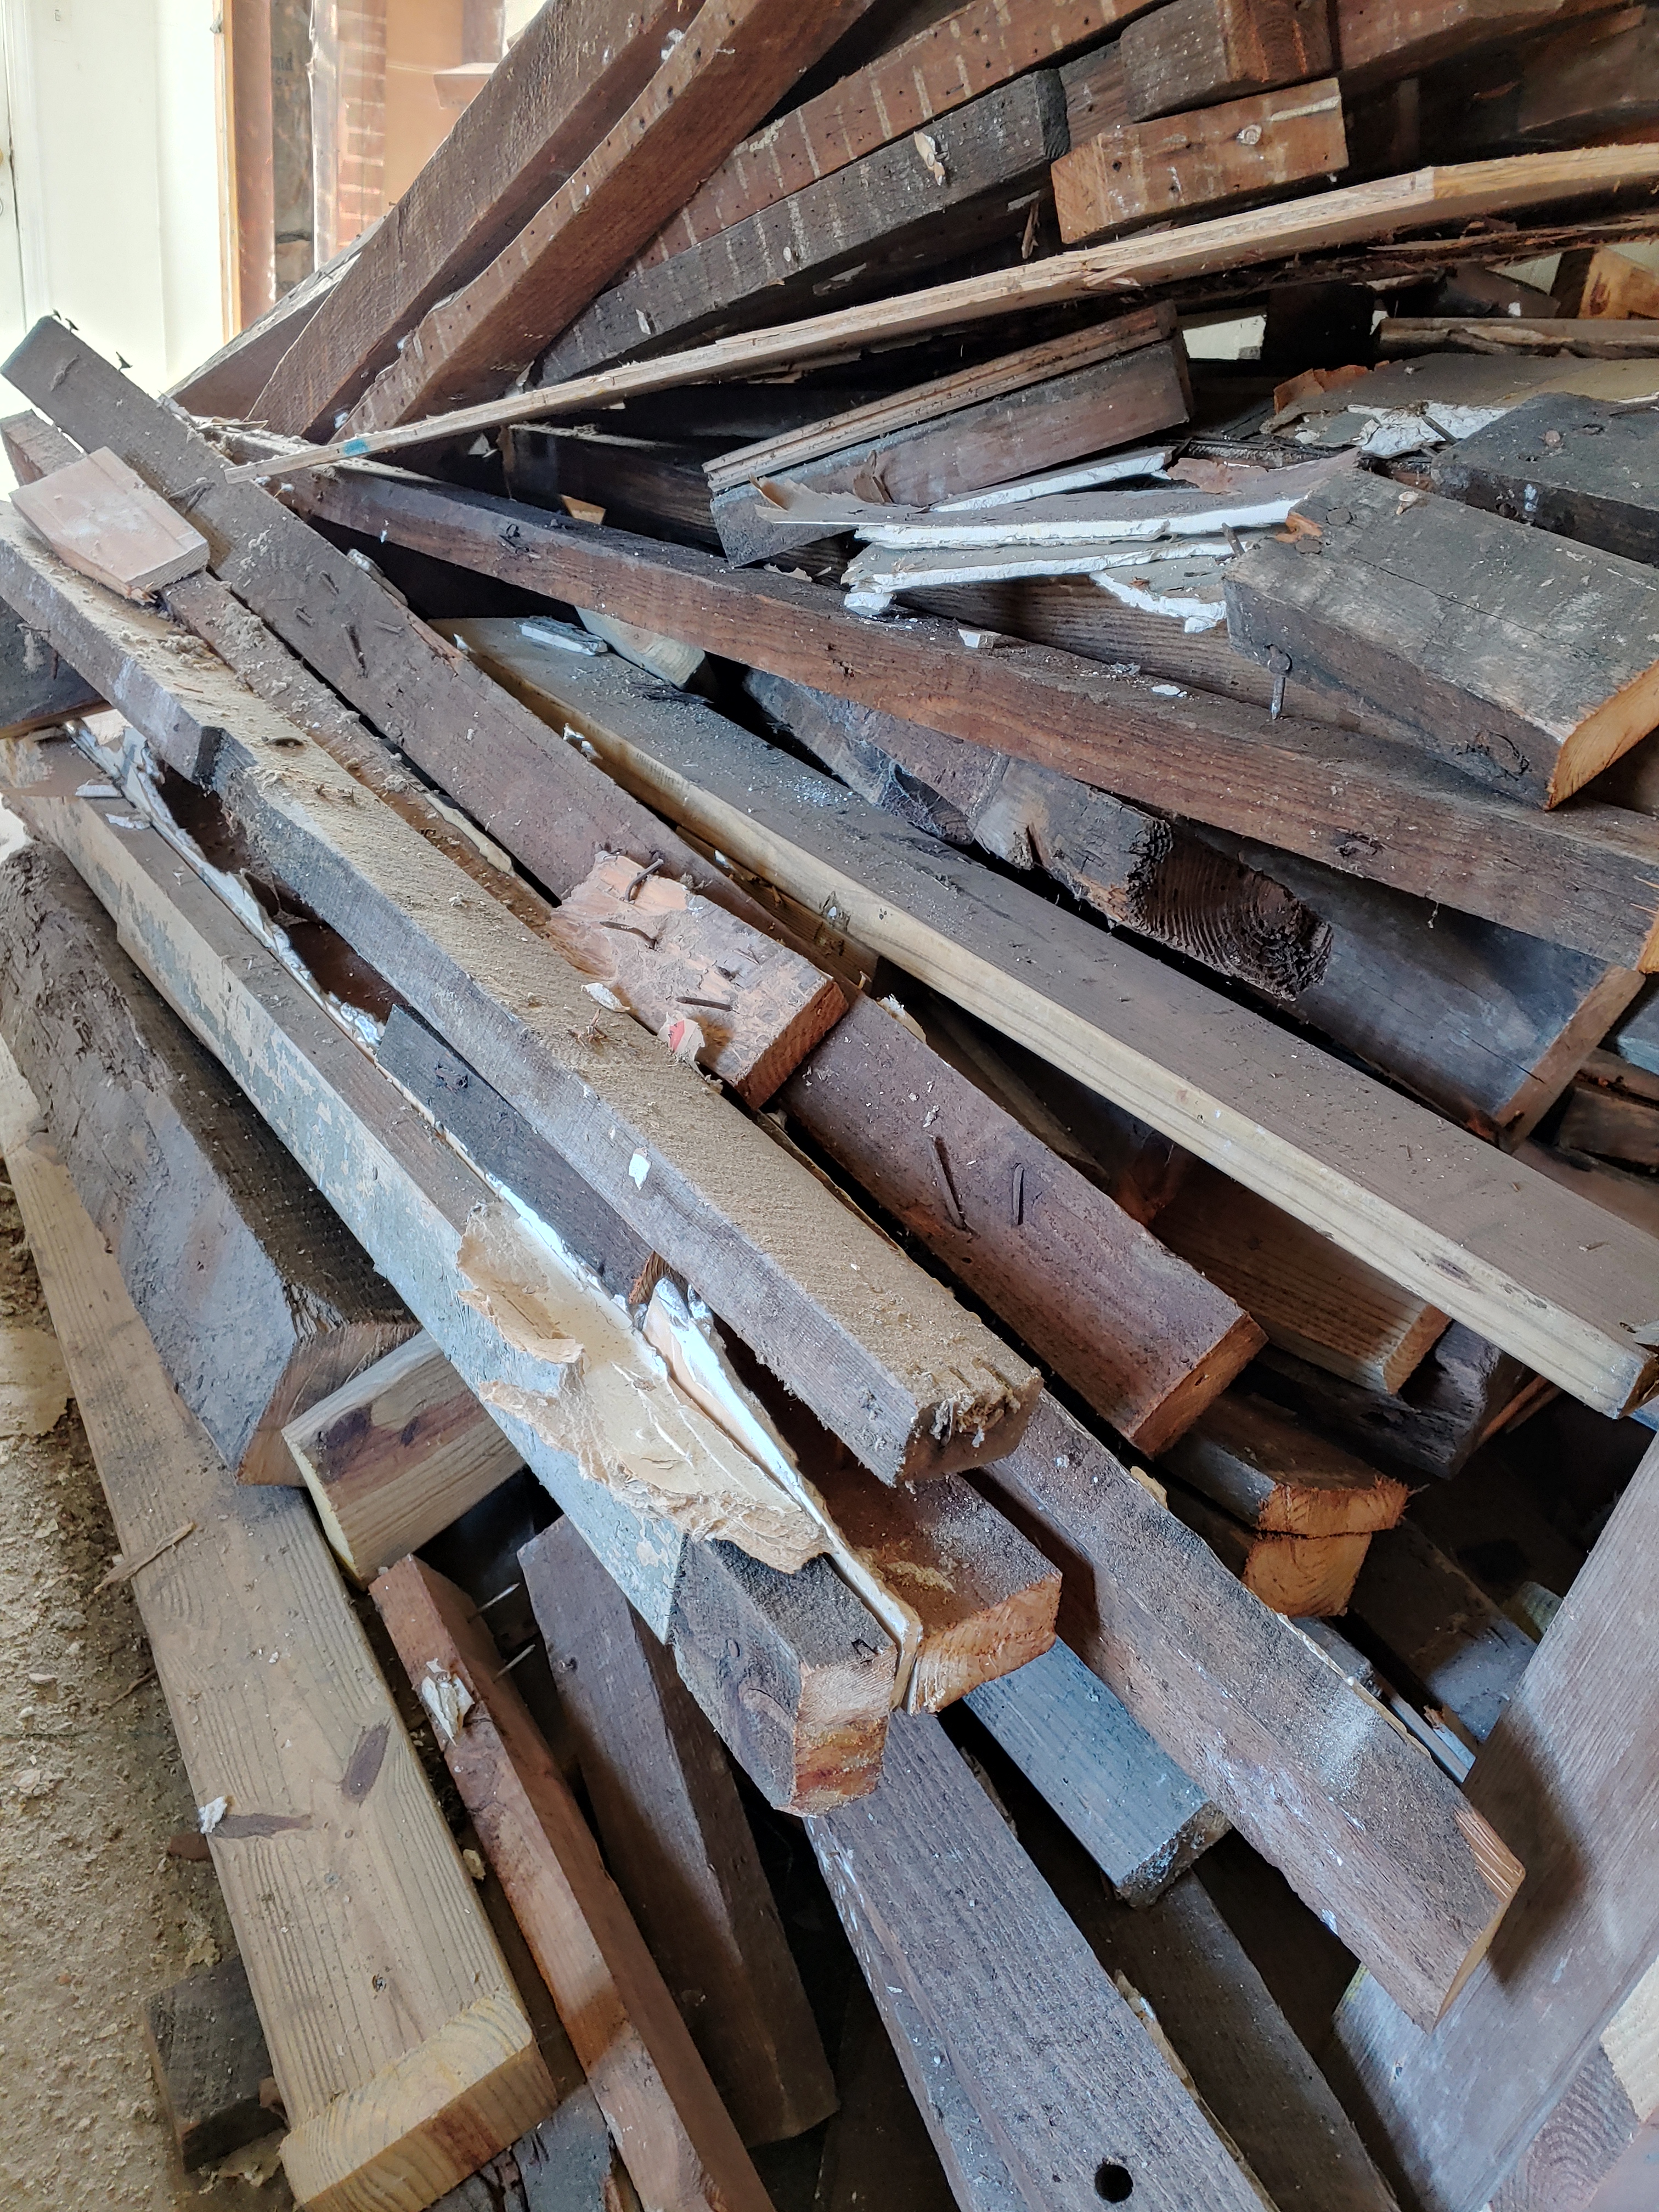
I had 3 guys come by and sort through the pile and basically removed about 60% of the wood. What was left was not in good shape and just went into the dumpster. We felt good about the wood going to new homes (one guy was a furniture builder) instead of being sent to the landfill. All of the old appliances, old duct work, metal & copper piping was put at the curb and picked up within HOURS by people who take it to the metal scrap yard for cash… so again a win-win!
Thanks as always for stopping by!