So some forever long time ago I showed the countertop install, wall repairs and tile selection. The tiling itself went pretty quickly, except for the round holes we had to cut around the electrical boxes, those were a pain.

After we installed the tile we waited 24 hours for the mastic to dry and then I cleaned out the tile joints and surfaces of any excess mastic. While doing this I found a VERY loose tile that I had to remove, as you can see below the tile barely touched the mastic… I’m pretty sure this was due to the mastic being too dry to install tile on it at the time. I scraped the mastic off the wall and mixed up a small batch of mastic to reapply the tile, glad I caught it at this point rather then when we were grouting!

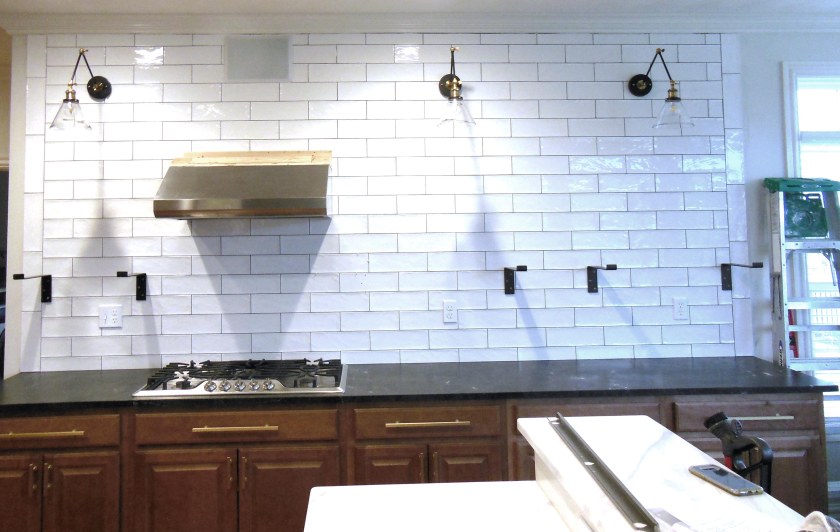
After the grout had dried we inspected the grout lines and marked all of the areas that needed more grout, I’m not going to kid you it was a bunch! We just mixed up a small batch of grout and went over those areas with it.

We reinstalled the speaker, lights and vent hood. The vent hood will be getting a custom cover so this is just a temporary look for it, thank goodness!

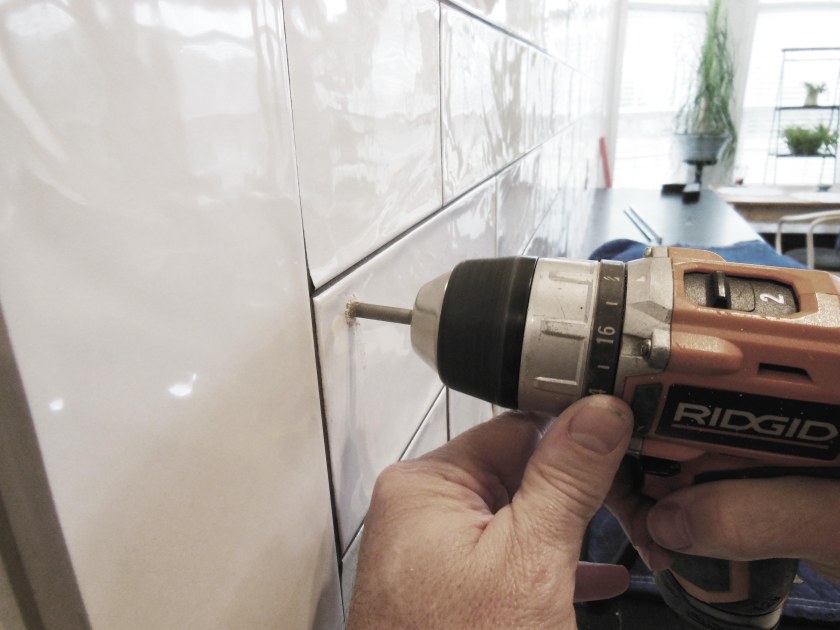
We drilled the holes for the shelf brackets with a ceramic tile bit, this part was a little nerve wracking as you only have 1 shot at getting it right. One thing I didn’t take into consideration when choosing the tile and brackets is how the brackets would sit on the tile… UGH! We had to make sure that we straddled the tile just right so the brackets would sit flush and be sure not to over tighten…
FYI, we knew where the studs were as we had measured and drawn a diagram prior to installing the sheetrock on the wall, I will spare you having to look at the diagram, a artist I am not…

I’m not going to lie, I was super psyched when I put the level on the brackets and the bubble was RIGHT ON THE MONEY!!
Next up shelving, range hood cover & finish painting the cabinets!
Thanks so much for following along…
Until next time!
 PS We spent a lot of time deciding the layout of the tile, deciding to use a partial tile for the first row of tiles so that the tile near the ceiling was not a sliver… laying out tile before installing is a very important step that should never be skipped!


Hi Susan, been a while. Looking fabulous. That was a large space. Looking forward to seeing this finished
Cindy
LikeLike