Well I am so excited to have completed a room update to share with you! Ok, so it probably won’t be that exciting to you, but for me it totally is…
The photo I have of the bathroom is one my Hubby took as we were considering buying the house, the house was “professionally staged” for sale. The bathroom was just an ok, builder basic bathroom and as this house is only 2 years old there was nothing technically “wrong” with it, but it just wasn’t our style. This is kind of a “mini” makeover, but that is all that this bathroom is going to get from us. Would I have loved to replace the fiberglass tub with a gorgeous tiled walk-in shower and the flooring for something with a little more personality, why yes, I would have, but this is the downstairs guest bathroom and not really where I want to allocate a lot of funds which is why just the mini-makeover (that and maybe because I’m so not in the mood to do any tiling, just sayin’).
BEFORE
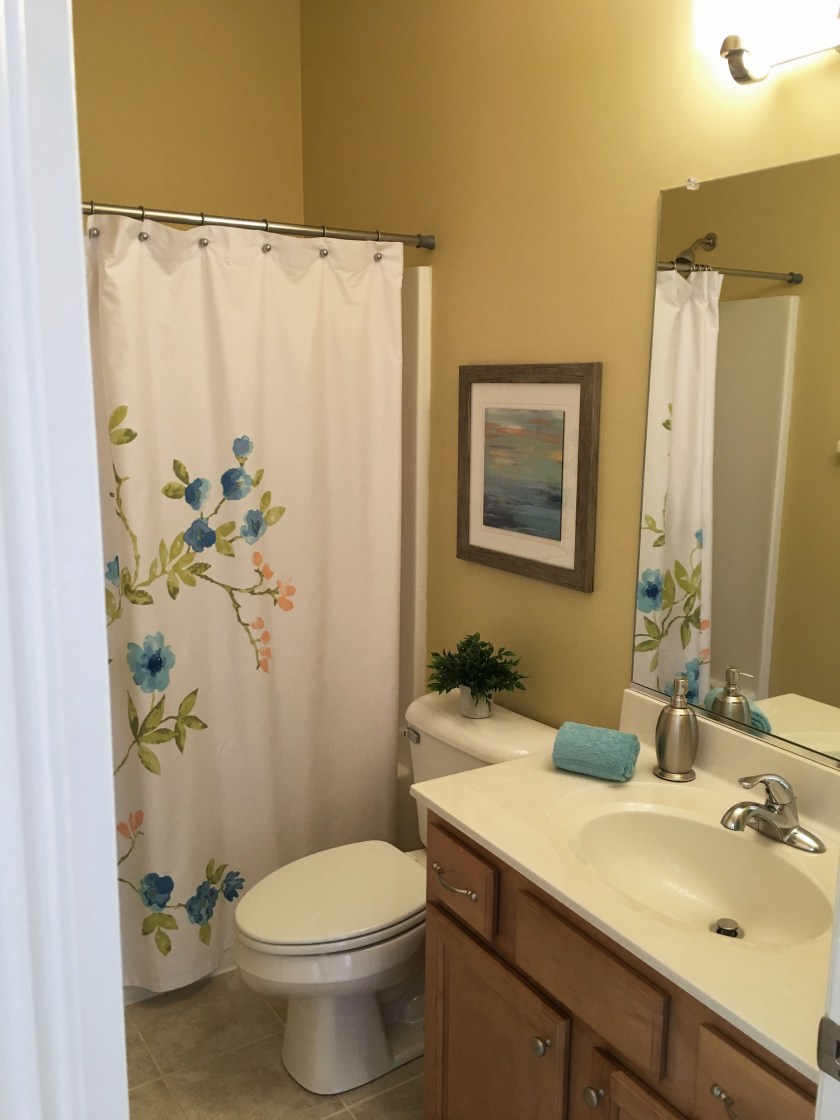
The first thing I did (other than paint it) was to remove the towel bar across from the toilet (not shown). As this bathroom really functions more like a powder room for us (and I hate towel bars) I decided to install a double towel hook instead.
Having never had these particular type of towel bars in my homes before I just assumed that the mounts were caulked or screwed onto the drywall… nope!

Yup, they are installed into the wall, so now this project becomes slightly more complicated/longer.
I used a ½” piece of wood I had on hand, cut it bigger than the hole, applied Loctite to the edges to help me hold it in place and then angled the wood into the hole (I used a screw in the wood to pull it to the back of the drywall) and screwed through the top and bottom of the drywall into the wood to hold it into place.


Then I cut a piece of drywall (you can buy 2×2 sq. ft. pieces from the Lowe’s or HD) and applied Loctite to the back of the drywall.

I then pressed the drywall into place.

I then applied several coats of drywall compound to the area and sanded it smooth.
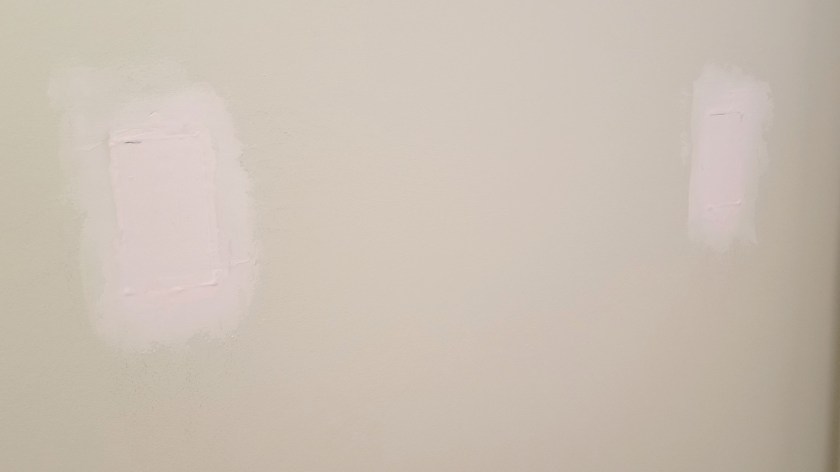
After they were painted they were undetectable!
As I metioned before our home has textured walls, except for in the bathrooms and kitchen, so I was glad I didn’t have to match that up. Quite honestly if the walls had been textured I would not have attempted the patch… just keeping it honest here folks!
So the rest of the mini-makeover consisted of:
- Adding board and batten ($120)
- New toilet ($260 American Standard “Optum VorMax”)
- New vanity top ($355 Rock Solid Surfaces, Fantasy Brown Granite)
- New sink ($270, Kohler “Vox”)
- New faucet ($172, American Standard “Town Square” in polished chrome)
- New vanity hardware, toilet paper holder and towel holder ($124, Rejuvenation “Mission” in polished nickel)
- New vanity light ($70, Wayfair)
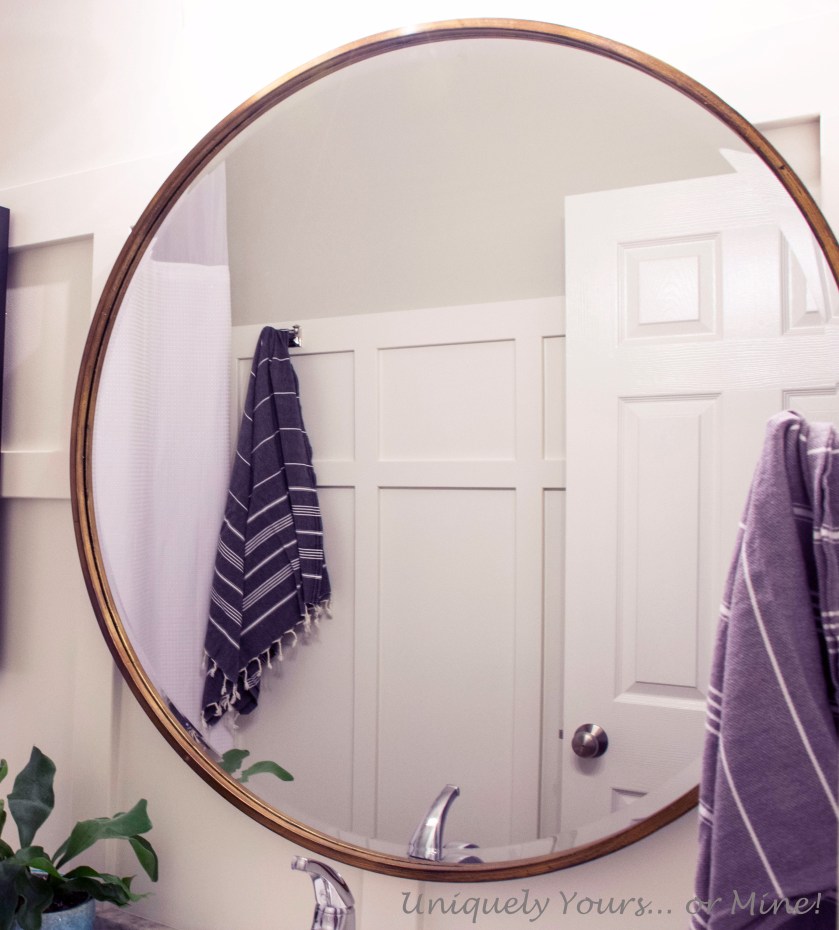
- New mirror ($200, Lamps Plus “Uttermost Junia”)
- New shower rod and curtain ($75, Lowes and Bed, Bath and Beyond)
- Art ($35)
- New paint job (free, had paint already)
- Total “mini” makeover: $1,636
Which now that I listed it all it seems a little less mini to me, but it is what it is…
Board and batten came first, we removed the toilet and sink since we were replacing them, during this step.
The first step was to measure the walls to determine the placement of the rails and stiles, that takes a little time, but you want to ensure you have equally spaced rails. After determining placement, I used a piece of the MDF board to act as a template to speed up the stile placement. We just cut the MDF to size, applied Loctite to the back of the boards ensured they were level and nailed them in place with our nail gun. The process went fast.

The next step is the tedious one of filling nail holes and joints and caulking all the seams, when it gets to this step I always think why in the hell did I decide to do this… it’s pretty much a tedious pain in the arse!
The last step was to paint everything, I stuck with the same color and sheen as the rest of the woodwork in the home. My reasoning was I thought that it would create a more cohesive look and that there was NO WAY I’m painting all the rest of the trim in the house another shade of white, it’s just not going to happen… so SW Shell White for the board and batten and Benjamin Moore Penthouse (CSP-35) for the upper part of the walls. By the way if you’re looking for the perfect blue/grey/green this is your color! I painted the Family Room in it and plan on painting the master bedroom and bath the same color too, it’s pretty awesome, I’m a H-U-G-E fan!
We chose the American Standard toilet, well, because it is awesome and we had previously installed it in our Master Bathroom renovation in our last home. It’s easy to install and it includes everything you need to install it.

The vanity top I chose from a granite remnants that I locally sourced, it is called Fantasy Brown and it has a honed leather finish, it’s pretty darn fabulous I think… something much more user friendly than marble, but that still has a lot of movement in it. Plus the taupe colors pick up the color in the vanity very nicely.
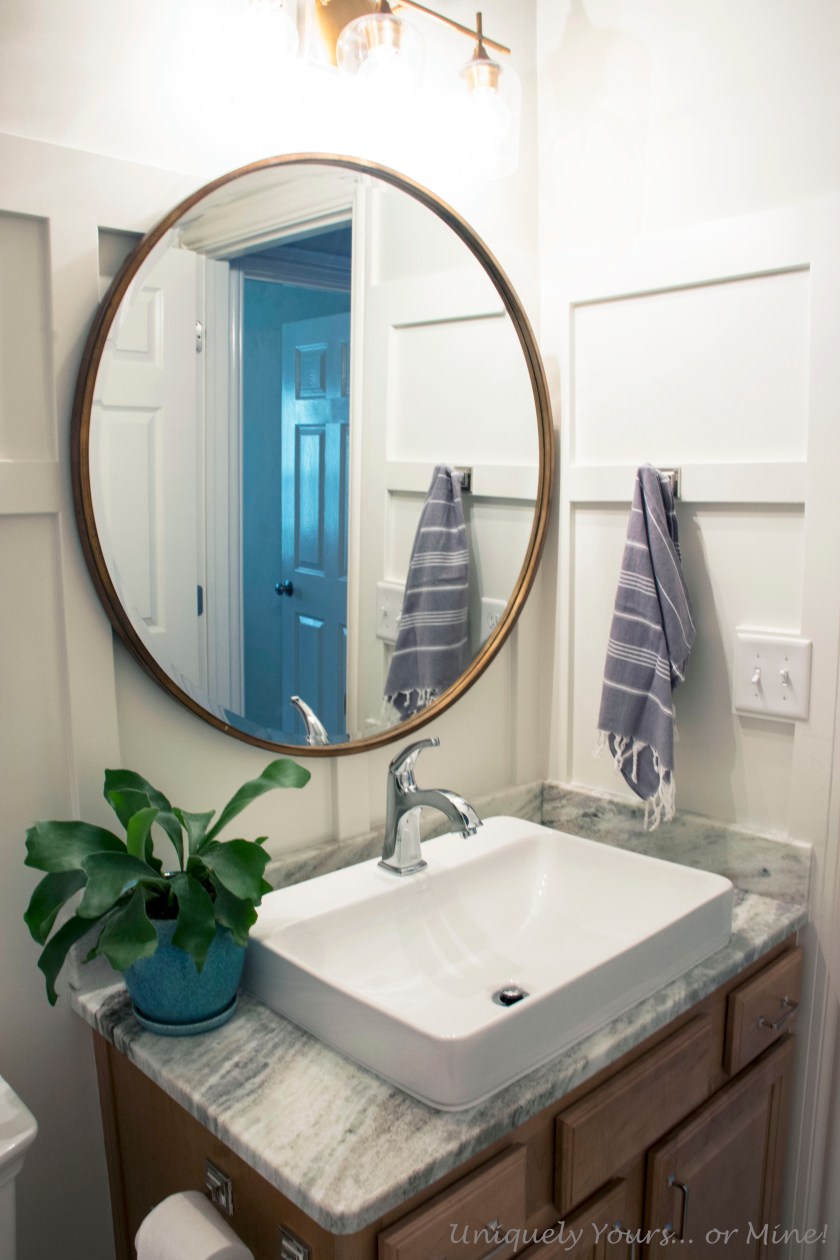
We love the way the sink sits on the granite and adds a little height to the vanity itself, which is more comfortable when washing your hands. I also replaced the traditional towel ring with a towel hook, it’s just a preference thing…
The faucet is also the same as what we installed in our previous Master bathroom renovation and I liked it so much I’m using it again, seriously things do not have to be complicated…

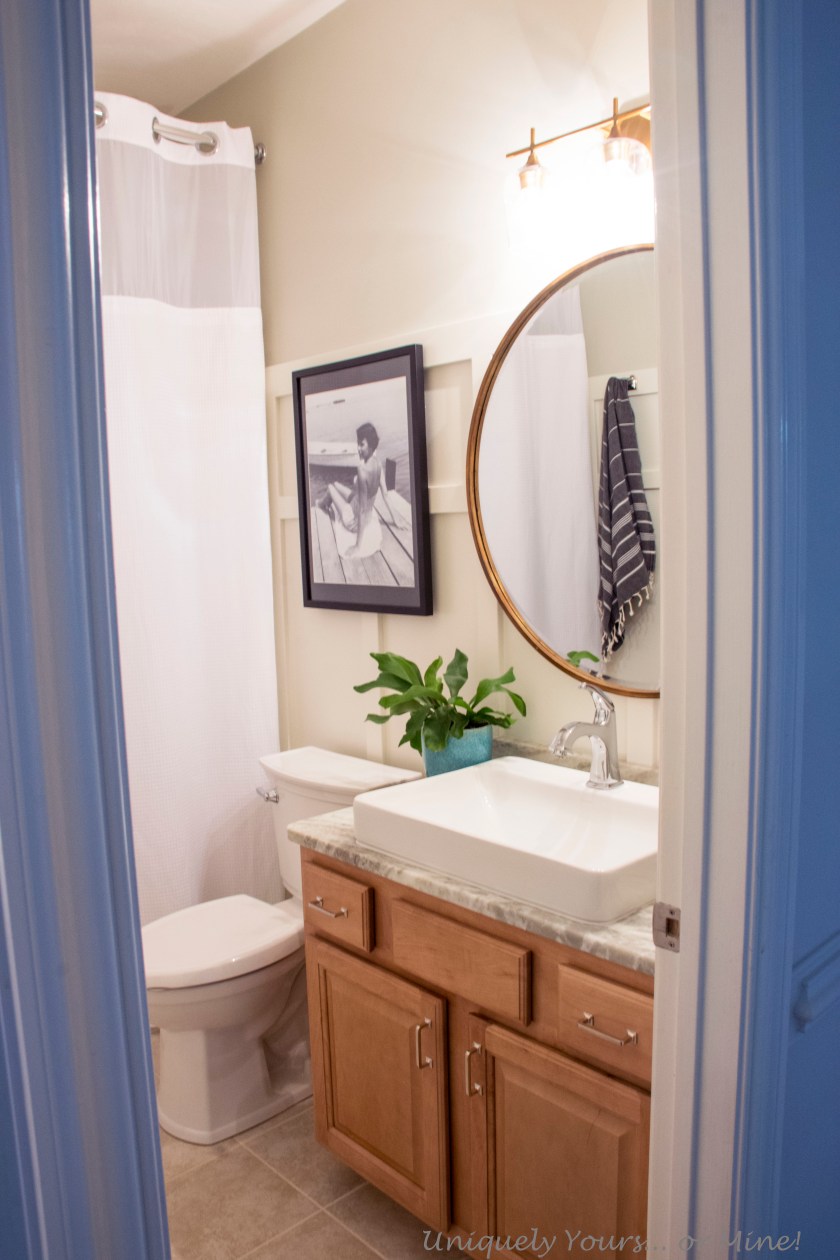
By the way this is the second time I’ve mixed metals (brass and chrome) in the bathroom and I really do love the look. I find that if the mix is done at the same eye level the effect works very well. This is the most color accurate photo below, it was very hard to photograph this small space without the light on!

The art piece I made myself from a scan of an old black and white photo of my hot momma long before she had me, now that’s a great pose! When I showed that to her she said that she thought she was fat back then… crazy right! Well I think it works perfectly in our new home at the beach and I love seeing it every day!
My hubby and I like to work on projects together and this one was no exception. He’s the plumber and electrical guy and I’m pretty much everything else… we love our projects no matter how big or how small, but this small update really has made a big difference in making our new house feel like our home. I hope you enjoyed!
Thanks as always for stopping by…

PS… now that the bathroom is complete we are moving on to the kitchen, why is it always right before the holidays?! And no, we didn’t put those holes in the wall, they were behind the range hood..


