We had SOOO much fun this weekend starting on our master closet remodel / renovation. Lots of drywall dust, carpet crud and insulation removing fun! Here is a recap from the beginning…
Our closet is located off of the master bath, on the end of the house over the garage. It was by far the largest closet we saw while house hunting here in Louisville (which is just one of the reasons we loved this house). Having said that though it has some “issues”, it’s layout is awkward and it’s chilly in there in the winter. As a side note we have already replaced the 2 windows so we are assuming the problem is in the way it was (or was not) insulated.
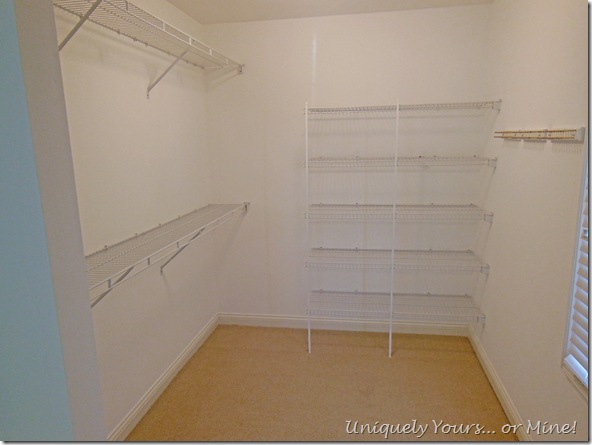
This is the view looking into the closet from the bathroom:
This is my side of the closet. The door you see is access to the unfinished area that slopes down to the garage side walls, it’s large but freaking cold and we didn’t really use it.
This is my hubby’s side of the closet, lots of nice natural light on this side, which he totally needed in order to help him determine blue from black suits…
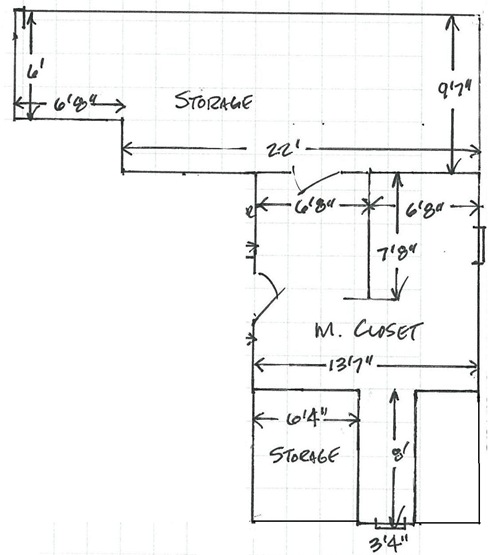
Here is the original layout of the master closet, just LOOK at all of that unused space marked “storage”!
Below is the most recent plan for the new space, but since we are building the units ourselves this plan is certainly subject to change.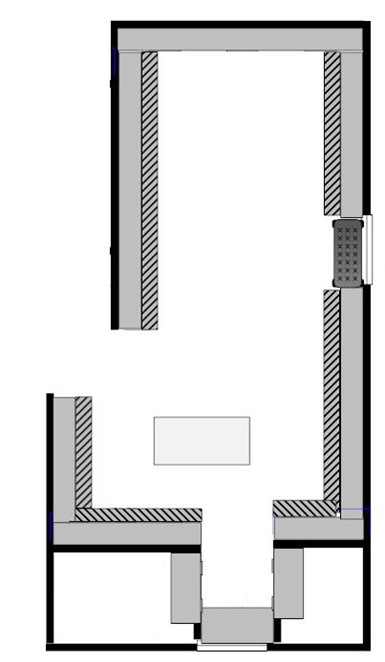
One of the closet walls is being moved back in order to enlarge the shower, which is on the other side of that wall. Also, we will be removing the walls on both storage sides of the closet and installing a new knee wall 4 ft. back from the original walls. These changes will make the new walls about 5ft. tall (the original walls were 8ft. tall) and give us an additional 63 sq. ft. of closet space.
I was just thrilled with the space after we removed the center wall, the light just fills the room now… By the way there are 2 windows in the closet, the one you see pictured and the dormer window on the front of the house.
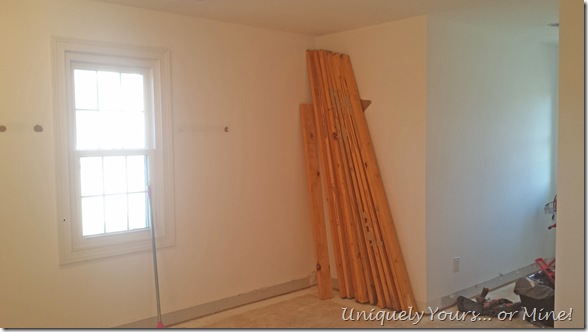
We are saving all of the lumber we can so that they can be used to create the new walls. We removed all of the nails out of the wood before removing them from the wall.
Now on to opening the side walls. There was insulation in these walls, but only R-13 which I think is the minimum for our zone. We did not save it to reuse as we will need to insulate this room better. This is the unfinished area on the left that they had setup as extra storage space.
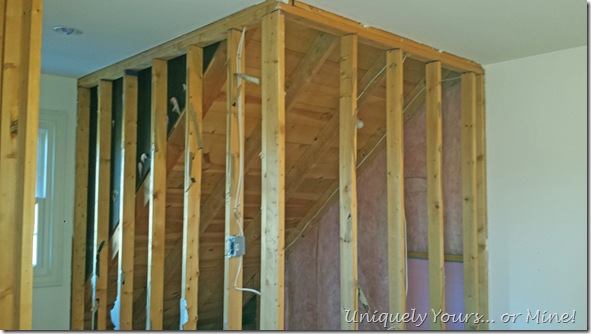
We then hit a “little” snag… my Hubby was a tad overzealous and started removing some of the vertical 2×4’s before we had a good look at the wall structure. Once we did we stopped removing the 2×4’s. See we’re not 100% sure if this is a load bearing wall or not. See photo of top of the wall below.
See the 2×6 beams going across the ceiling of the room appear to be resting somewhat on the wall. Most of the beams appear to be nailed in with 2 nails on one side to the rafters but that doesn’t seems like enough support to us. After HOURS of research we think those beams are collar ties that also happen to be used as the ceiling structure, however we’re just not sure. To be 100% sure we’re having a contractor come by and look at it, if he’s not sure I’ll have a structural engineer come by and take a gander. You don’t happen to be a structural engineer who might know what’s going on here?
We moved on to removing the sheetrock on the other side of the room. This is another extra storage space that they had access to from the bathroom. I think they called this the “suitcase storage” on the realtor listing… again a VERY cold space. Same deal with the walls seeming to support collar ties?!
That’s where we finished up on Sunday. We filled up a bunch of bags of debris and cleaned up as much as possible, but we’re at a standstill until we here about the walls. Luckily we have a door on this room so it’s coldness can be closed off from the rest of the house… BRR!!
If you have any suggestions or ideas about these walls or the space please comment below! Thanks as always for stopping by!
Until next time…







i can’t WAIT to see the progression of work you’re doing on this jumbo closet!! you’re always an inspiration to GET THINGS DONE!! particularly with this being the new year and all…… ~stephanie (from the RVA garage tutorial!!) :o)
LikeLike
Hi Susan – responding to your last post comment concerning this pesky wall issue. Being an old carpenter myself – it looks like the wall is load bearing, holding the roof structure for this area. Not for certain just looking at the photograph and I’m not certain of the span, but nothing a couple of LVL’s can’t fix. You’re right about the insulation, Louisville is 2 hours from us and you need to get more in that space. Also, if this is over the garage the floors should be fully insulated unless the garage is a conditioned space. Hope this helps – I still wish I had your closet space.
LikeLike
Thanks Curt! Looks like I’ll need to get a structural engineer in then to let us know what we need to do. Hopefully it won’t be too big of a deal. We did pull up some floor boards and can see that there is insulation under them, but again I think just the bare minimum.
LikeLiked by 1 person