
We just got back from a lovely time in Louisville, KY house searching and exploring. Louisville is a fabulous place with lots to see and do, everyone was so friendly, I’m getting much more excited about our move to a new city now! Also, we were able to find a house, make an offer and the offer was excepted! So baring any unforeseen complications or a crazy home inspection this will be our new house…

Were very excited about it! It’s not a new house so it will need some updating, major updating in the master bath, but it has great bones. Some of the reasons we chose this house over others were the façade, family space, 10ft basement ceilings, huge master closet and the over 1 acre lot. I think you’ll be seeing more how-to room updates in the future… but right now I have a good furniture update to share with you…
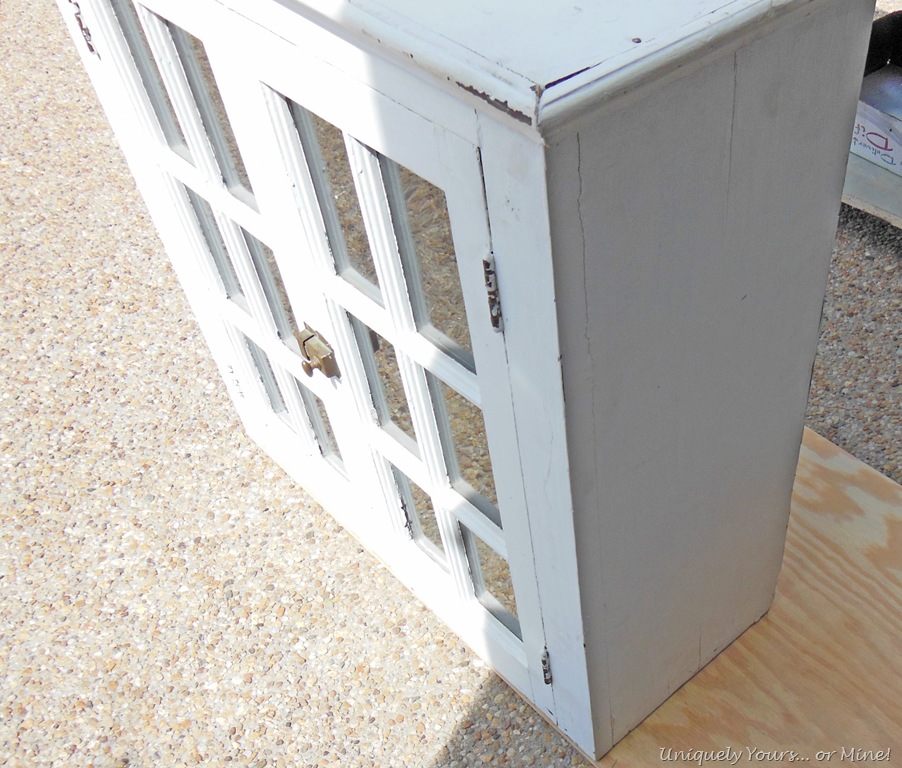
I was going to title this post “why I repainted my bathroom”, while I thought the title was not descriptive enough for the subject matter it was absolutely fitting! You see, after I bought this hutch I decided that it would work perfectly in my bathroom for towels and bath storage. It’s a wonderful vintage piece with old bead board backing, wavy glass and original hardware… seriously what’s not to love? Well it did need a base, so a little construction was in our future, along with bathroom painting!
BEFORE

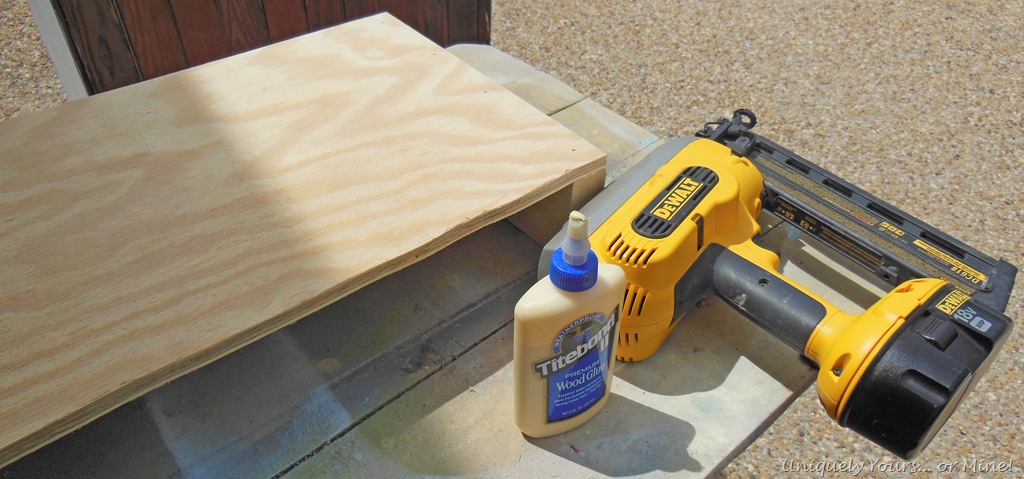
To build the base we first placed the hutch on a 1/2 inch plywood scrap to mark out the base outline.
The Hubster helped me out (not that I couldn’t do this, but someone has to take pictures right?) by jigsawing the base pattern out.

We cut some 2×4’s for the base to elevate it and to be able to attach molding. We attached the 2×4 base to the plywood with glue and nails… I LOVE nailing with my nail gun, sometimes I go a little overboard…
We attached the base to the bottom of the hutch with glue & screws, cut the molding to add to the base and attached the molding with nails to the 2×4’s. Here it is after I had filled the nail holes… I think I went a little crazy with the nail gun again! ![]()

I primed the base and the interior of the hutch so that we had a consistent base color to work with. Also, I was painting the inside with Latex paint so I wanted to ensure that I had NO problems with adhesion.

I painted the inside of the cabinet a white semi-gloss, I really wanted a nice clean looking interior for my towels. For the exterior I used a custom mix of Annie Sloan Chalk Paints 50/50 Florence and Provence. Here it is prior to being distressed, you’ll see that I didn’t tape off the glass, I never do! I just scrape it off with a razor after the fact, it’s faster and easier for me, but I know that may not be the case for everyone.

After I distressed and sealed it with wax it is now all finished up and in it’s place on my huge tub deck…

It holds our extra towels and all of my bubbles, it’s just perfect storage and beautiful to look at too!

I love the old hardware and wavy glass!

Even the texture on the sides pop with the new finish.

I added a basket of lavender that I had harvested and dried, it makes the bathroom smells so nice! The other side of my tub deck is just as big, I’ll show you what I put there in my bathroom post, it’s purely decorative where this hutch is very functional.

I hope you like my hutch makeover! I’m already trying to figure out where I am going to put this when we move because I’m keeping it for sure!
Have a great day guys!
Until next time…

Between Naps on the Porch, The Dedicated House, Coastal Charm, A Stroll Thru Life, Elizabeth and Co., Savvy Southern Style, Domestically Speaking, From My Front Porch To Yours, French Country Cottage, My Romantic Home, Redoux Interiors, Miss Mustard Seed


What a pretty little hutch! I love the color and rustic finish! … And your new house looks amazing!
LikeLike
Love the hutch! It looks like you have a very luxurious bathroom too. Your house should sell in no time! Congrats on your new place. Can’t wait to see what you do with it.
LikeLike
OMG. Your new house is beautiful. We need to get together. I can’t make it Sat but Matt’s going. I’m going to miss you guys!
Sent from my iPhone
LikeLike
Very nice cabinet, Susan. Congrats on the new house, it is beautiful! Best of luck.
Cynthia
LikeLike
The cabinet was a nice find! Perfect for what you were looking for. I hope you’ll drop by to see DD2 MBR Redo (#3 at Met Monday).
Allison
Atticmag
LikeLike
Wow…your new house is amazing! Can I move in???? (I’ll help you paint…) 😛
-andi
LikeLike
I love that color you chose!
LikeLike
Love it, what a fabulous piece. Great storage. You new home looks wonderful. I love the exterior, such lovely curb appeal. Thanks tons for linking to Inspire Me. Hugs, Marty
LikeLike
Susan, let me give you a big CONGRATS! That house is gorgeous (and looks huge!) and I have no doubt you will work wonders with it. I used to live near Louisville, by the way, and it really is an adorable city – I think you’ll be happy there. Love what you did with that bathroom cabinet – great pop o’ color!
LikeLike
Love how it turned out and enjoy that color. So pretty for sure.
Thanks for sharing it with all of us…
Debra
LikeLike
Susan,
What a charming cabinet…the makeover is just perfect! Congrats on the new house.
Blessings,
Linda
LikeLike
Your cabinet makeover is bright and lovely but I think I most amazed at your new house having 10ft ceilings! Hope your move goes well.
Cindy
LikeLike
Wow! I just found your blog from the link party! I love your cabinet, and thank-you for sharing your how to’s!! Beautiful!
LikeLike
This is awesome! Florence and Provence are my two favorite ASCP colors – they look great mixed together! The hutch is beautiful – you did an amazing job!
LikeLike
What a GORGEOUS color – and the perfect amount of distressing – I’m going to have to try that mix – thanks for sharing Susan!
XOXO
LikeLike
Thanks Suzan! It’s a bright mix, but very pretty. It also looks great with dark wax top coat… Keep cool!
LikeLike
Susan congrats on your beautiful new home! I love the updated hutch. Thanx for partying at THT!
LikeLike
Thanks so much Pam!
LikeLike
LOVE that piece and your new home is beautiful! Life to the full! Melissa
LikeLike
Thanks so much Melissa!
LikeLike
That is a great colour and a lovely piece. Congrats on the feature at From My Front Porch To Yours -i’m visiting from the party.
LikeLike