
This Art Deco style buffet is a doozy isn’t it? Would you have bought it… even if it was a “good” price… it looks quite beat-up?
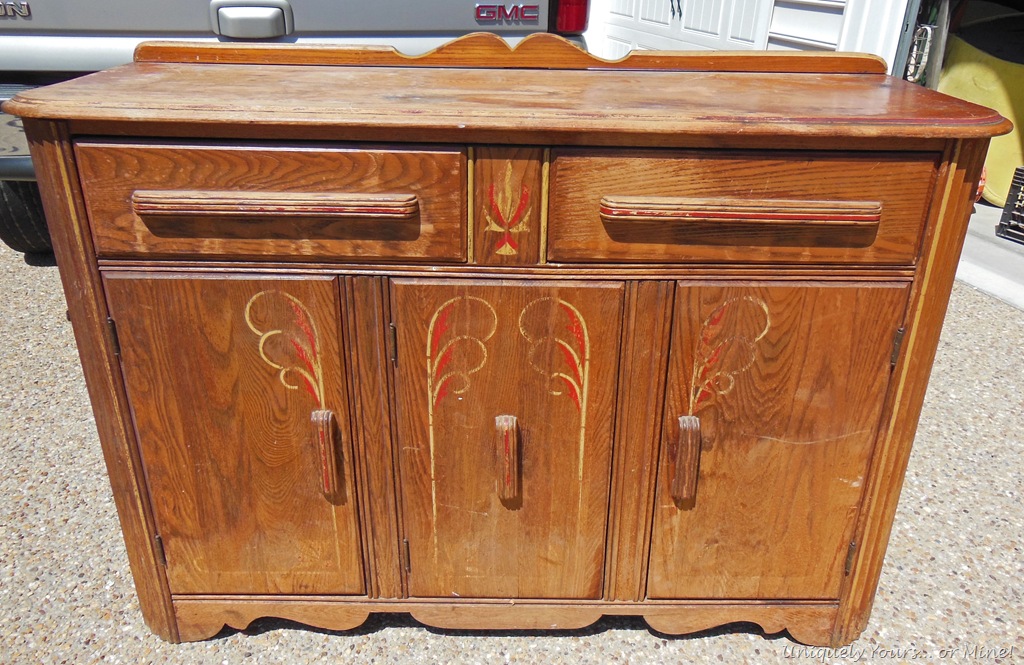
BEFORE
Check out the damage that the top had suffered! I wasn’t sure if I could repair it or not…

But I tried & I was very happy that with some sanding, stain and oil it came out looking great!

I tried to pay homage to the time period, while also updating it. I thought that the Provence Annie Sloan chalk paint was the perfect blue for this piece! A light distressing and a coat of clear wax finishes up the painted sections.

After sanding the top I stained it Dark Walnut and then oiled it with Watco Danish Oil in dark walnut finishing up with a coat of wax for all of the stained parts.

Didn’t think the top would turn out this nicely did you?

I refinished and reused the original handles, which I really glad I did… they’re just perfect for this piece!

Whether you’re a fan of Art Deco or not I hope you like this little update! It’s amazing what a little know-how and some sandpaper will do to revive a piece that looks like it is on its last legs!
Thanks as always for stopping by!
Until next time!


Wood refinishing always makes me nervous! Thank you for describing the products you use!
LikeLike
Your welcome! It’s easy when there is not much finish there to remove.
LikeLike
What a great way to bridge the gap between vintage and modern. She’s a beauty!
LikeLike
Thanks Sharon! I think the piece is not for everyone, but I liked it!
LikeLike
Yes, I would have bought that! I have a basement full of hot messes — it’s a sickness I have to get over! She turned out beautiful, love the two-toned effect.
LikeLike
I know you do Deb… you should not have bought it 😉
LikeLike
HI Susan, I like most of what you do and you did a very nice job of refinishing and staining the wood. However, there was a reason that piece was stained a light color – the grain of the wood is much too prominant. If you don’t sell it as is, may I suggest that you paint the entire cabinet including the cabinet.
One of the most charming and unique parts of the piece was the delicate design carved into the doors. After re-painting everything the same color, I would paint the carvings so that THEY stand out. Photo Shop it and I think you will see what I mean.
Best wishes, Charlotte
LikeLike
Thanks so much for your suggestions Charlotte! This piece was a custom piece for a client which is one of the reasons why it was finished the way it was. The designs on the front doors are not carved in, but just painted on, while I liked them they didn’t go with the clients overall scheme in her room. I think your ideas were good ones had the piece been different, so thanks for taking the time to comment I really do appreciate it!
Susan
LikeLike
I think the 2 tone is gorgeous Susan – love love love that aqua color you used!
Beautiful job as always
hugs,
Suzan
LikeLike
Thanks so much Suzan! It seems like its not for everyone but I dig it too!
LikeLike
Love the way this turned out. I’ve noticed that you use an oil finish followed by wax after staining – which always turns out beautifully. Could you explain why these two finishes enhance the piece rather than repel one another. I would have thought they would result in a smeared mess. What am I missing?
Connie
LikeLike
Thanks Connie! This is my explanation in a nutshell… The oil reconditions the wood, the wood literally sucks the oil in and it aids in protecting the piece from liquid damage as well as enhancing the beauty. I could just leave it at that, but I do add an extra layer of protection and shine with the wax. The wax is more of a coating and doesn’t penetrate the wood surface, but it shines up beautifully. I really only use this process on very dry porous woods as I’m always concerned about water rings etc once it leaves my workshop… I hope that helps! Try it one day, I think you’ll love it!
LikeLike