
This was a SUPER easy project to do… for me the hardest part was figuring out how to do it and since I have already done that for you the hardest part for you will be finding the perfect knobs… lucky you!
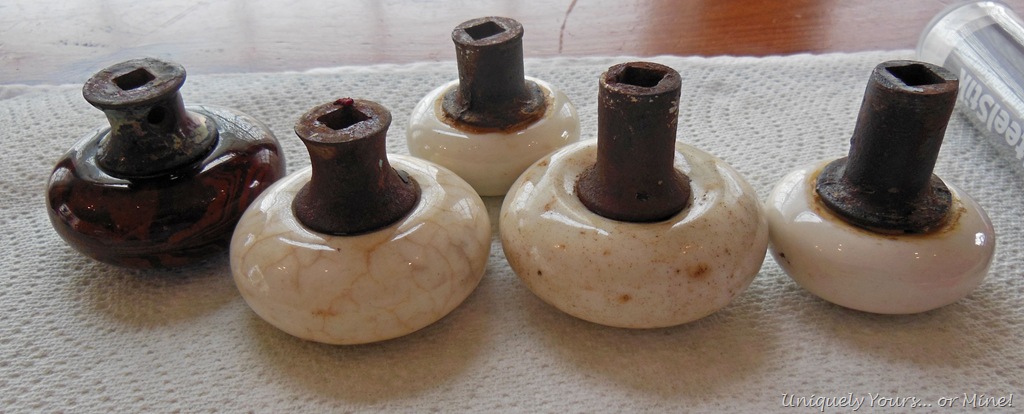
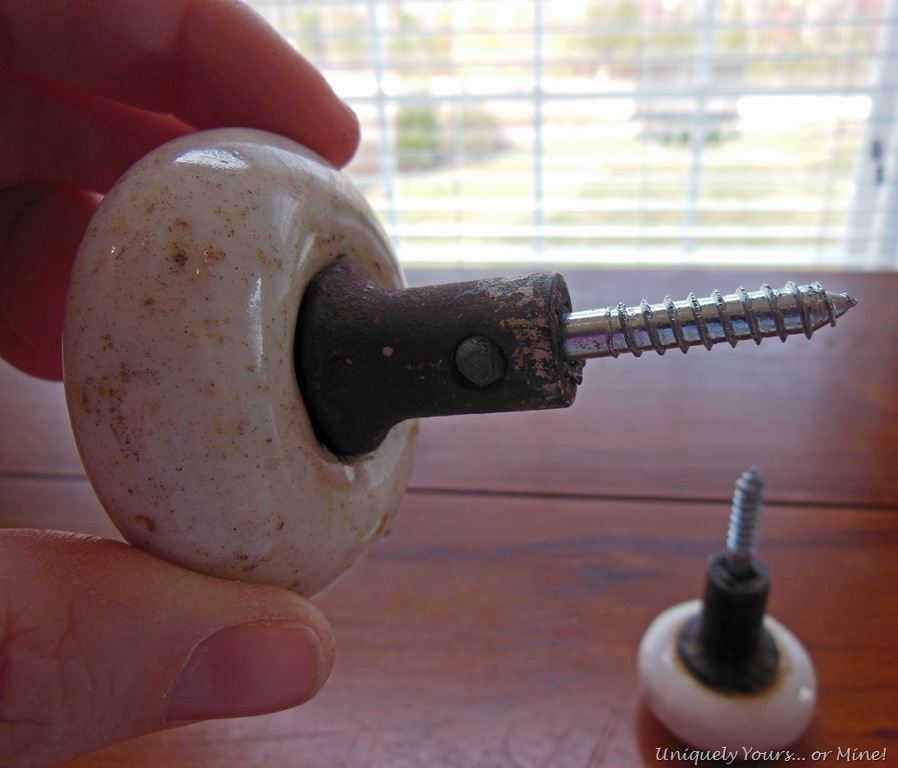
I bought a BUCKET full of these vintage knobs, I know… some people will hoard anything 😉 Some of them were full sets, but these were a few of the single ones, they were exactly what I was looking to use for this project. They are rather beautiful and aged and perfect for installing in the new dressing room area we are working on for our youngest daughter.
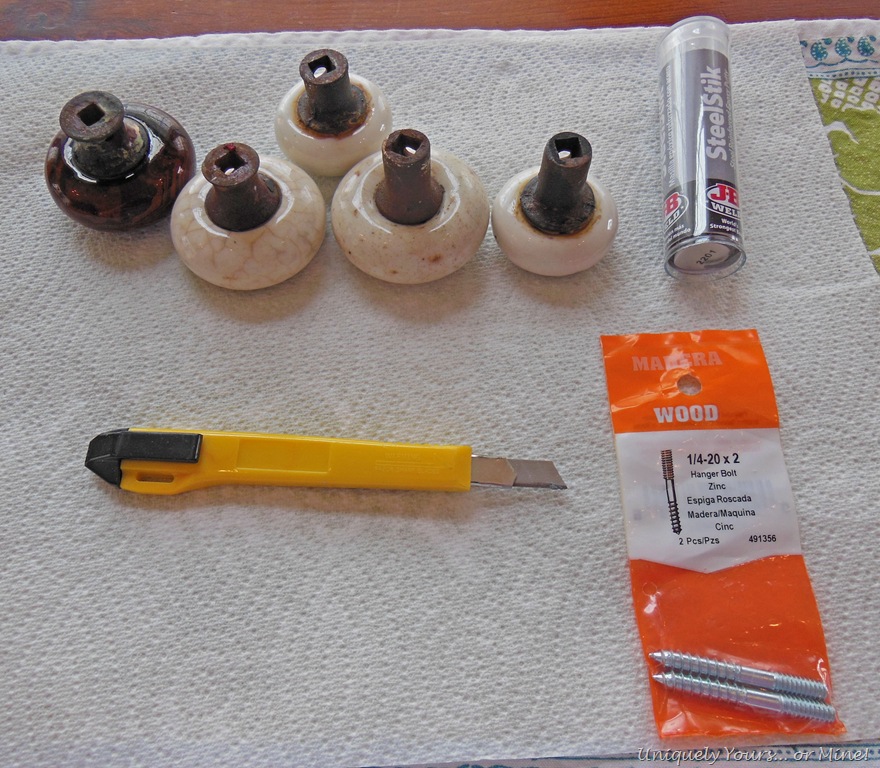
I bought a two part epoxy “Steel Stik” and some hanger bolts for wood application. Below are all the items I needed to complete this project, except for the gloves…
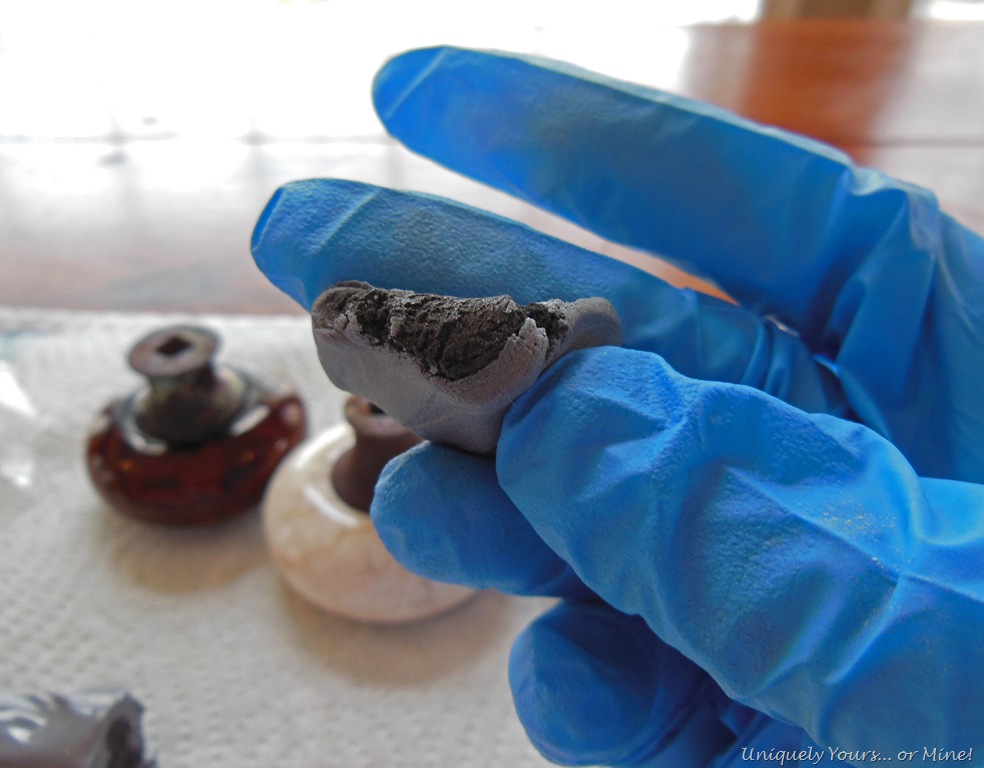
This is what the roll of epoxy looks like when you remove it from the tube. You just cut off a small amount, it dries super fast so just cut off what you can use in 3 minutes…

PLEASE use gloves… it’s more awkward but necessary, you do not want this stuff on your skin! You knead the epoxy with your fingers until the two colors blend into one.
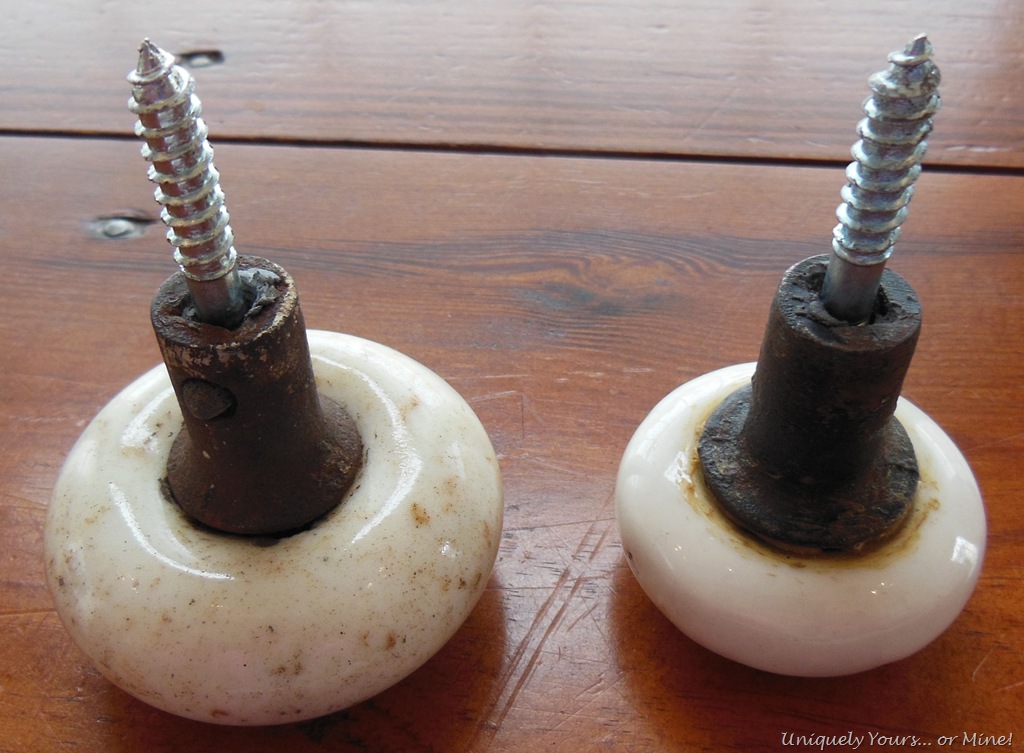
I rolled it into a worm shape and shoved it into the stem of the knob. Make sure you put enough, you want the bolt to push it out some so you know you have it in there snug.
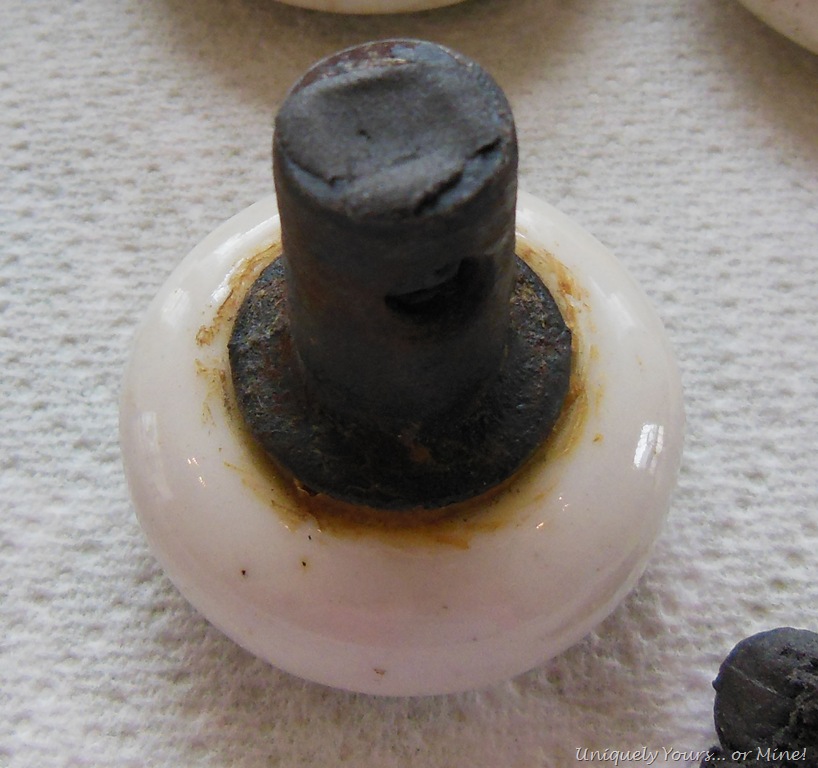
Insert / push the hanger bolt as far as you can into the stem of the knob. Then remove any excess that is squeezed out of the side or top, I used the knife to scrape it off.
Make sure your bolts are level, I just eyeballed mine and that appeared to be good enough. The product sets in 3-5 minutes and in an hour can be drilled, tapped etc..
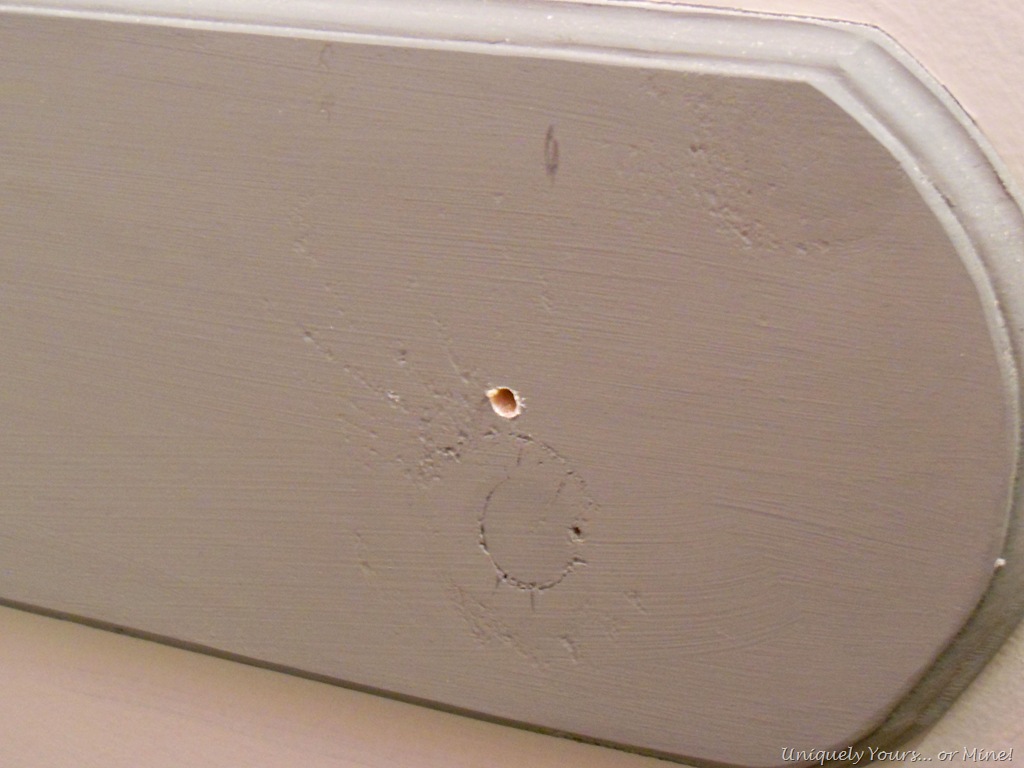
While the product was setting I drilled a hole in the wood shelf supports. This is why we installed the supports out further than the shelves… you will need to screw these knobs into a stud or wood support of some sort!
I screwed the knob in once the product had set… this project was seriously just as easy as I’m making it sound.
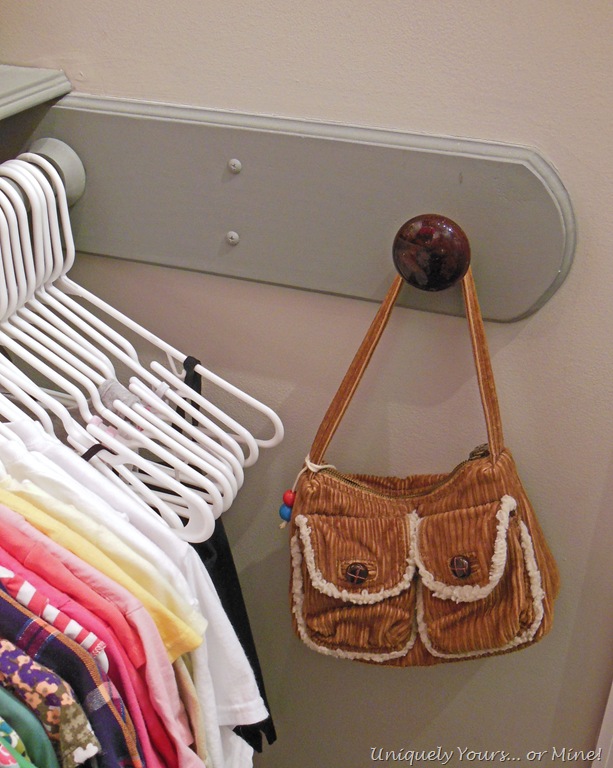
Now she can hang purses, hats, scarves, robes, outfits whatever she wants from these knobs… I’m installing 6 in the closet… you never know what a girl will want to hang up… and I’m HOPING that she will want to hang up stuff on her “new” super cool knobs! I do all I can to help the girls stay organized and have clean rooms but you know the old saying “you can lead a horse to water, but you can’t make him drink” so it will be interesting to see what she eventually ends up hanging on these… as long as it’s something I will consider this experiment successful!
By the way if you are looking for some vintage knobs let me know… I’ve got quite a few left over ![]()
Thanks for stopping by…
Until next time!

Linking up to these parties…
Primitive & Proper, The Ivy Cottage Blog, Elizabeth & Co., Savvy Southern Style, Savvy Southern Style, Domestically Speaking, Home Stories A to Z


So much cuter than a hook from the store!
LikeLike
Thanks Sharon! I love the vintage knobs so much and I’m glad I found a place to use them!
LikeLike
This is awesome! I have a bunch of knobs that I am going to do this to. I had seen a tutorial using the liquid expoxy, but this is SO much easier. Thanks!
LikeLike
I think I saw the same tutorial and was like, no way am I going to be able to drill a straight hole! This works like a charm… have fun and thanks for stopping by!
LikeLike
i love this idea! they look great and you did a great job!
LikeLike
Thanks Cassie! It really was a super easy, but rewarding, project!
LikeLike
susan, i love the age of these and how you have incorporated them into a place to use and see their beauty.
if you find a moment, stop by and enter my giveaway, we’d love to have you.
smiles.
michele
LikeLike
So Cool! & Easy too! Thanks for sharing. Dee from My Painted Stuff
LikeLike
Awesome. I have a few of those knobs I was going to make a coat rack out of and now I don’t have to figure it out 😉 Thanks!
LikeLike
You are going to love how simple this way to do it is… You just have to work fast! Thanks for stopping by and good luck with your project!
LikeLike
I have been wondering how to do this! Isn’t it great what blogging can do?
Thanks, I have filed this away.
Nancy
http://wildoakdesigns.blogspot.com
LikeLike
Great use for these knobs, and great way to show them off. I have always loved these vintage knobs. Thanks for sharing.
LikeLike
It is such a great way to be able to enjoy them if you don’t live in an older home.. Which I do not… Thanks for stopping by!
LikeLike
I’ve wanted to know how to do this! Pinning!
LikeLike
It’s so easy and works like a charm!
LikeLike
My husband gave up on his project of creating a coat rack using vintage, glass knobs because he couldn’t find compatible screws–hoping this is the solution! Thank you!
LikeLike
I know it will work Christina! I’ve used this process so many times, I have a bunch of old knobs, so I know how sturdy they will be if you follow the instructions. Have fun!
LikeLike
I have several old knobs like what you have, we bought a piece of property that had an old home on it and several doors with the porcelain knobs and the skeleton key locks. I just now found your site and read it and I think that is a great idea 4 me to hang a curtain over our French doors of our new home I thank you for the idea I would have never thought of that!!! I’m so excited to try it and just in time for the holidays. Thank you and merry Christmas
LikeLike
It’s such an easy project, I think you’ll really love it!
LikeLike
Thank you so much for the directions and pictures! I have been trying to figure out how to do this with square “holes”. This will work perfectly!!
LikeLike
You’re so welcome! It’s such an easy, fun project, have fun!
LikeLike
Turned out great! Thank you for doing all the footwork. I’m ready to start my project and now I know what to buy. Very helpful!
LikeLike
I love this!! Thanks so much for teaching me how to be able to use them in replace of hooks! I’ve got several & have been wanting to do this with them for quite awhile!! Thank you! Thank you! Thank you!!
And by the way, they look great! You did an awesome job!!
LikeLike
I’m so glad, I loved this project too!
LikeLike